First things first were the trimming, cleaning and magnetizing of all the parts. I wanted this full-magnetized so that if someone wanted to use it for a WYSIWYG tournament, they could. This added an immense amount of work to the project, but it paid off in the end.

(Above) Parts that were magnetized were green-stuffed down, so they didn't pull loose later. I used larger magnets for the arm slots, since they'd need to support a significantly larger amount of weight. Also, I scored the leg joints, so that the glue would hold better.

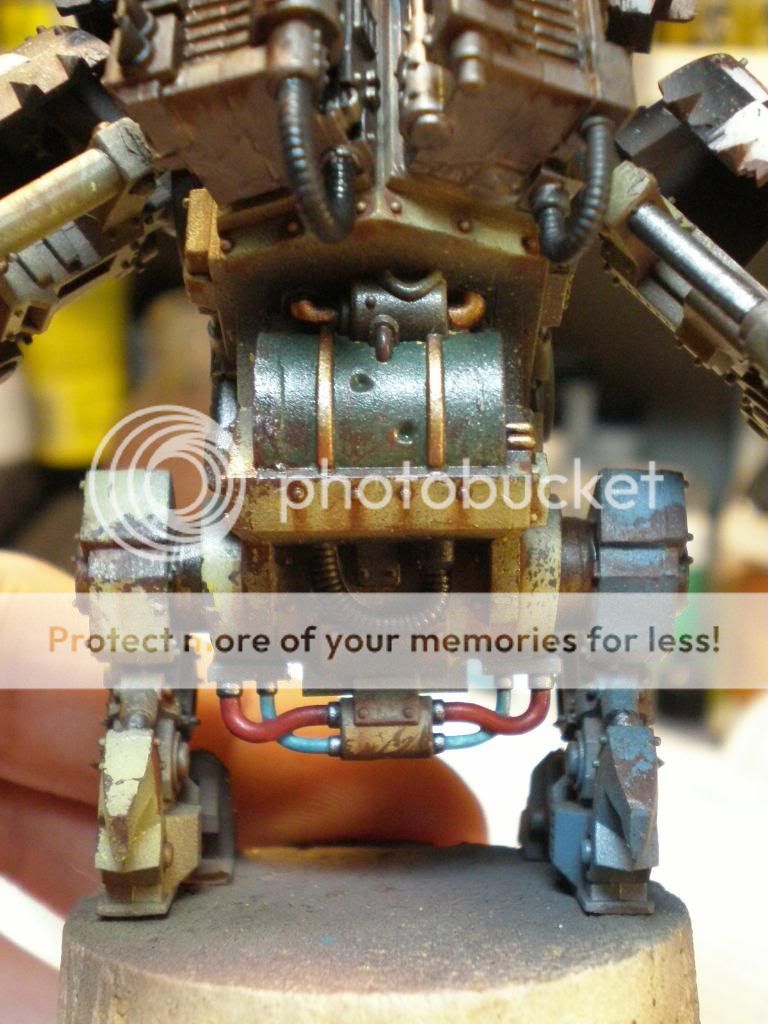
(Above) The legs were pinned both so I could affix the miniature to the cork in order to handle it, but so that I could make sure it would have a solid hold on the base I'd later use.

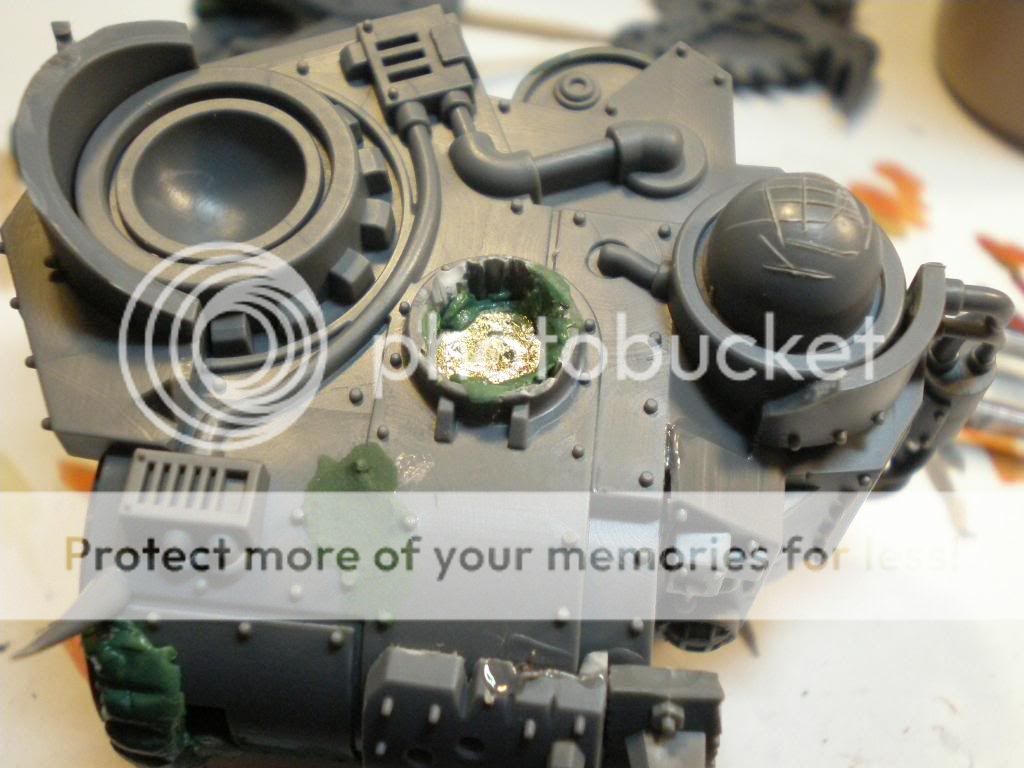
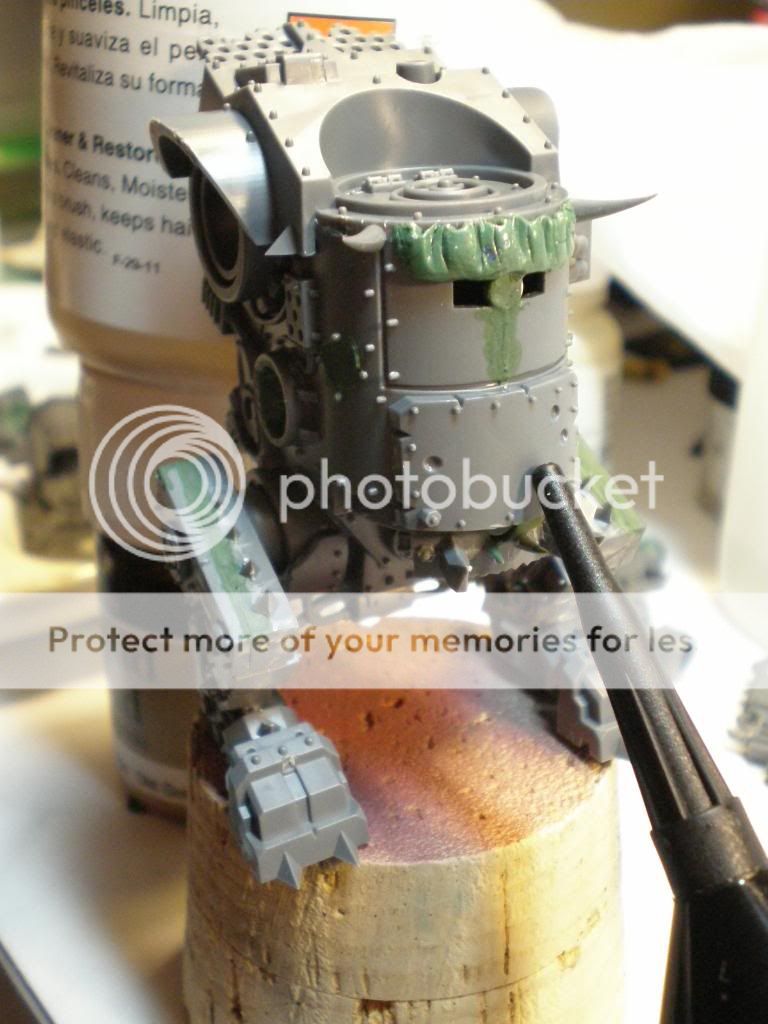
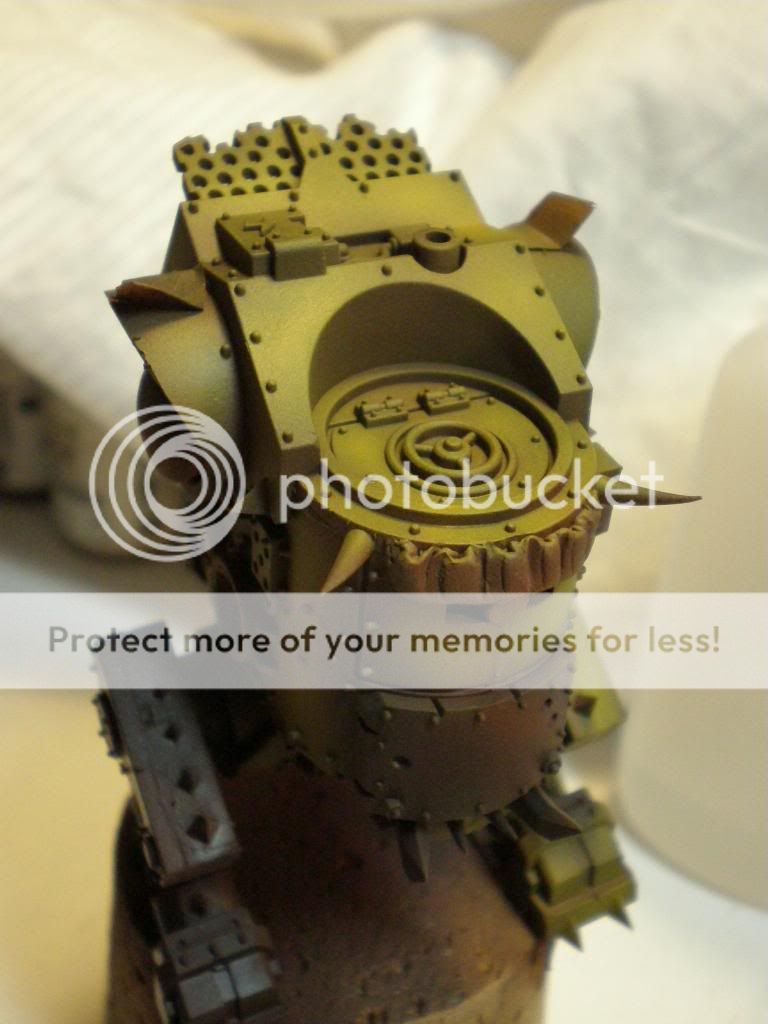
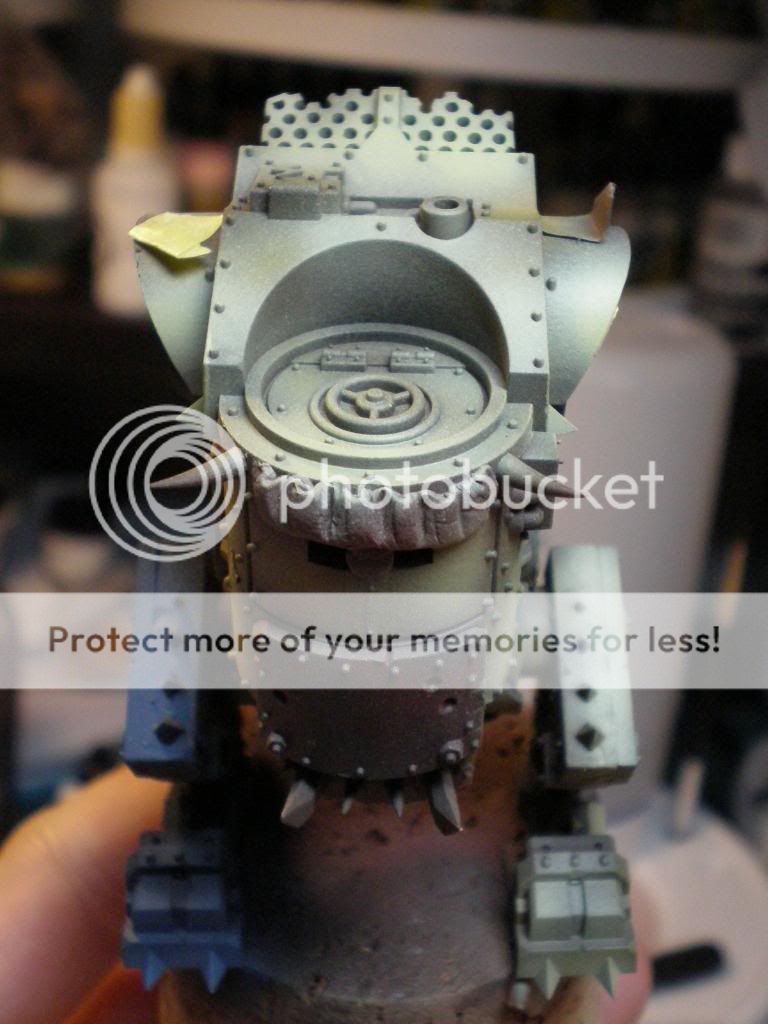
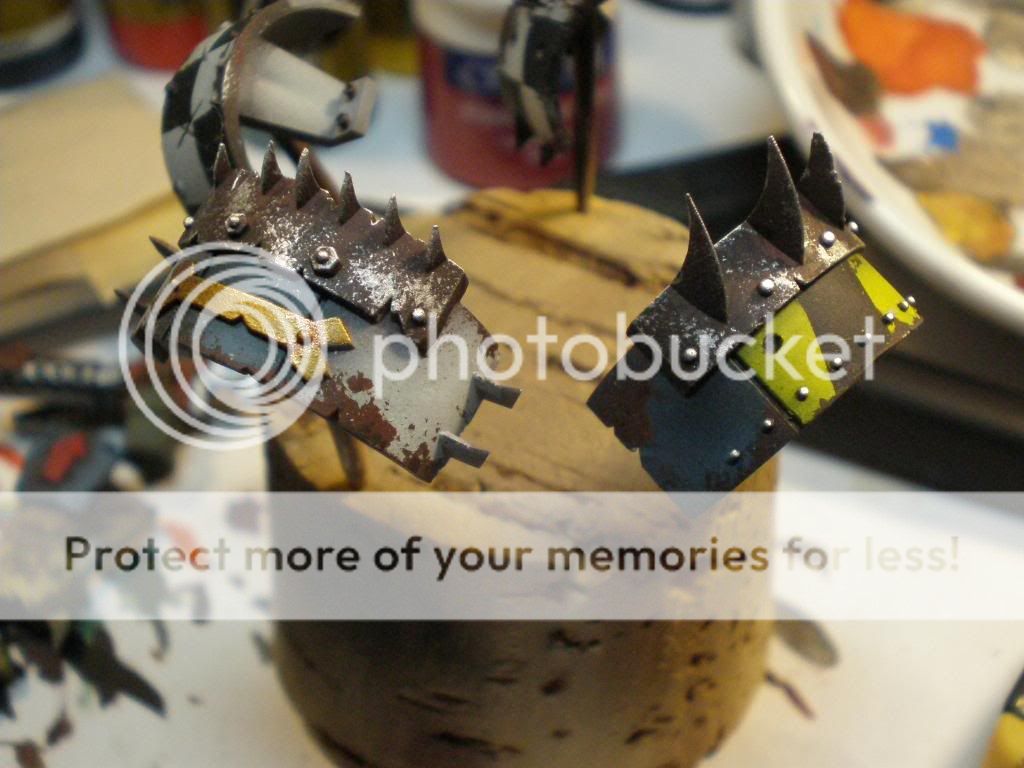
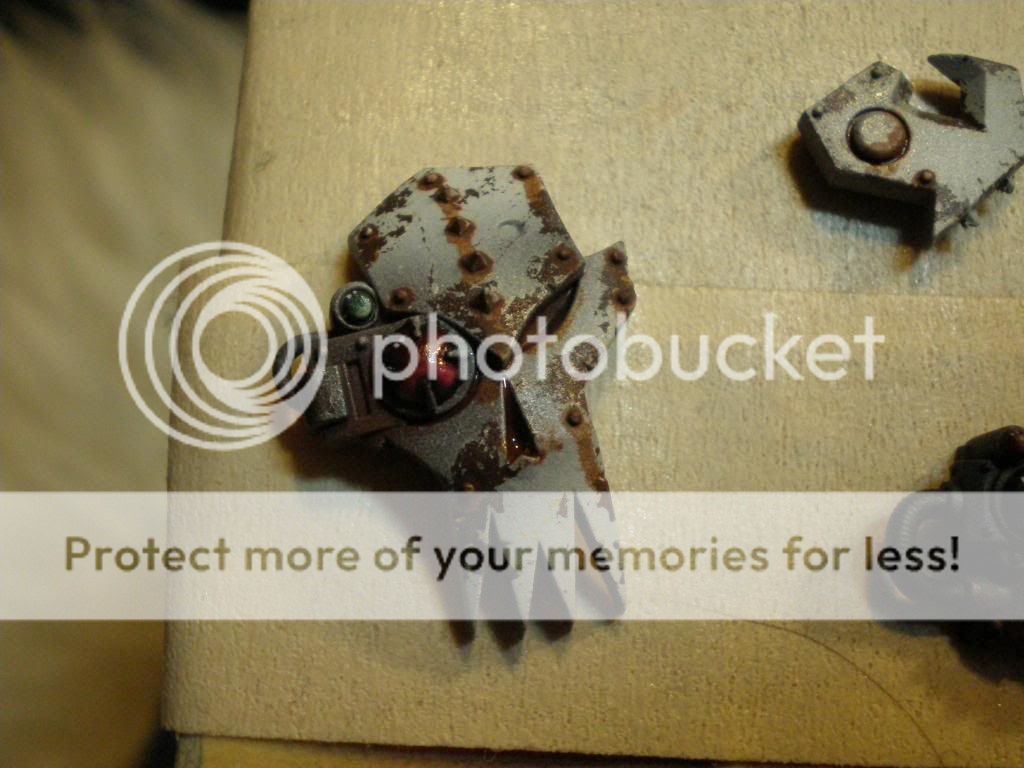
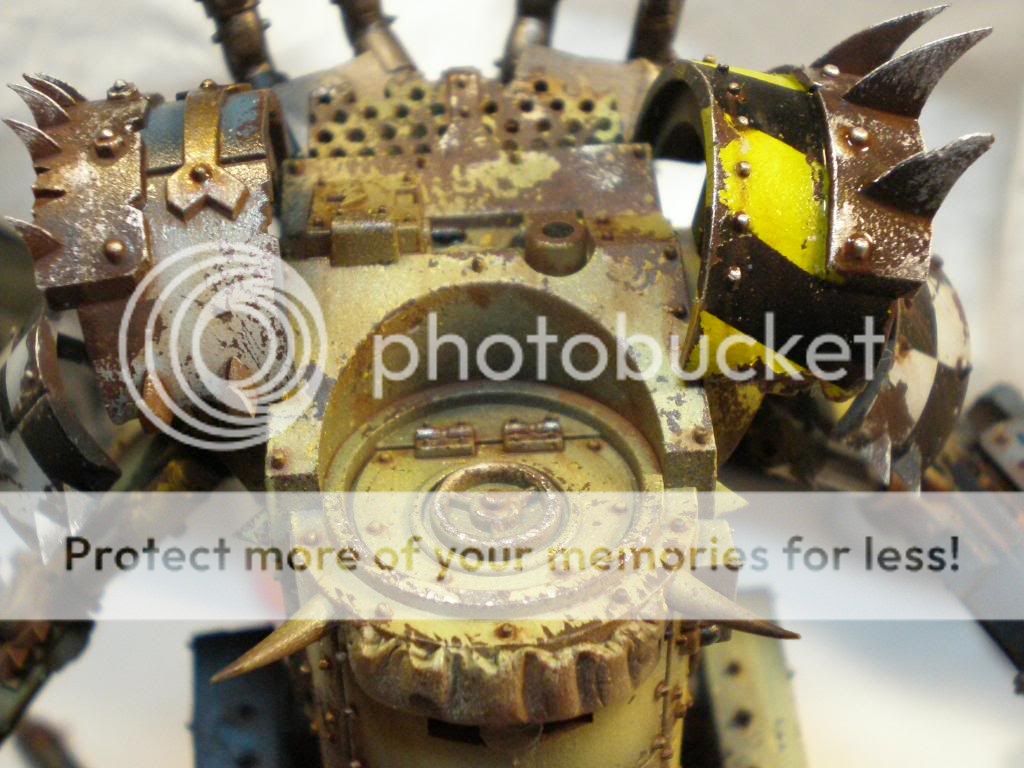
(Above, Below) The face of the dreadnaught is magnetized, allowing for any combination of faceplate exchanges. Unfortunately, the big plate on the "mouth" portion was stuck in place with some over-glue, meaning I'd now have to do workarounds to get all the different components to a workable-enough state to get them to stay on.


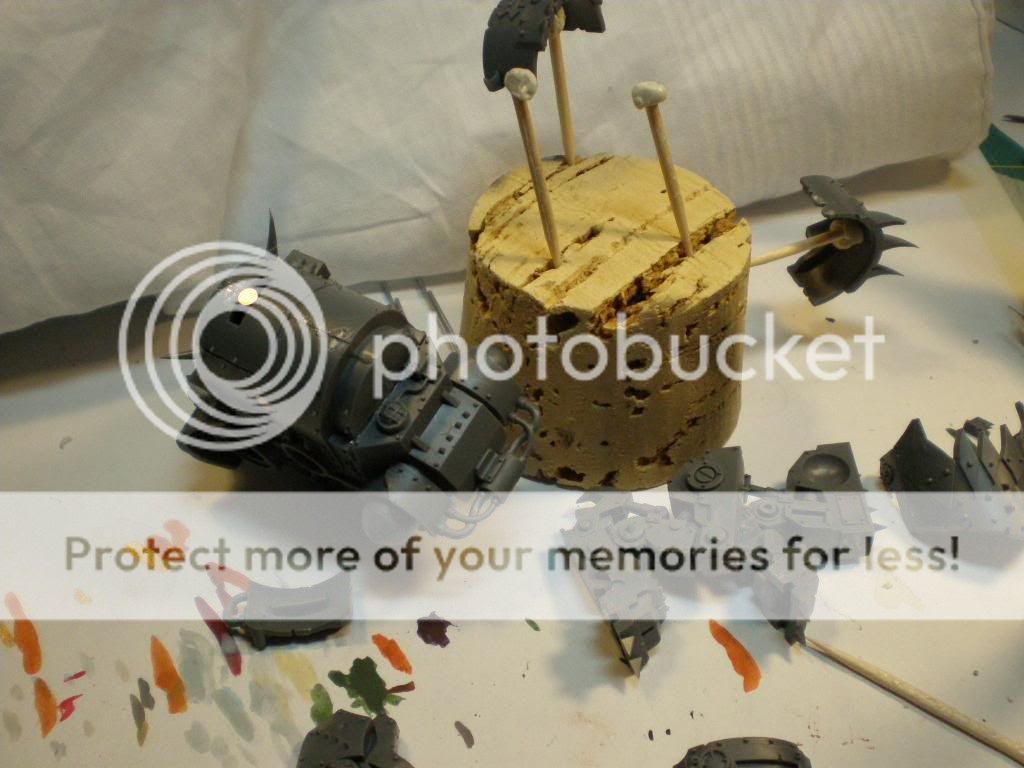
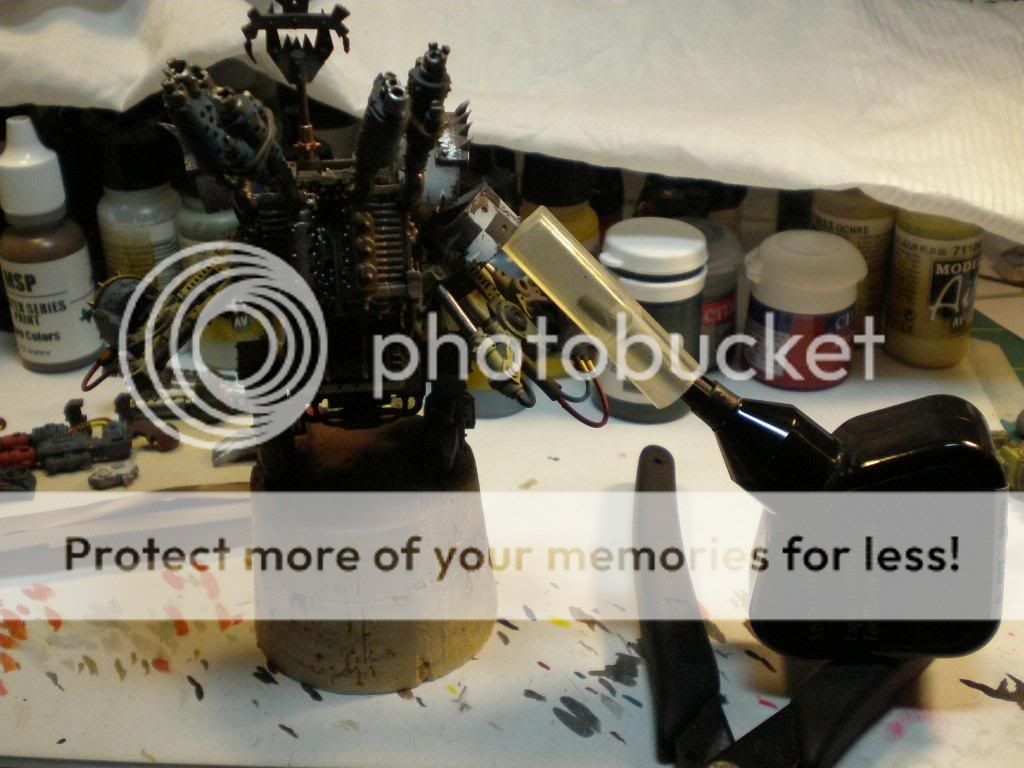
(Above) All the shoulder pieces and weapons are attached to toothpicks with Blu-tack, and then stuck on the cork.

(Above) Although some model cements (Testors Model Master, Revell Contact Professional) will eat through paint, I still want the strongest plastic bond possible. As such, I put balls of Silly Putty into the shoulder sockets and other areas that will later have a direct bond with glue, for the strongest bond possible.

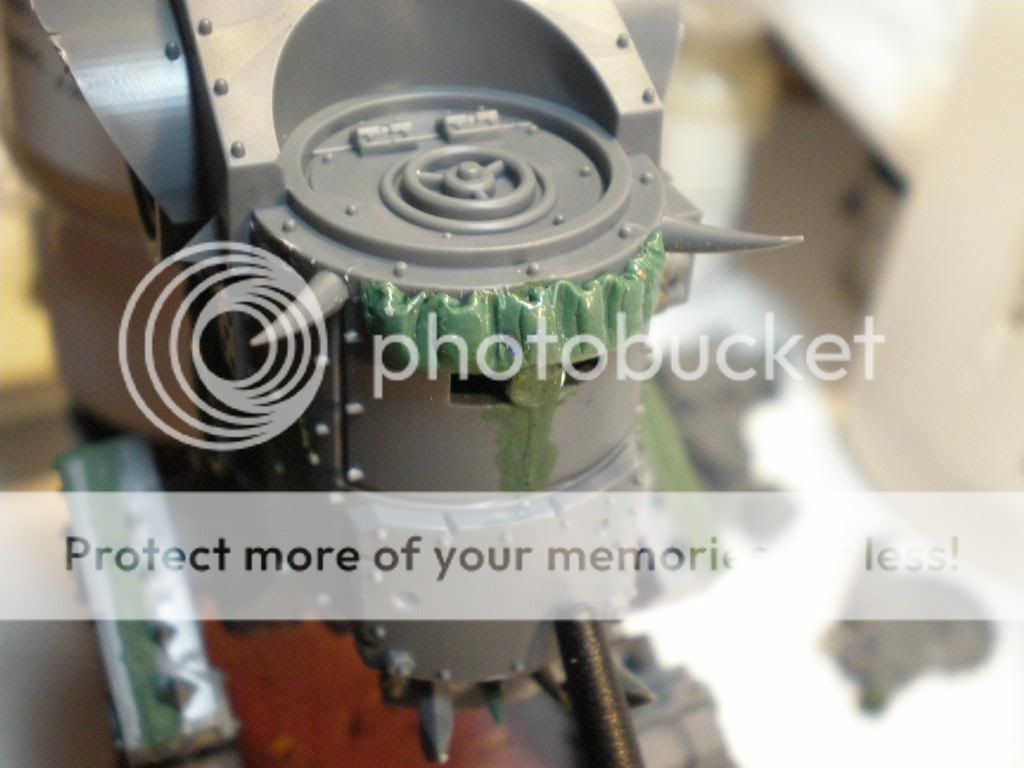
(Above) Magnets in, cover in Green Stuff to hold them in place, ball joints scored to maintain better hold (also see the insides of the legs, below).


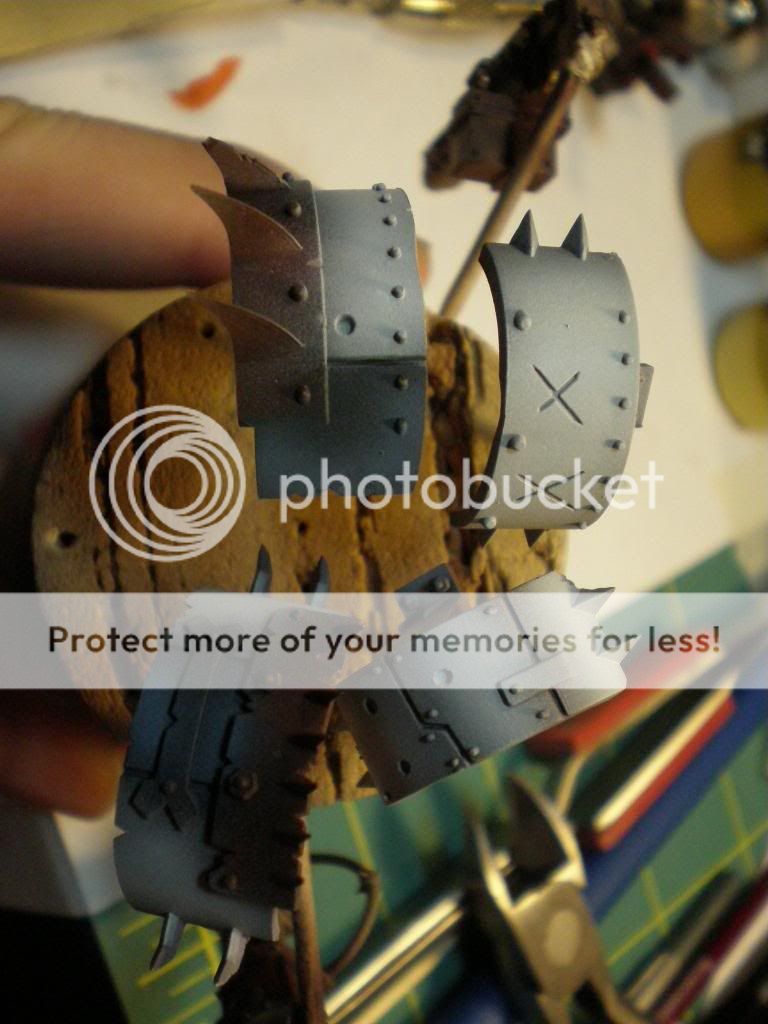
(Above) Tape for the shoulder plates; these will go in the position that the shoulder armor sit upon. They're pinned, but I also want to glue the plastic parts for maximum hold.
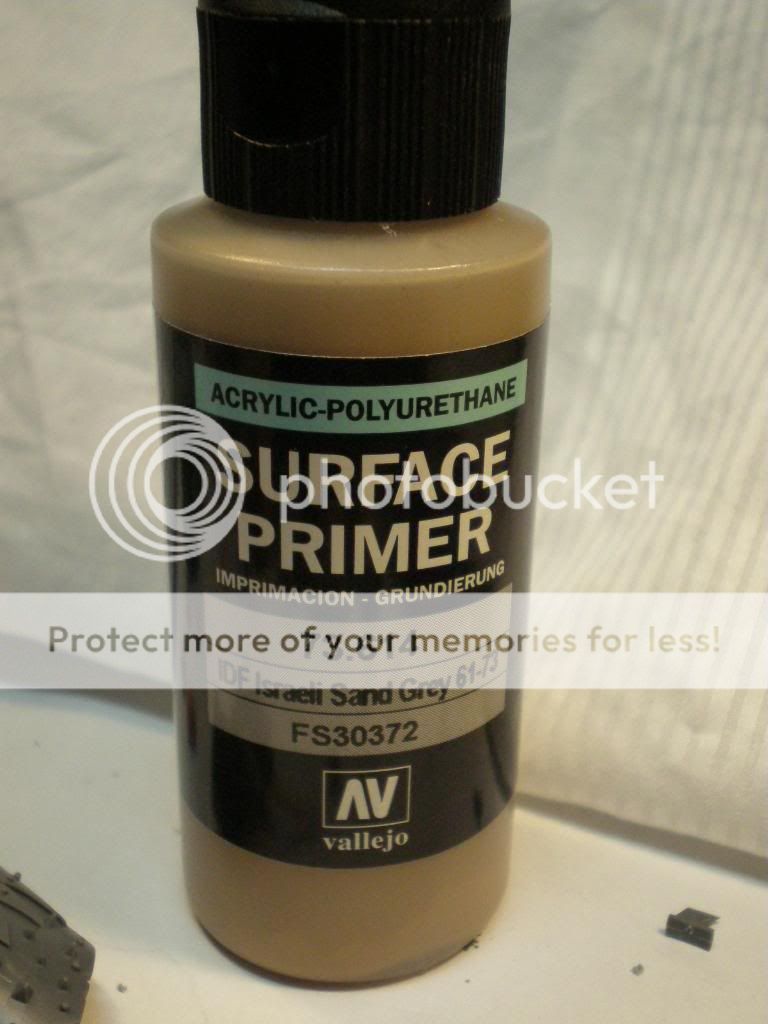
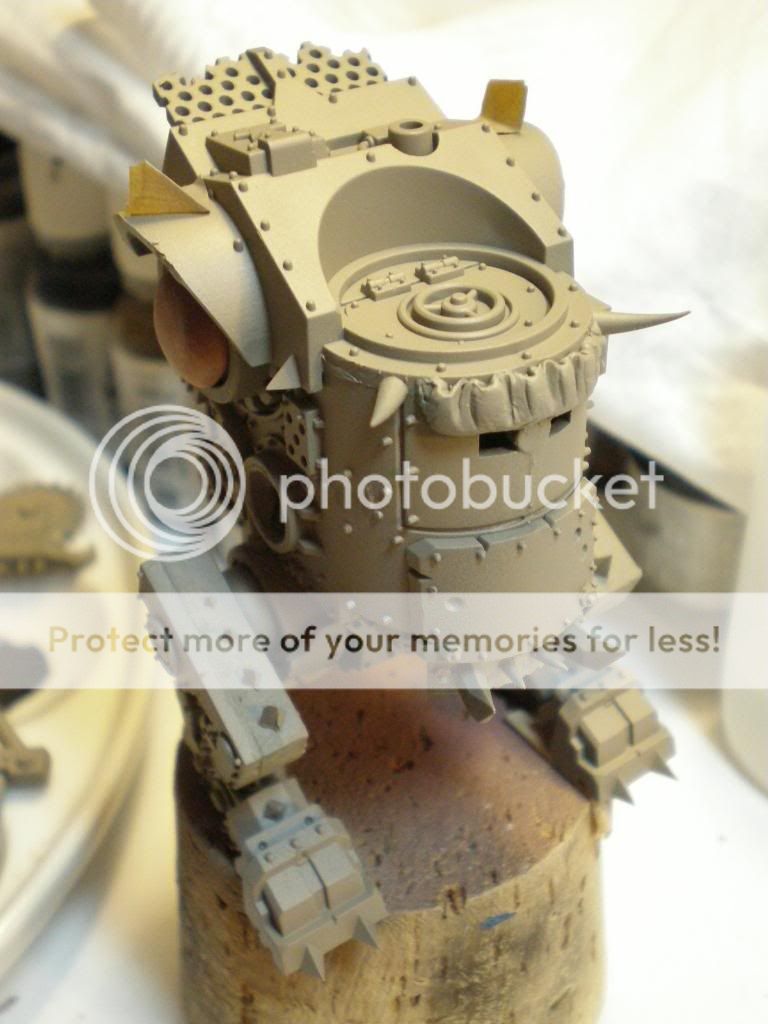
(Above) I thought that I'd forego my usual priming procedure of using black polyurethane primer and went for "IDF Israeli Sand Grey" instead, since I had it lying around and thought it would look good given the color scheme I wanted to use.
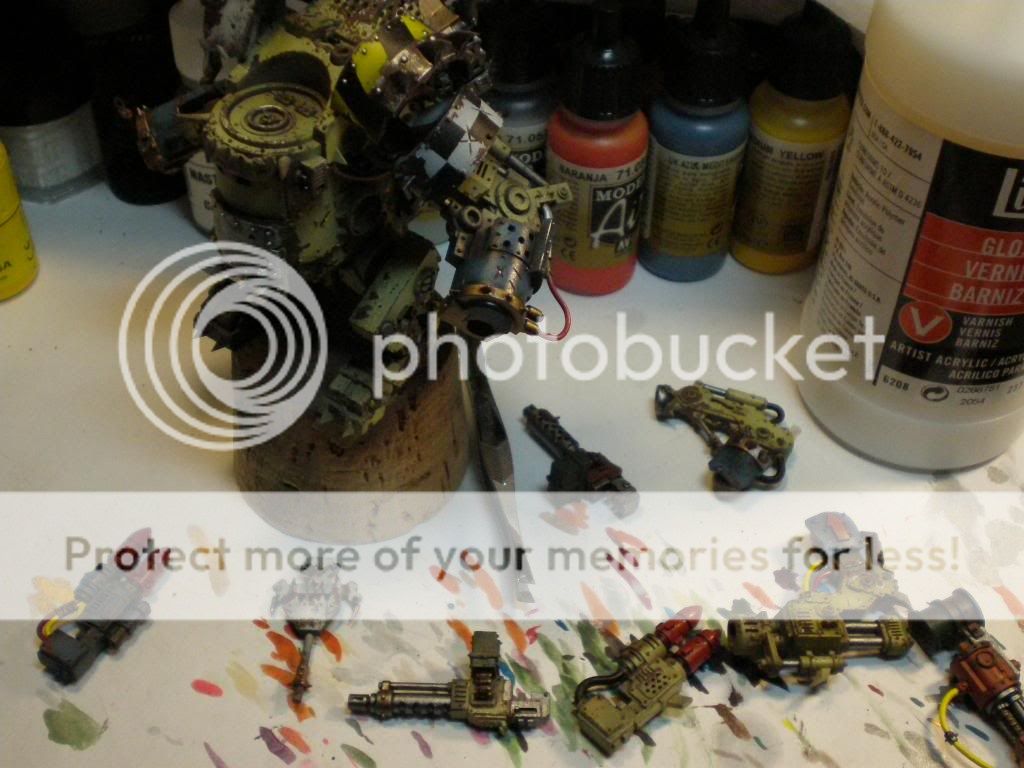
(Below) All the pieces ready-to-go — pinned, glued and assembled to the point where further assembly would cause difficulty painting.


(Below) All pieces primed. It should be noted that the primer didn't really stick like the black and white ones tend to do — even after 24 hours drying. This could be easily scratched off with a fingernail, so I just didn't press the issue.


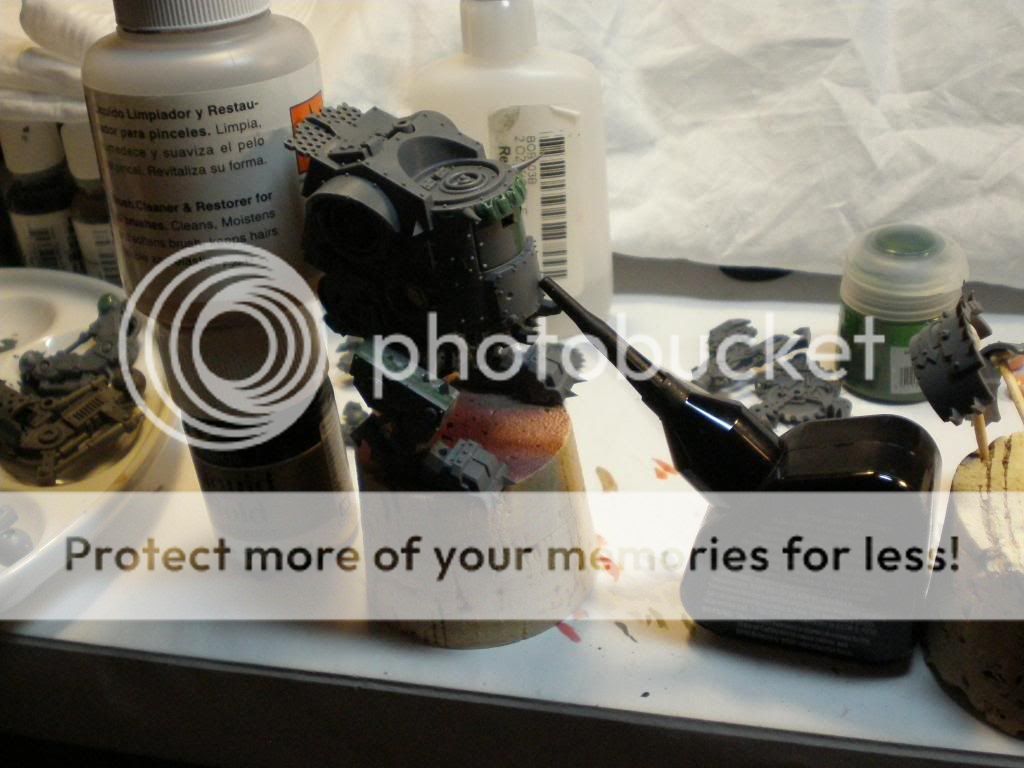
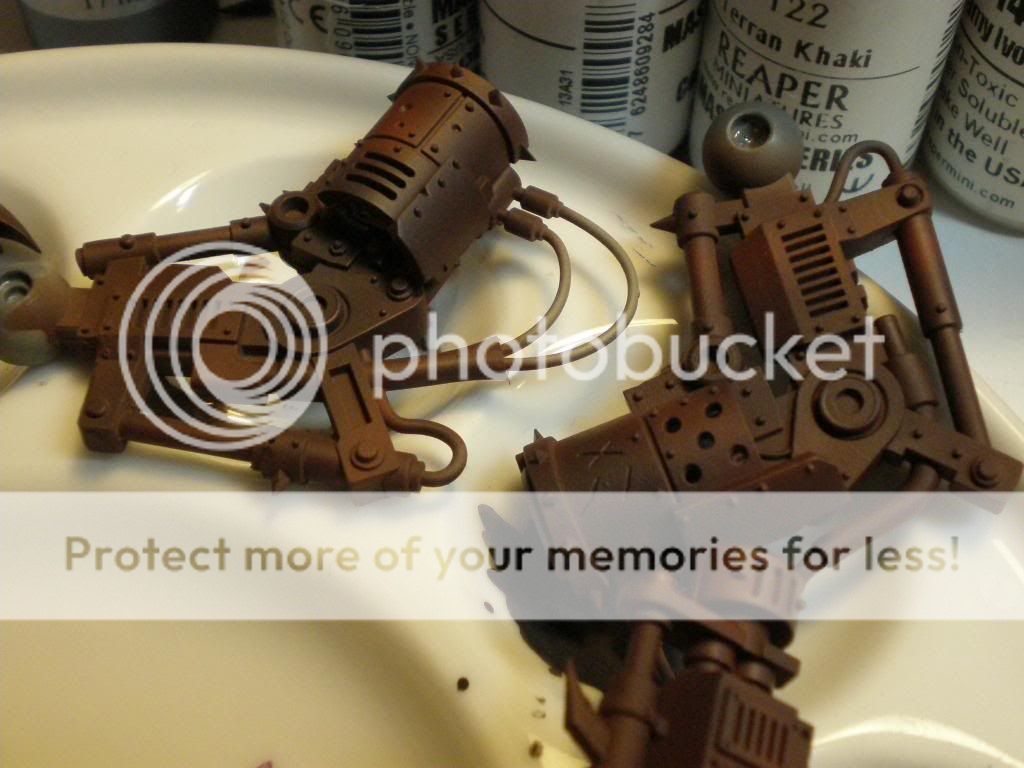
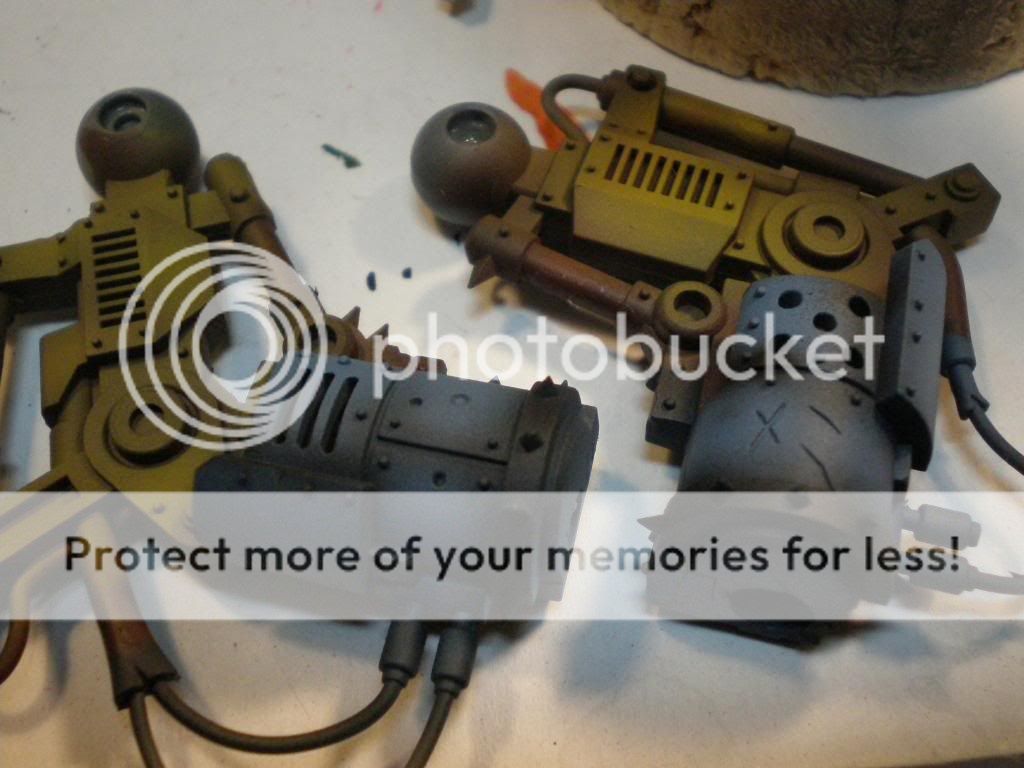
(Below) One of the reasons the primer wasn't an issue is essentially because I was going to use a chipping technique anyway. To this end, looking back, black would have been a much better choice since it's closer to a corrosion color, anyway. At any rate, I picked the AK Interactive (now MIG AMMO) rust colors and laid them down all over the model.

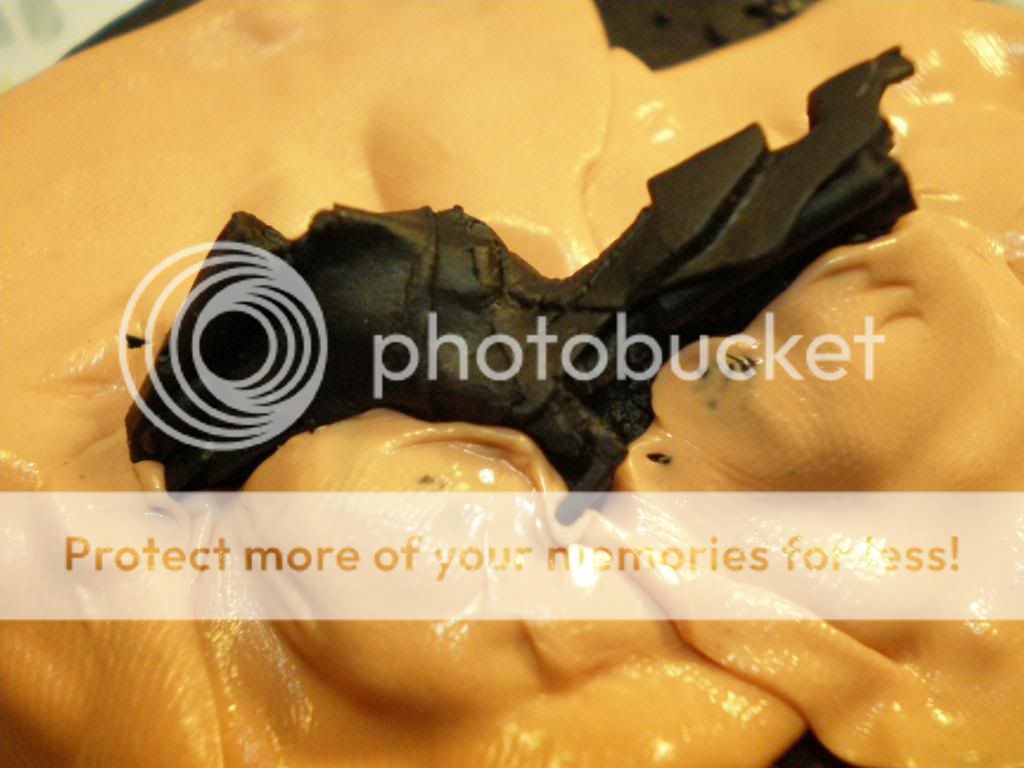
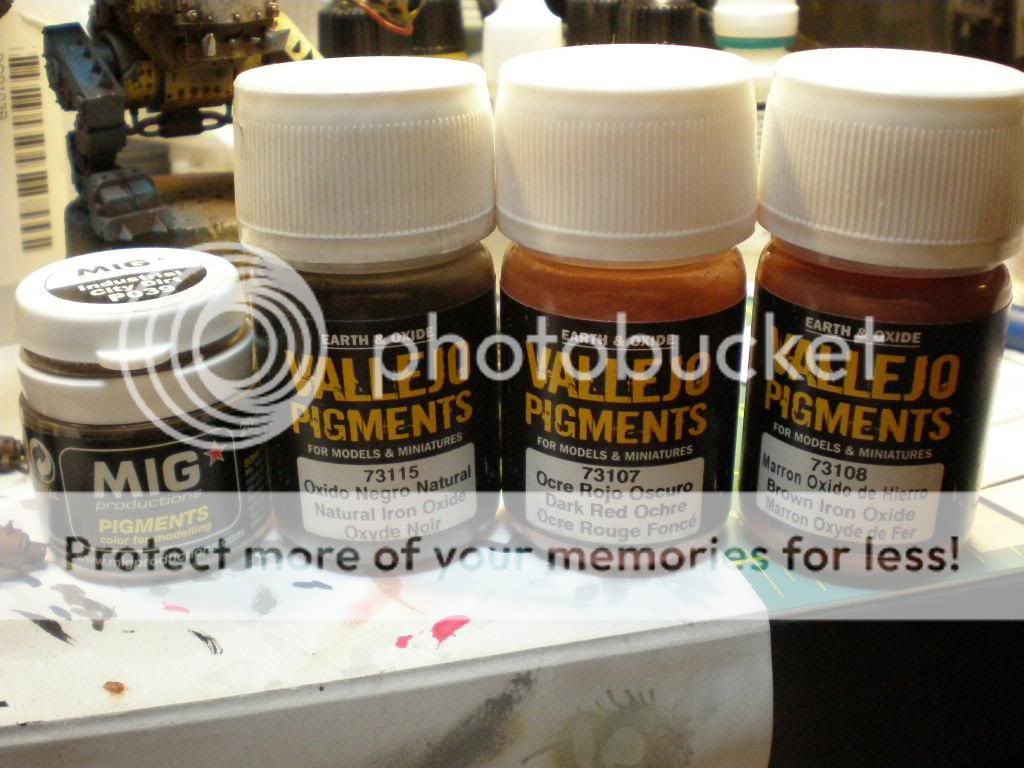
(Above: Chipping color — a dark brown oxidization corrosion color)


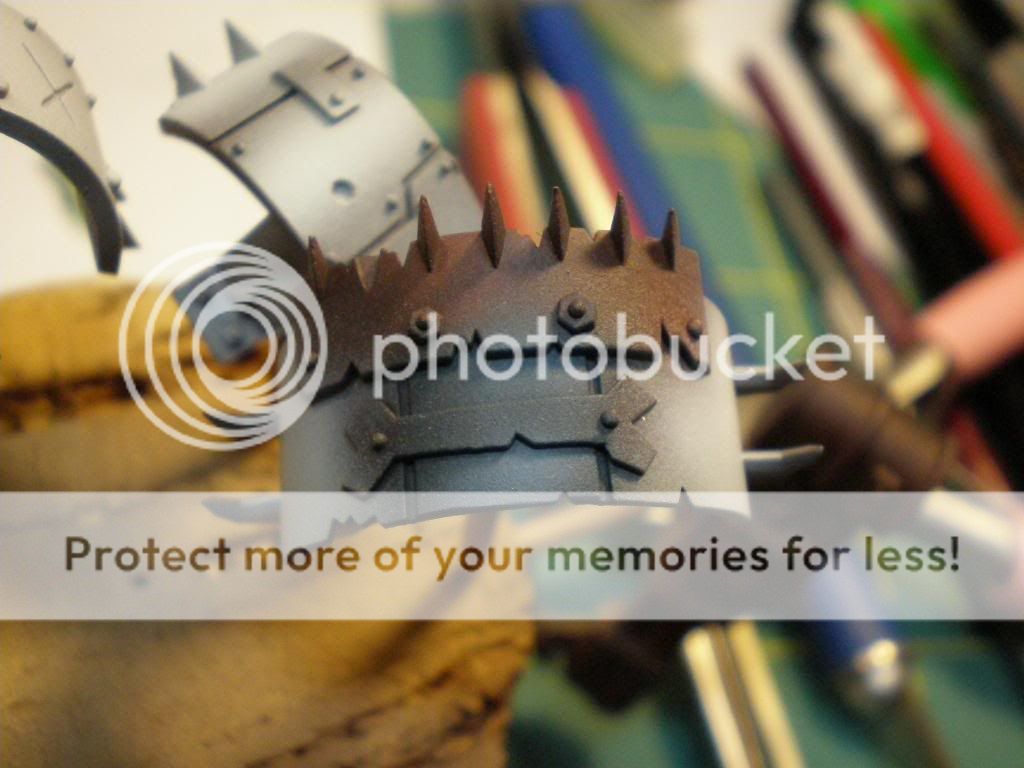
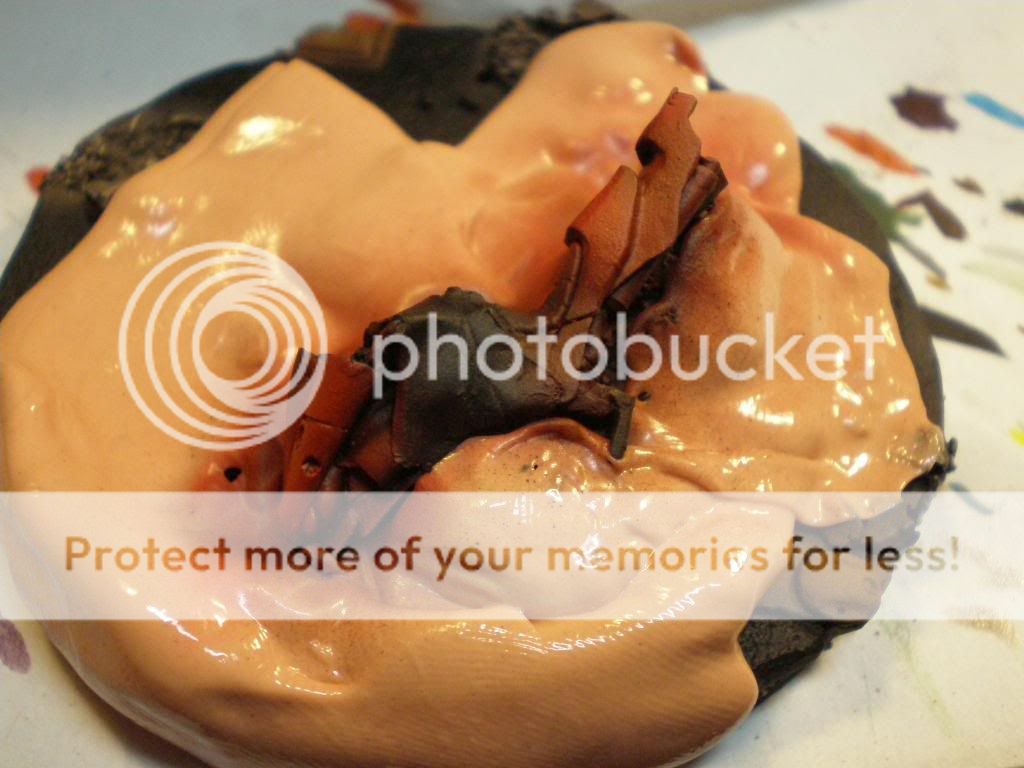
(Below) The parts were covered with a dark brown chipping color, a dark brown rust, and an orange rust, in stripes, since I figured when the chipping effect was executed, corrosion would come through in a random manner. I painted stripes of these lighter corrosion and rust colors.


(Below) Rust and oxidization striping on model.


(Below) This step is very important. As the primer didn't really hold, I really wanted to make sure that things were sealed in tight and wouldn't scratch, move, etc. Also, since I would be hitting things and roughing them up with a toothbrush, etc., I didn't want the rust colors or anything else to be exposed, showing grey plastic (there's enough grey plastic showing across tabletops worldwide).
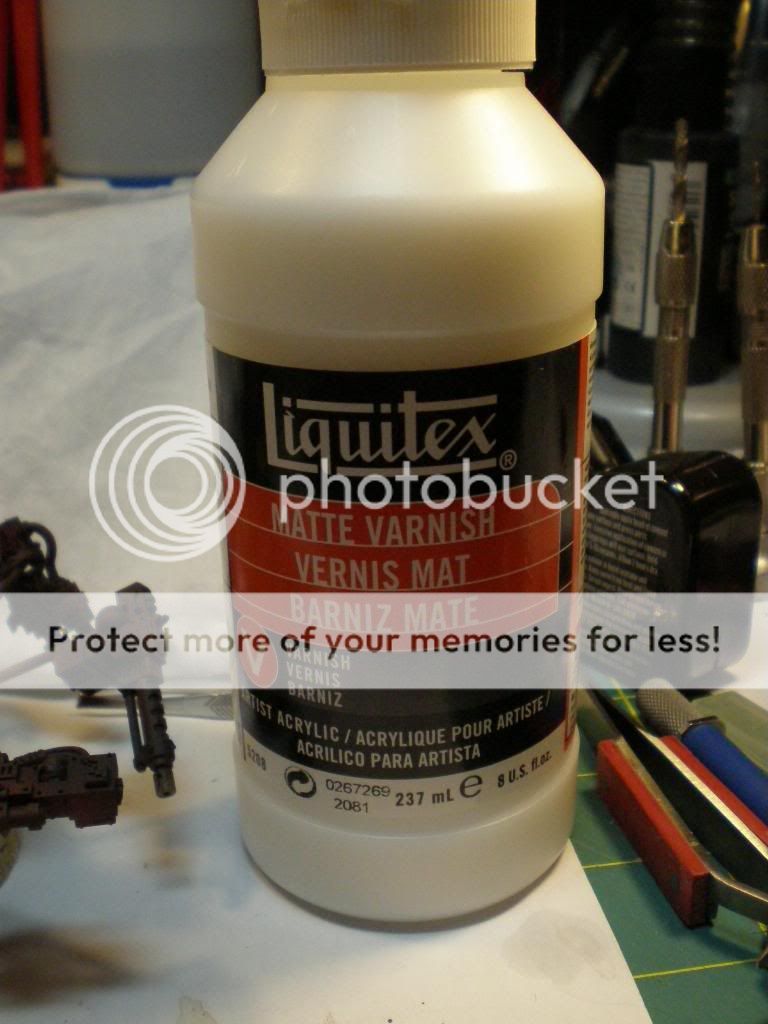
(Below) The matt varnish really smooths things out.

(Below) I used AK Interactive Heavy Chipping acrylic fluid. Essentially, it's hairspray. There is another light Chipping Solution, but I figured that since this is an Ork vehicle, it's likely to be incredibly chipped. I covered the entire model in three full coats of this. Once dry, you simply paint on top of it, wet the spots you want to chip, and then use a brush, toothbrush or any other implement to brush or chip the paint off. Quite simple, really.


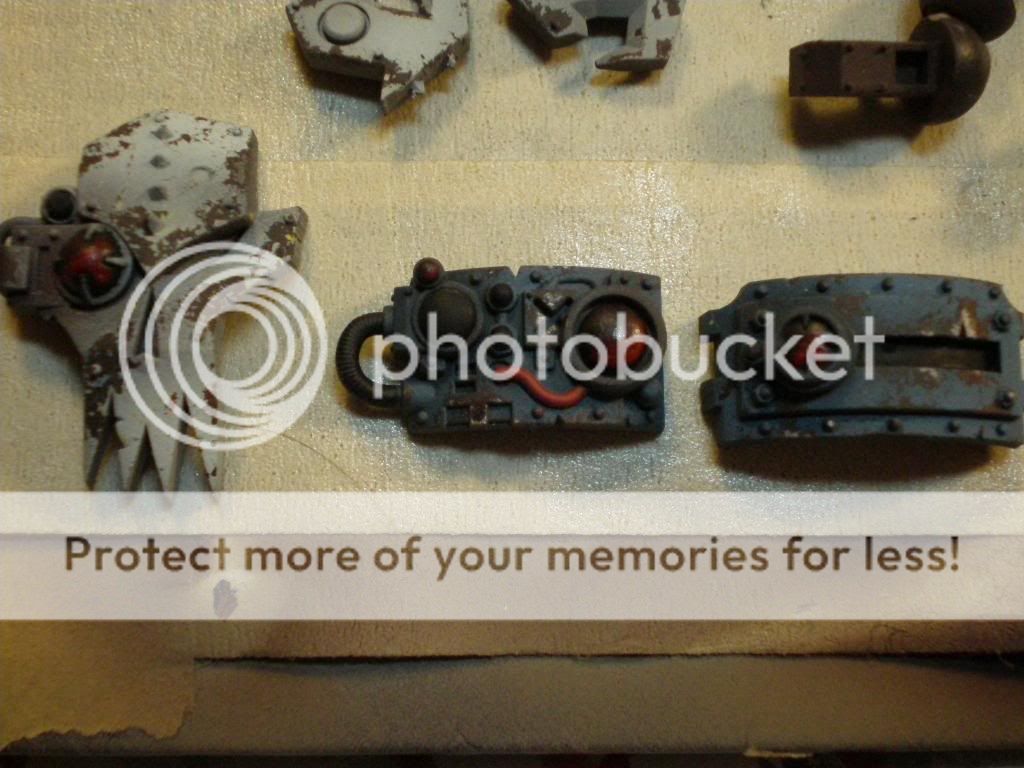
(Below) This would be the base color for the model. There are some other pics, as I wanted the contrast color to be blue. I thought this would look nice, and I masked all the parts that'd need masking with Silly Putty or masking tape, where appropriate.


(Below) Where the magic happens.


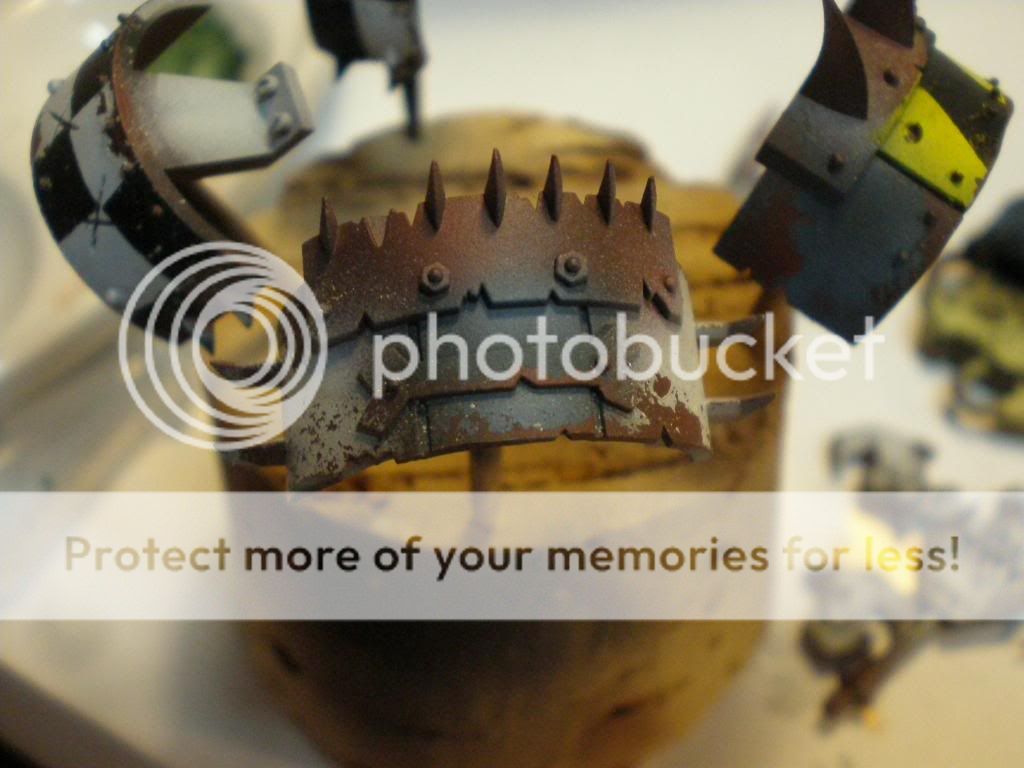
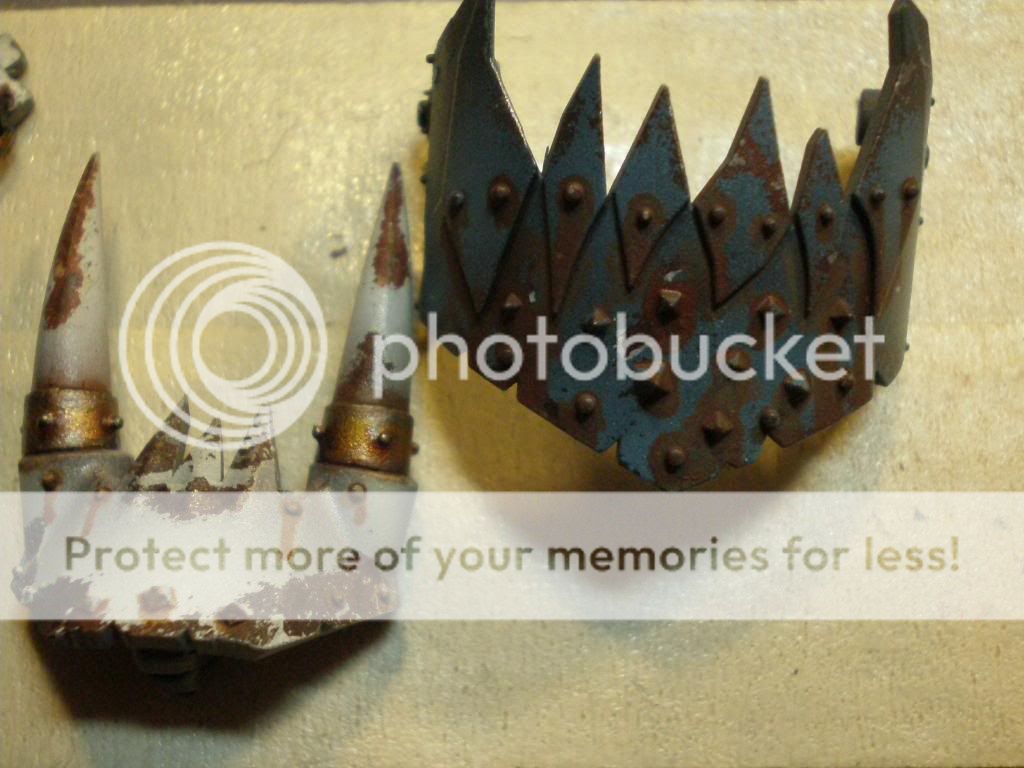
(Below) The shoulder pads were based all white, and then I cut a check pattern from masking tape. I applied the tape, sprayed a solid a black, and then removed the tape on the parts, creating checks on the white parts and industrial striping on the yellow parts.


(Below) Here are the implements I will use for chipping. Water, an old toothbrush head, and a "Japanese Dental Floss."


(Below) Another coat of varnish holds everything in place. Any wetness — even wet paint — could cause the chipping solution to release, so I made sure everything stayed put.


(Above) I thought I'd add a little more chipping spots. So, I hit areas that I missed with the actual chipping solution with the ol' sponge and tweezers. I used a clamp to hold the tweezers, and then hit the areas with dark brown/black and VMA Steel.

(Above) Removal of putty, and ready for assembly.
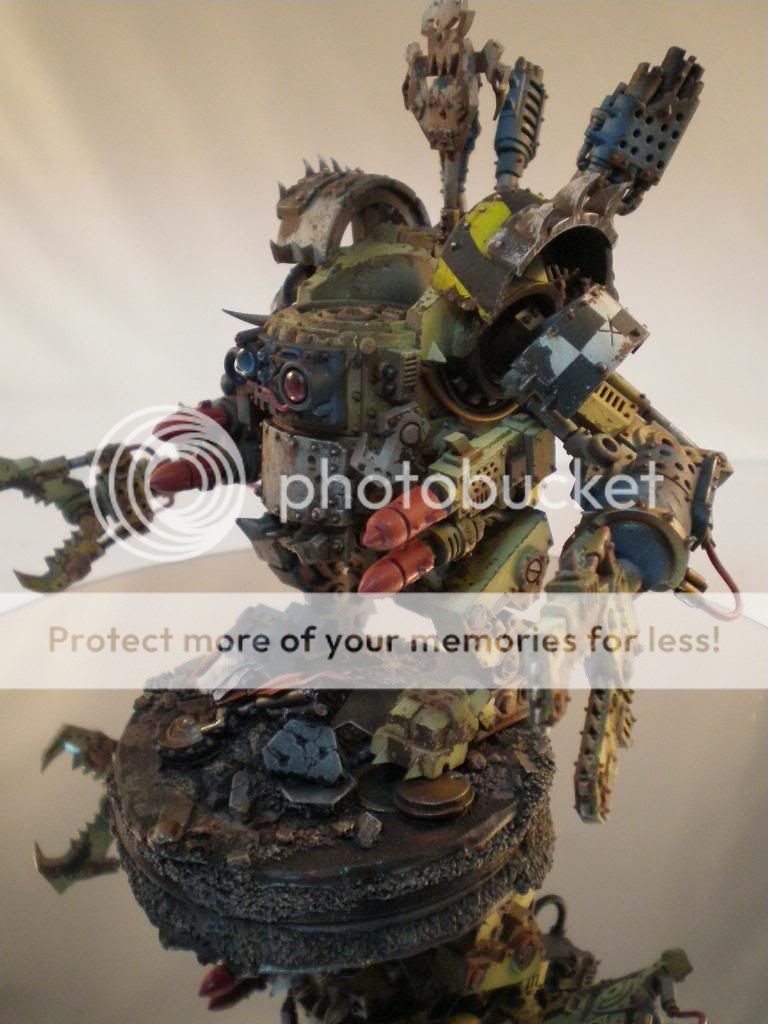
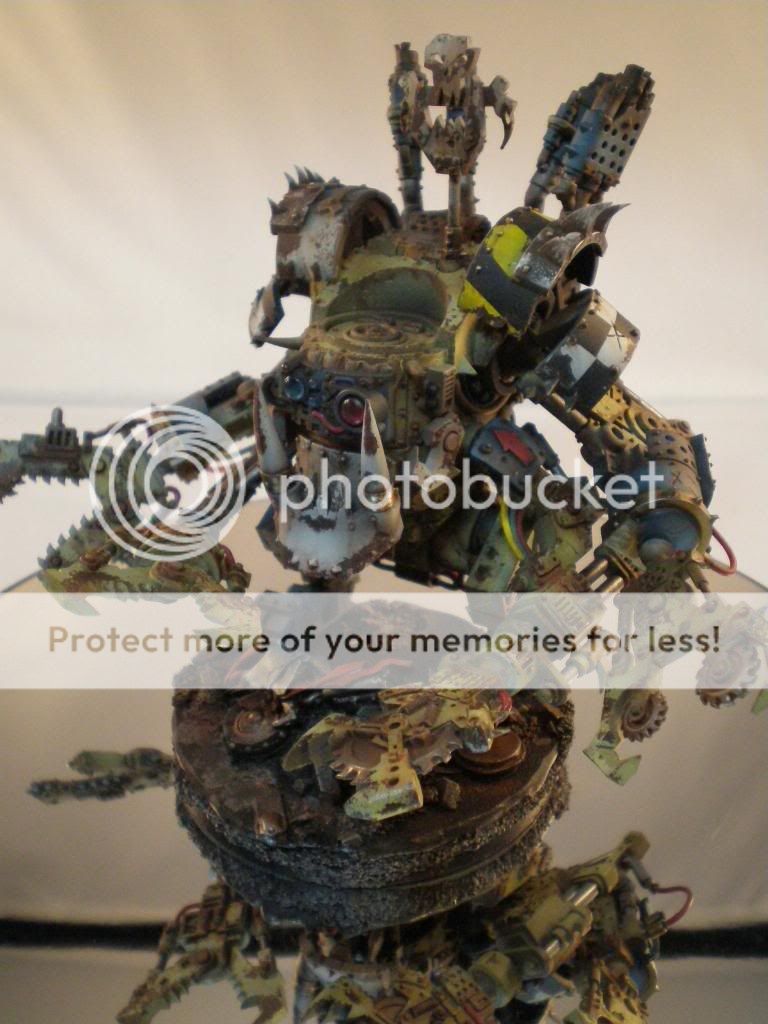
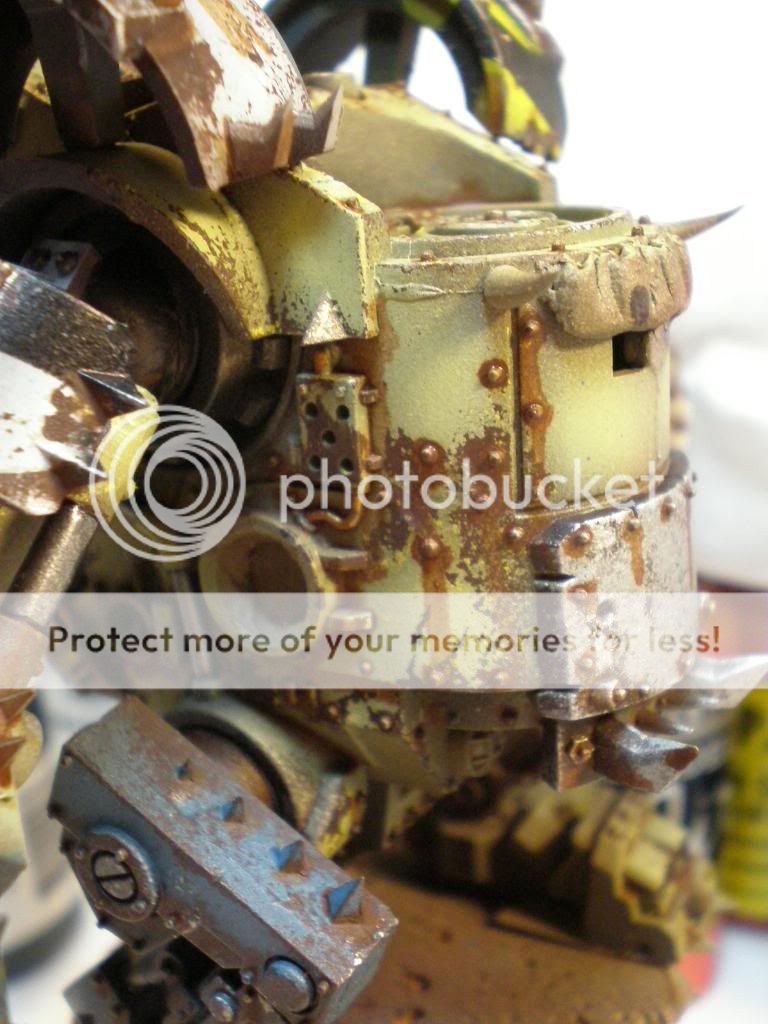
(Below) The model, fully assembled.


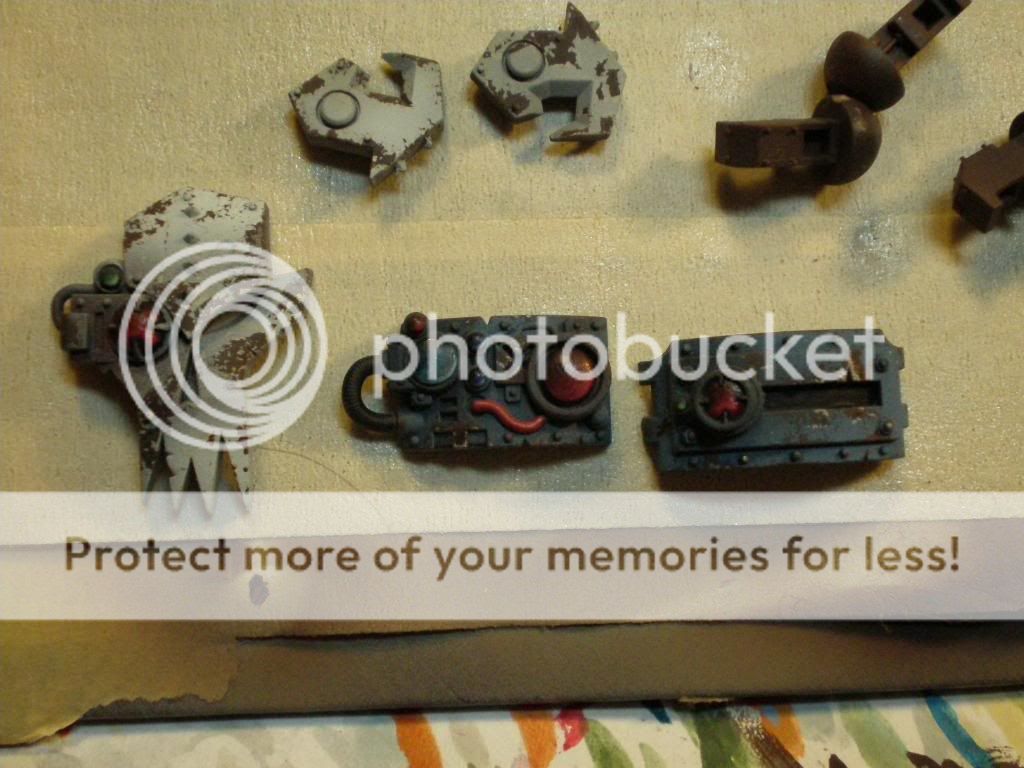
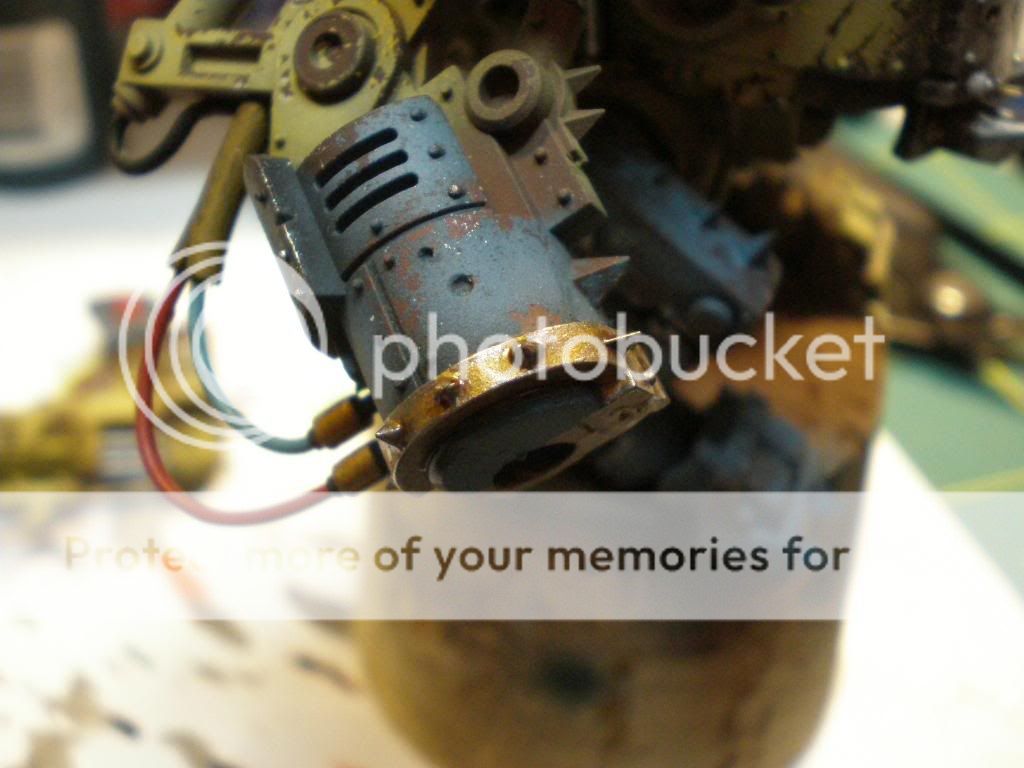
(Below) You can see the progression of the eyes.


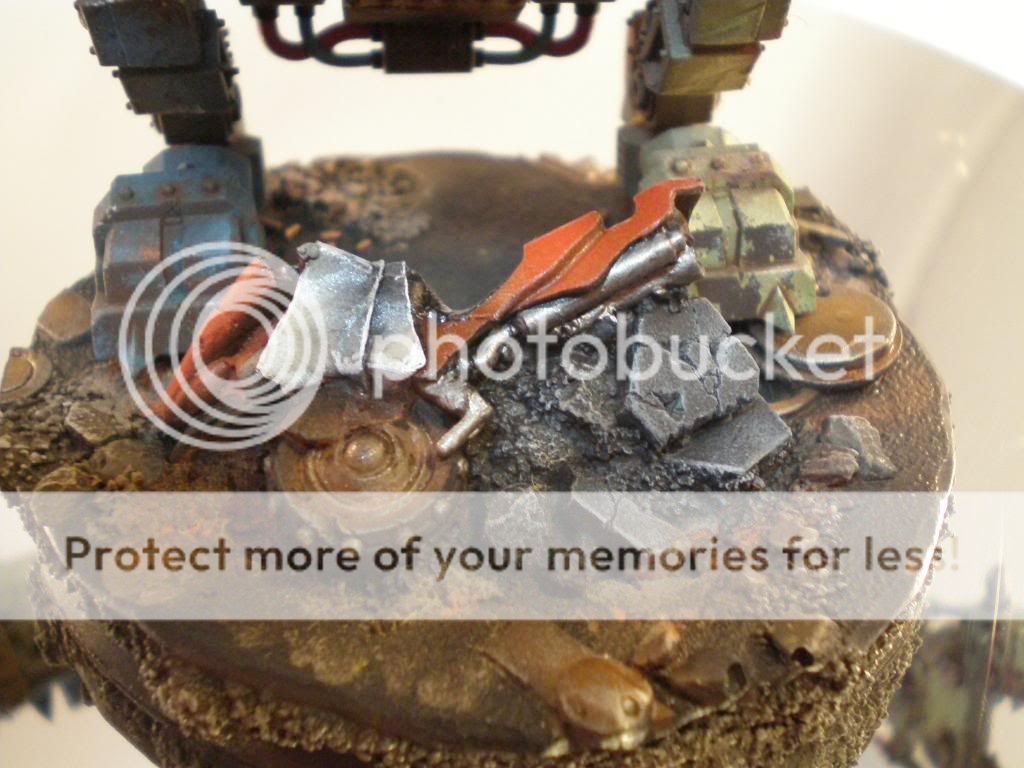
(Below) I figured this would look good in an urban waste, looking at the wreckage of a motorcycle. Orks love red, so I thought it could be walking to war (or whatever) and be distracted by the shiny red motorcycle, so the pilot stopped to see if he could get it in working order (and take it for a spin!).


(Below) Masking and painting.


(Below) Time for more weathering. First, I used a gloss coat to make sure all the enamels and other spirit-soluble solutions would flow well. I used grime streaks, which are enamel, so I'd need to use white spirits. I took the enamel and hit everywhere that rain might stretch corrosion, and just slopped it on all the rivets and exposed spots. There's no reason to be accurate here.


(Below) Now it's time for touching it up. I used a wide brush, to hit as many rivets, etc., as possible, and with one "pull down" brushstroke, make sure the streaks were going the same direction. If you use a smaller brush, you'll have to pull all the streaks down individually, which can work, but if you're not accurate the streaks' angles will differ an look unnatural.


(Below) To add a little more three-dimensionality to it, I used a selection of pigments.

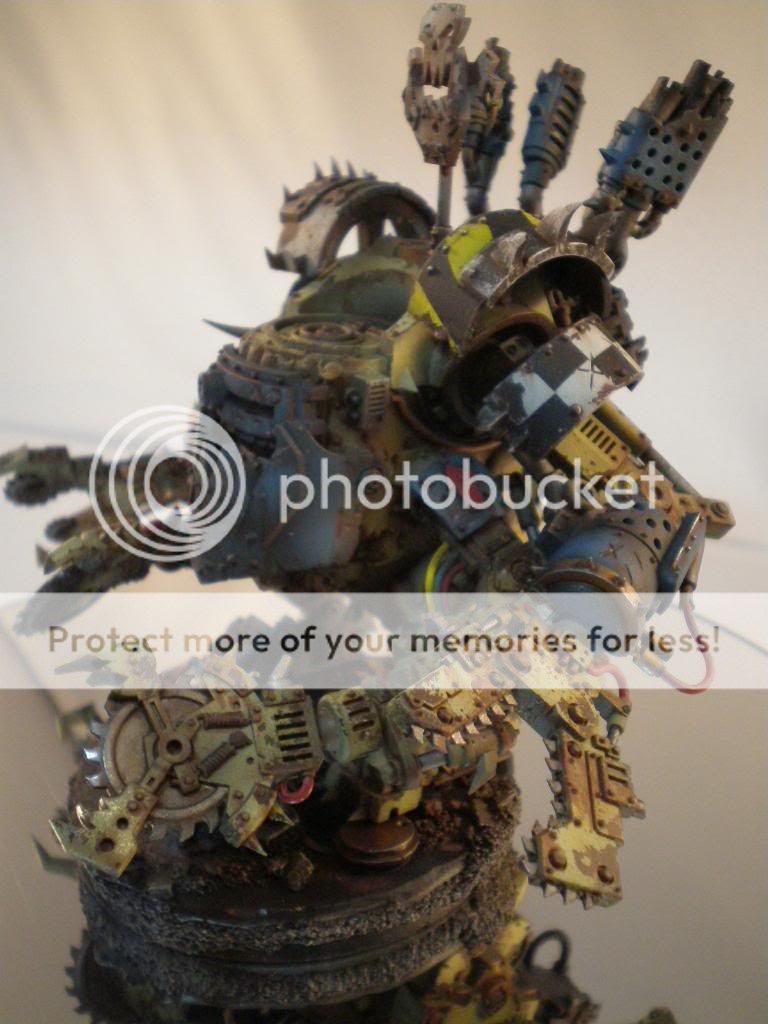
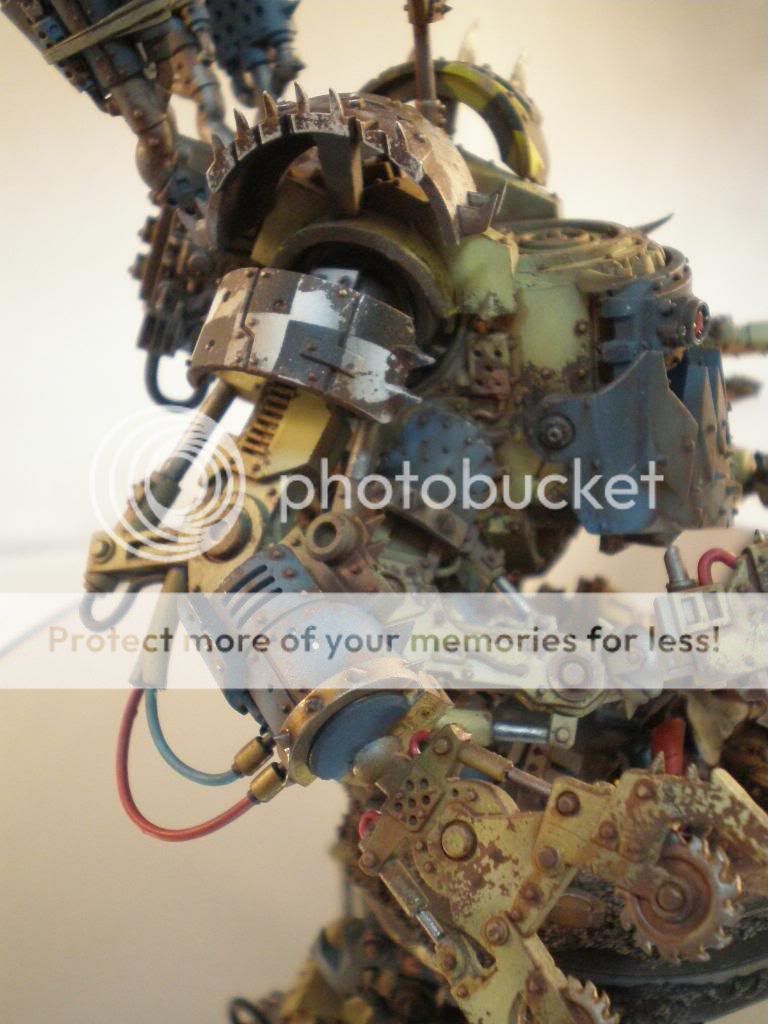
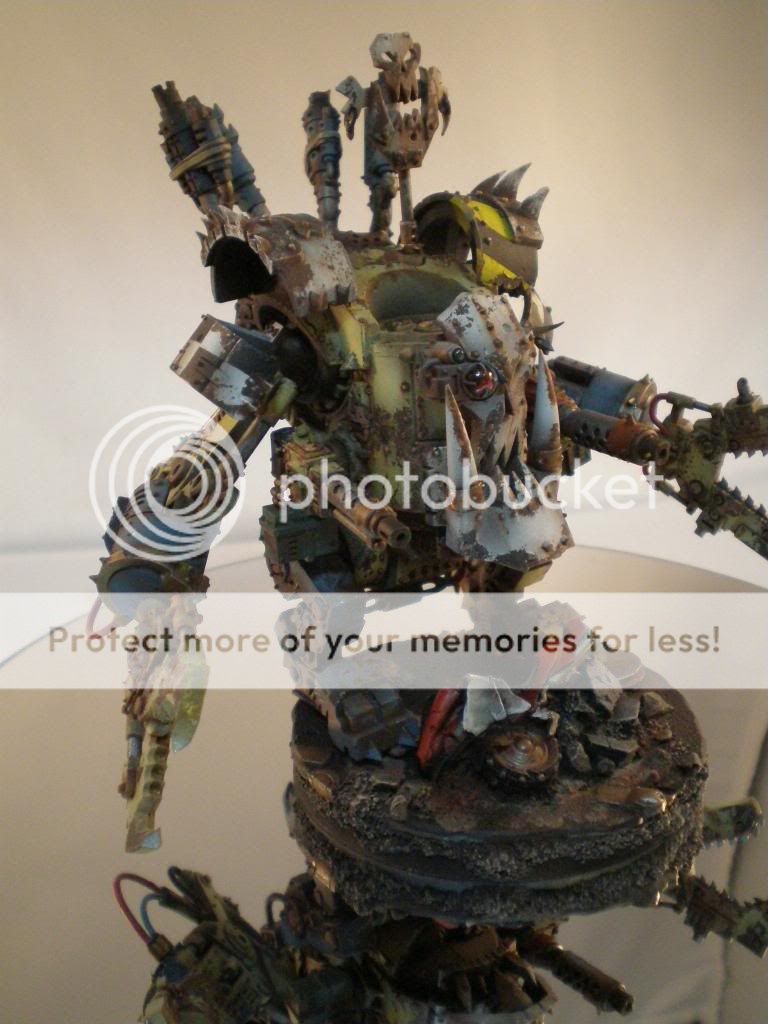
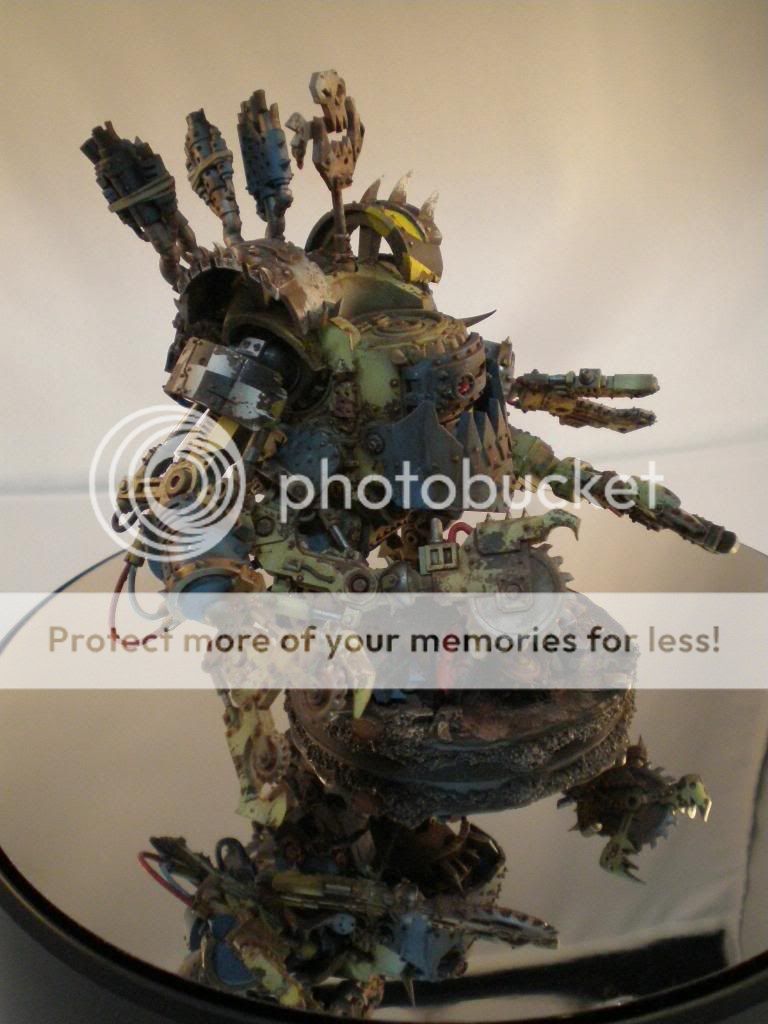
(Below) Final assembly and photo gallery. Enjoy!