Hola there, Amigos — I know it's been a long time since I rapped at ya, but things have been crazy down here in Casa Anchower.
Seriously, though, works had me on the road (or exhausted) the last couple of months, and while I have gotten some time in to paint, I haven't made time to upload anything; the painting part of all of this is first-and-foremost, but hopefully, you're enjoying this little journal of painting. Special thanks to people who left comments or sent direct messages. It really keeps me eager to maintain and update this blog.
So, getting right into things, here's the step-by-step guide about how I assembled and painted my Blood Angels Commander.
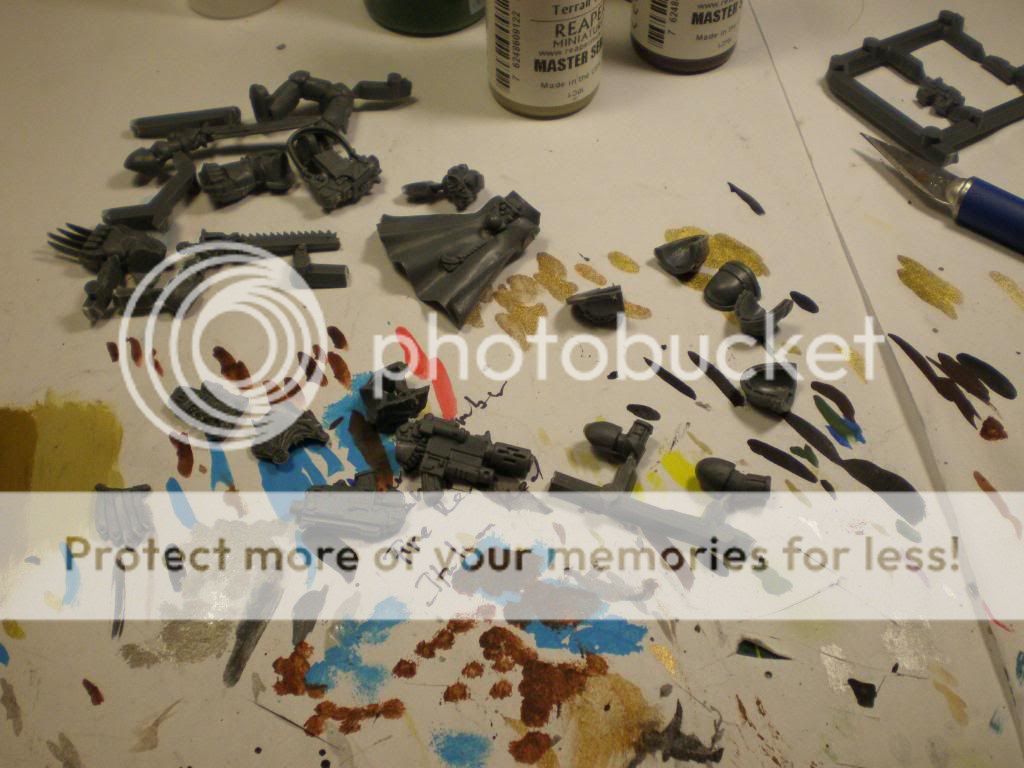
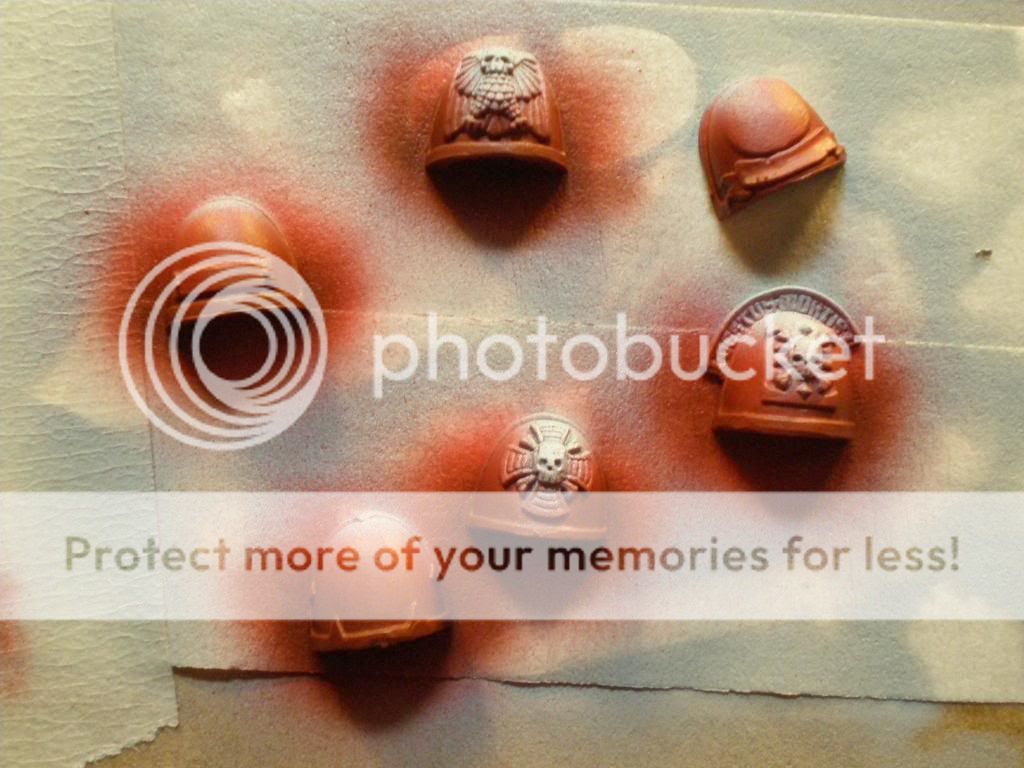
First off, I really wanted him to be fully usable, even in a tournament setting; not only was this a challenge for me to make me a better modeler (the part that I hate most), but should I even play 40k and have a demanding opponent, the miniature's weapon load-outs will actually match what the paper reads. Additionally, should I ever sell this, it will go for quite a bit more. So, I clipped and filed all the bits:
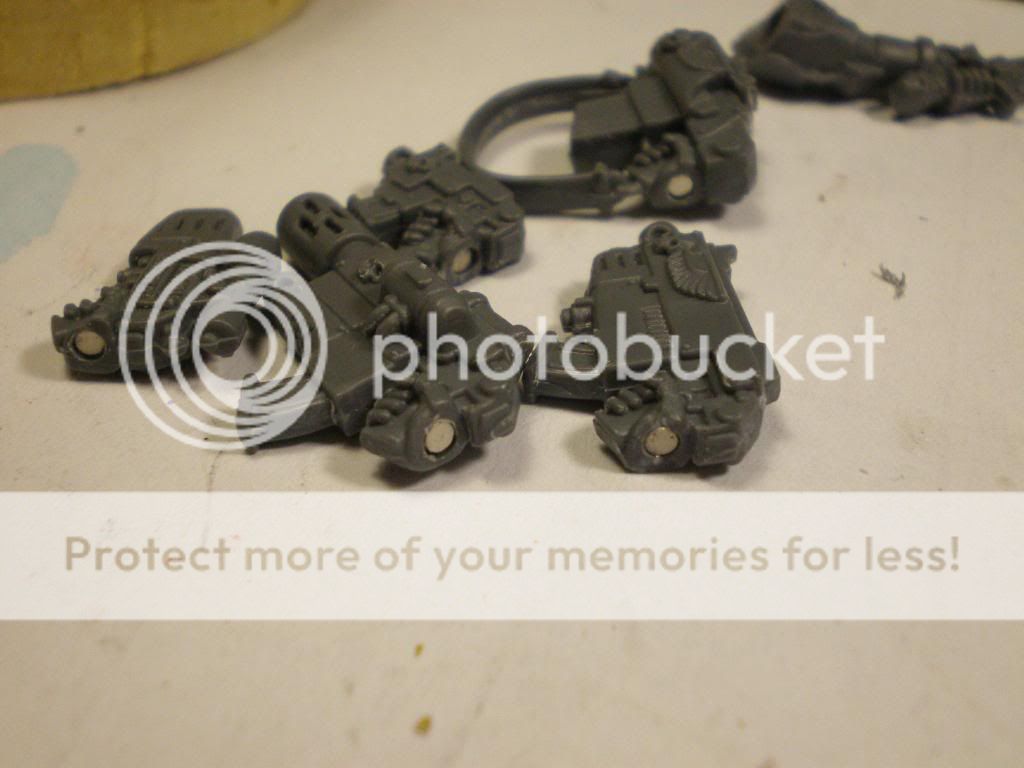
Then, I got all my magnets ready, and also made a magnet applicator, which is just a sprue with different-sized magnets glued-into holes drilled to fit the magnets perfectly. This way, I don't get glue all over my hands, and can apply the magnets into hard-to-reach places.
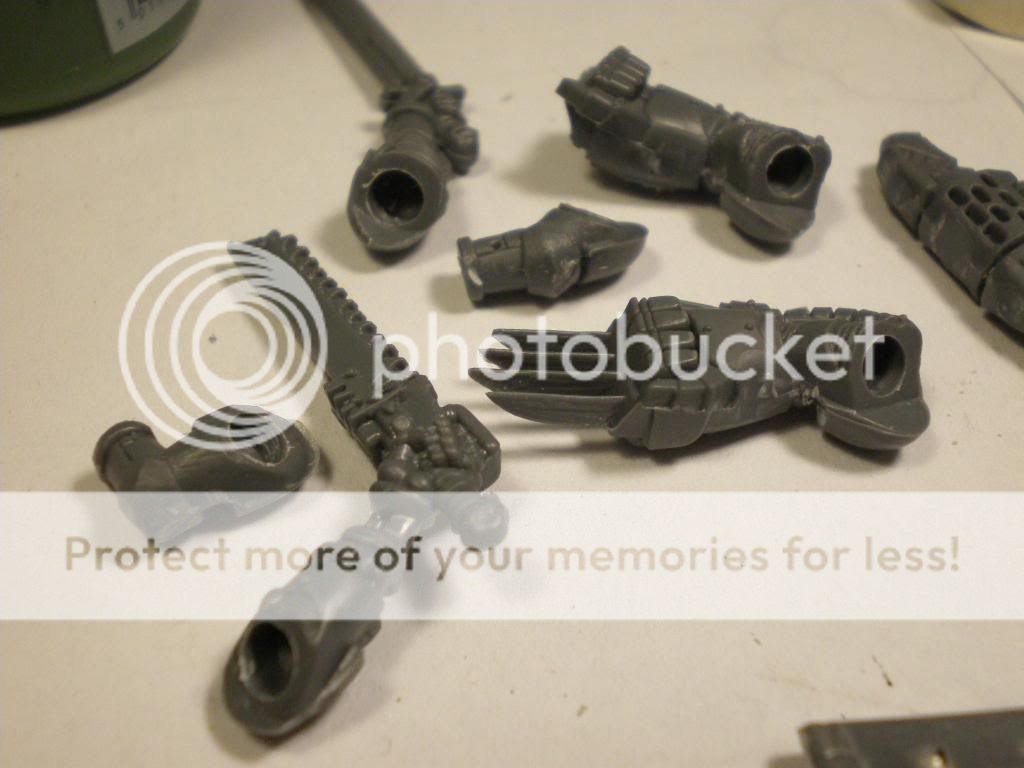
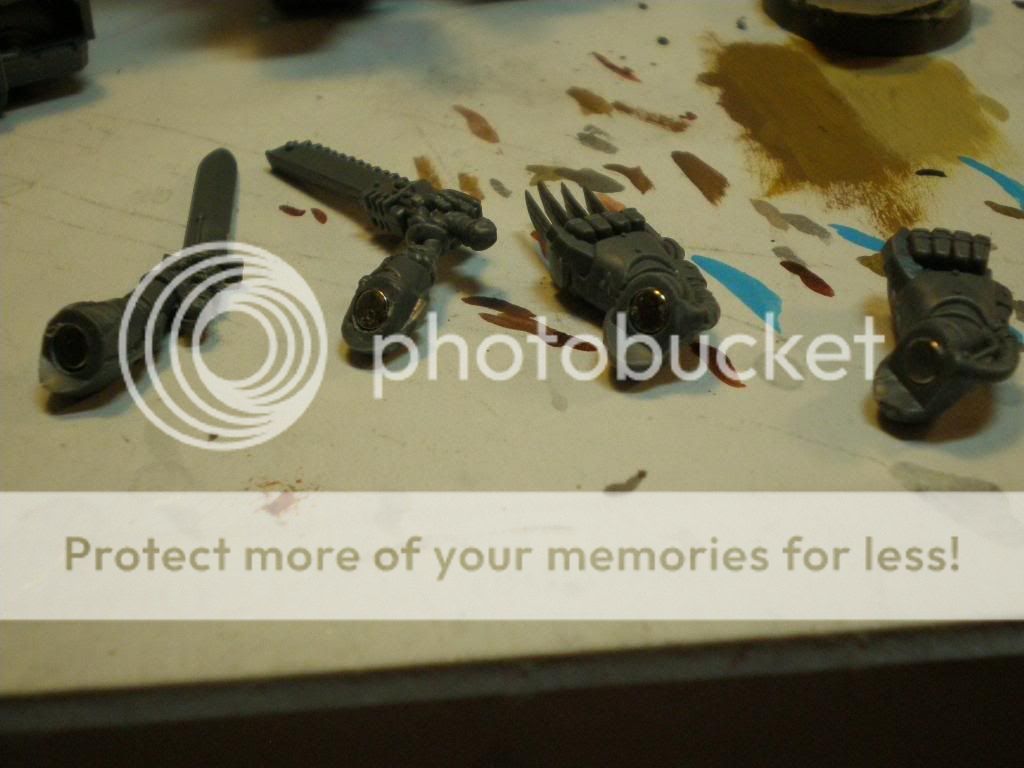
And then began the tremendous nightmare scenario of drilling and magnetizing everything.
I then went about pinning the legs so that I could mount it on the base, and attached other parts, en masse, to tape so I could hit everything at once.
And then, a quick test to things how held up.
It's really great when I get to the part I actually like about the hobby — the painting. I can't stand assembly, and I know it's a necessary evil, and am still amazed when I meet folks that say it's their favorite part of the hobby. What's even more amazing is that those people are pretty common. To each their own (but I wish that I could find someone who'd assemble, and then I could paint).
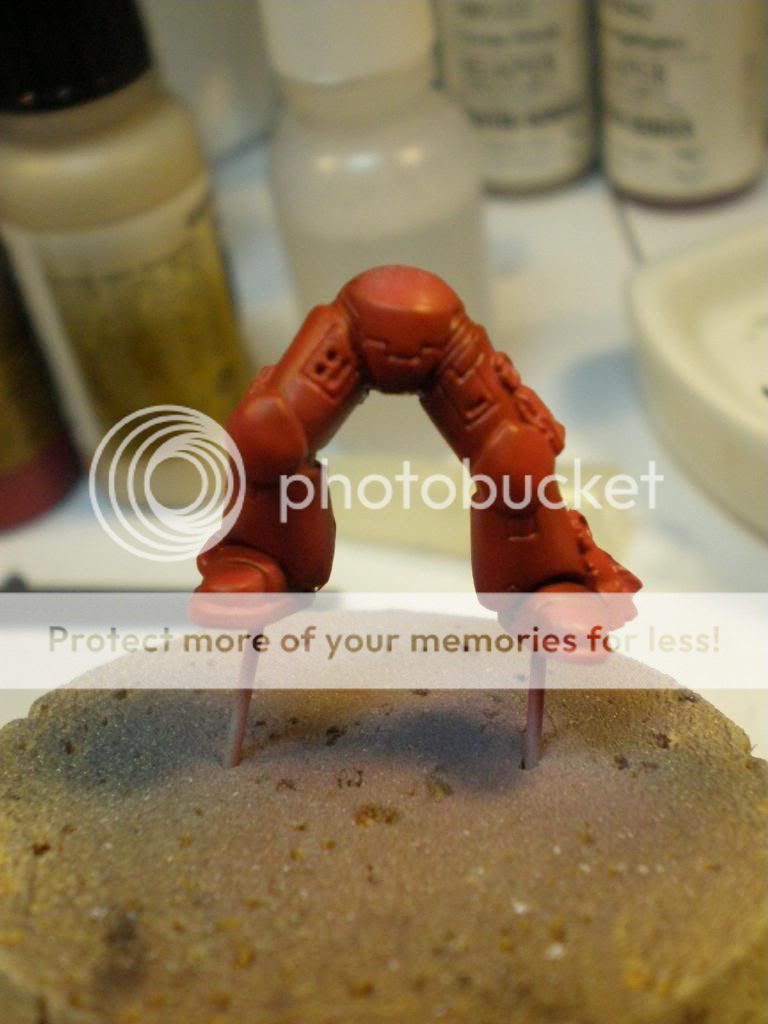
I started by hitting everything with Vallejo polyurethane grey primer, and working the highlights up. The bottom parts are darker reds, and I went all the way up to Italian Red for the final highlights. I then hit the very tops of parts with a very thin spray pattern of white, and then added orange to that. The bottoms of things were shaded with Mahogany.
Hell.
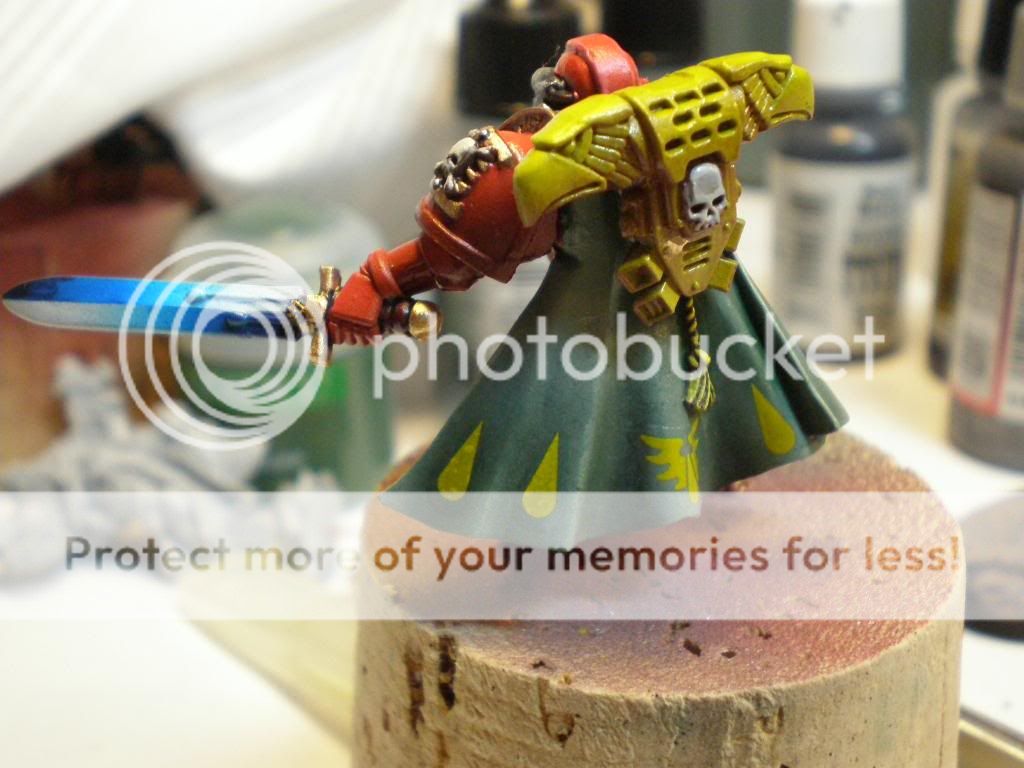
Initially, I blended the cape by hand, as seen below. However, the effect is much faster and smoother-looking if I just used an airbrush, so I went over it again with the airbrush. Here's the hand-painted version:
And here's the airbrushed version:
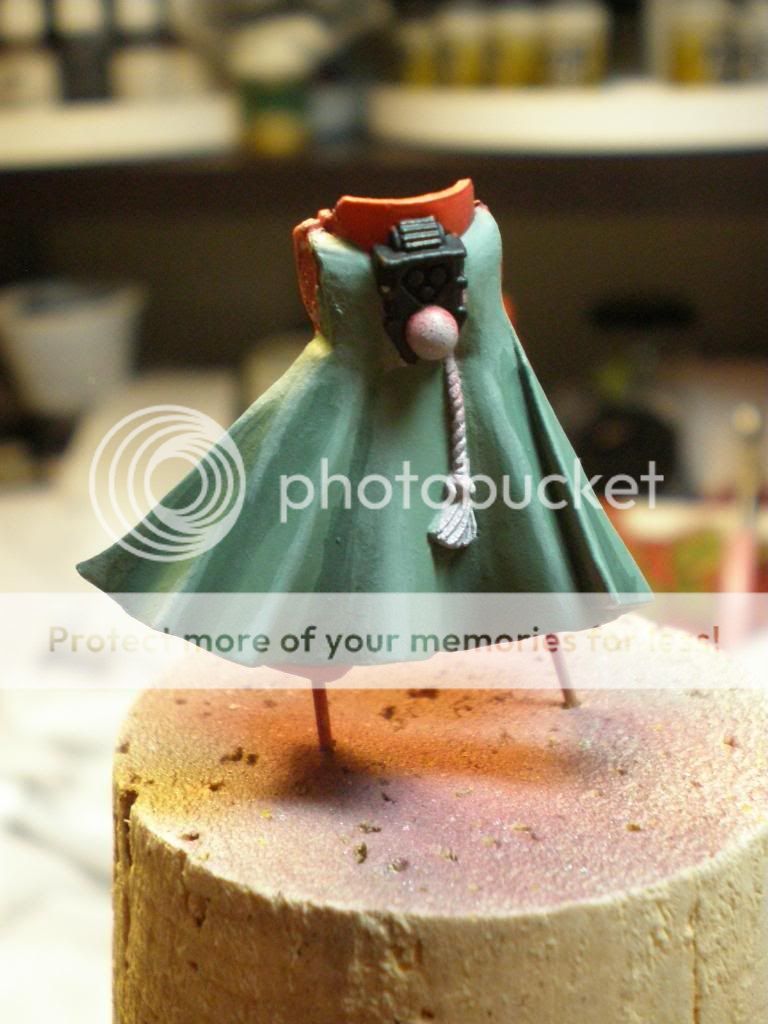
I then picked out some of the details and got the base colors down, so that I could highlight later. I used yellow for the ropes, since they're not ropes but ornamental cords. I think it looks pretty stylin'.
Hell, part 2. Magnets are the biggest racket in this hobby.
I've found that one of the most indispensable hobby tools is silly putty. Poster tack can sometimes be hard to work with; it won't pull off completely, or worse yet, pulls paint off, and is generally just not that good, unless you're looking to affix something that is fine if it's ruined (like attaching a base to a paint pot to make a holder).
Here, I've silly-puttied the arms as a mask for the weapons. It works perfectly, and I got five "eggs" of the stuff off amazon really cheap. It's totally reusable, and don't actually stick to anything, which is the best part.
A little more shading down to the backpack, and some more details picked out on the head and torso.
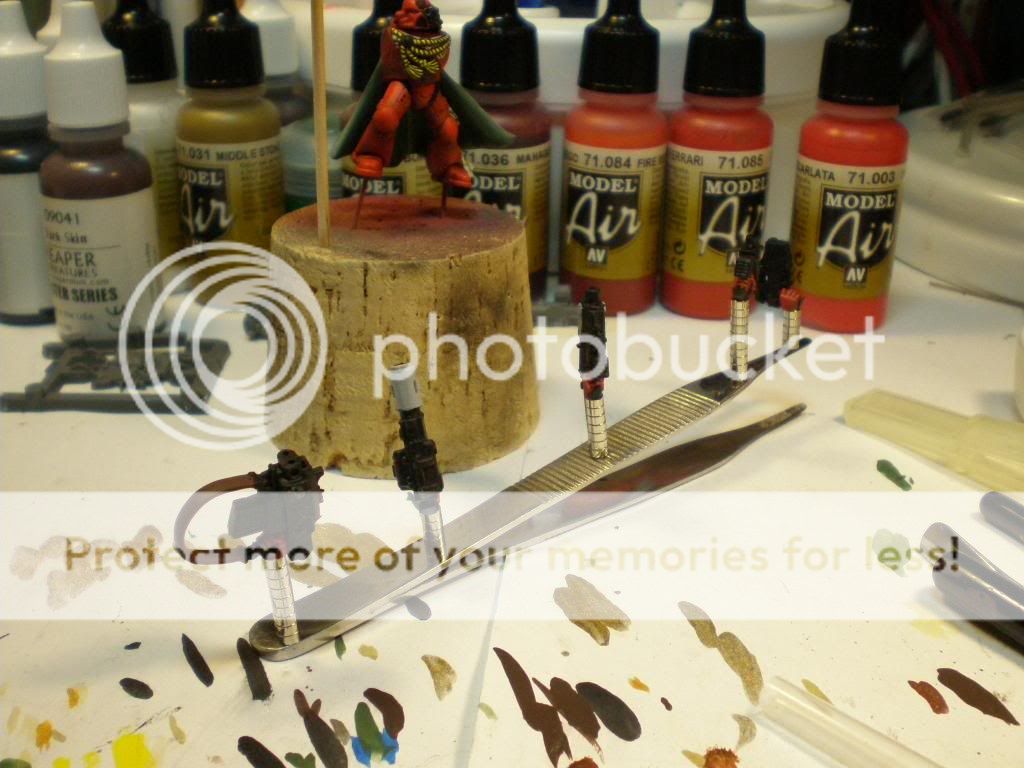
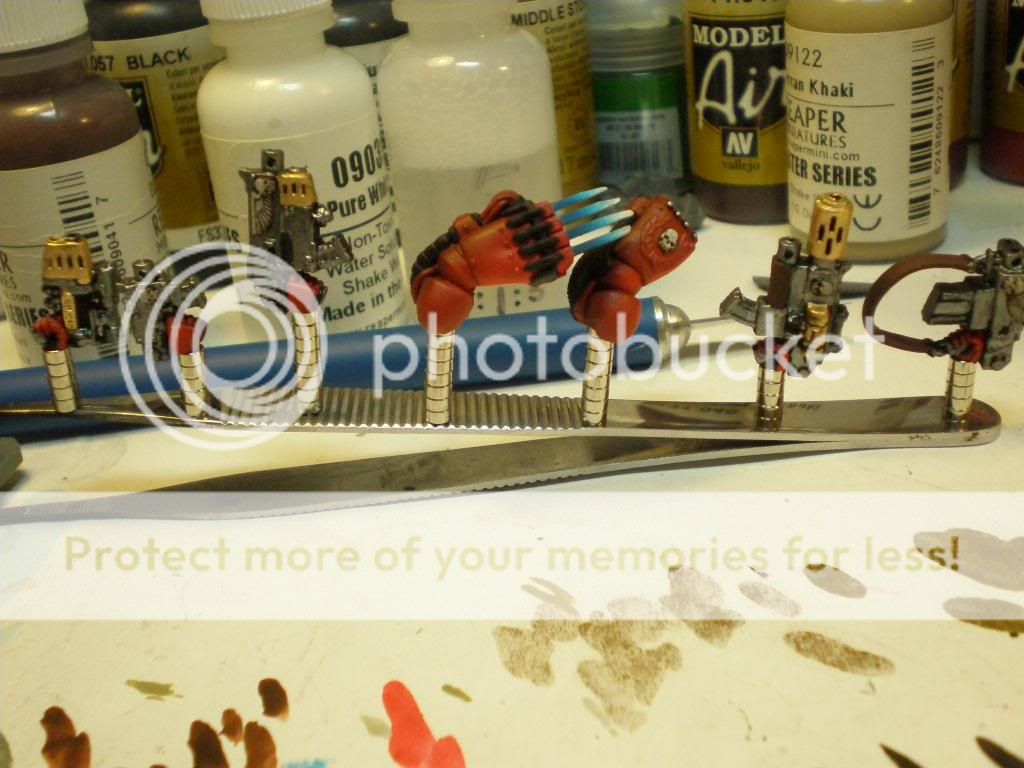
Painting up the various guns and weapon arms; retrospectively, I should have put more time into getting some good detail on the guns, but as they were just going to be oil-washed, I decided against going too crazy with the details.
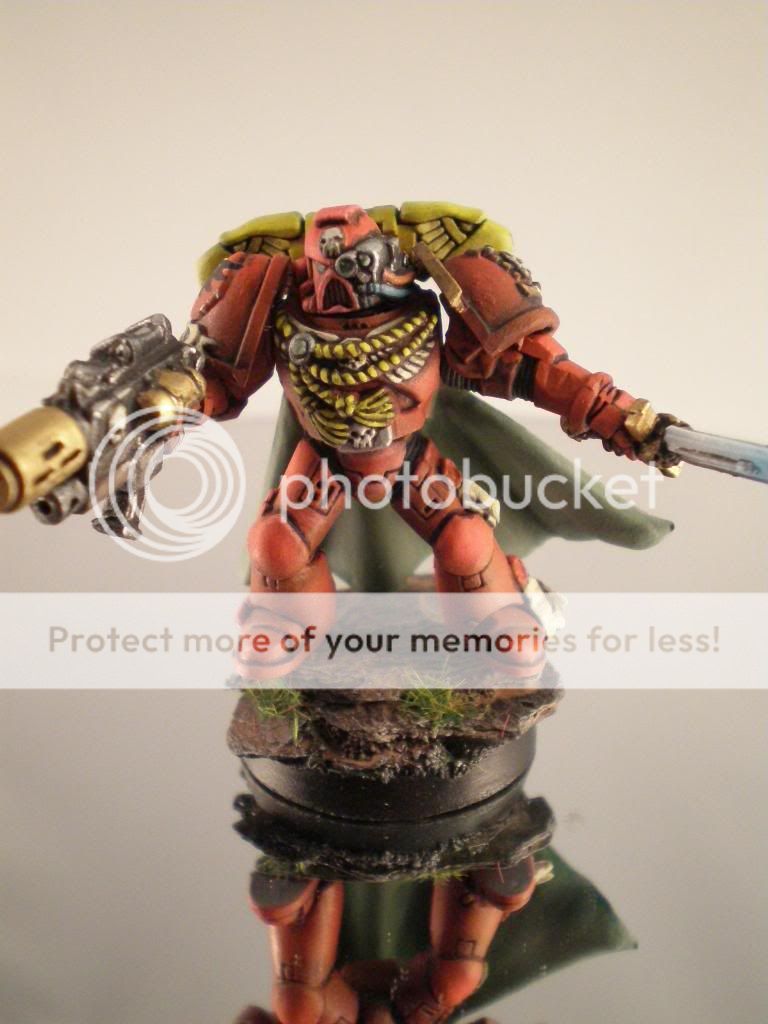
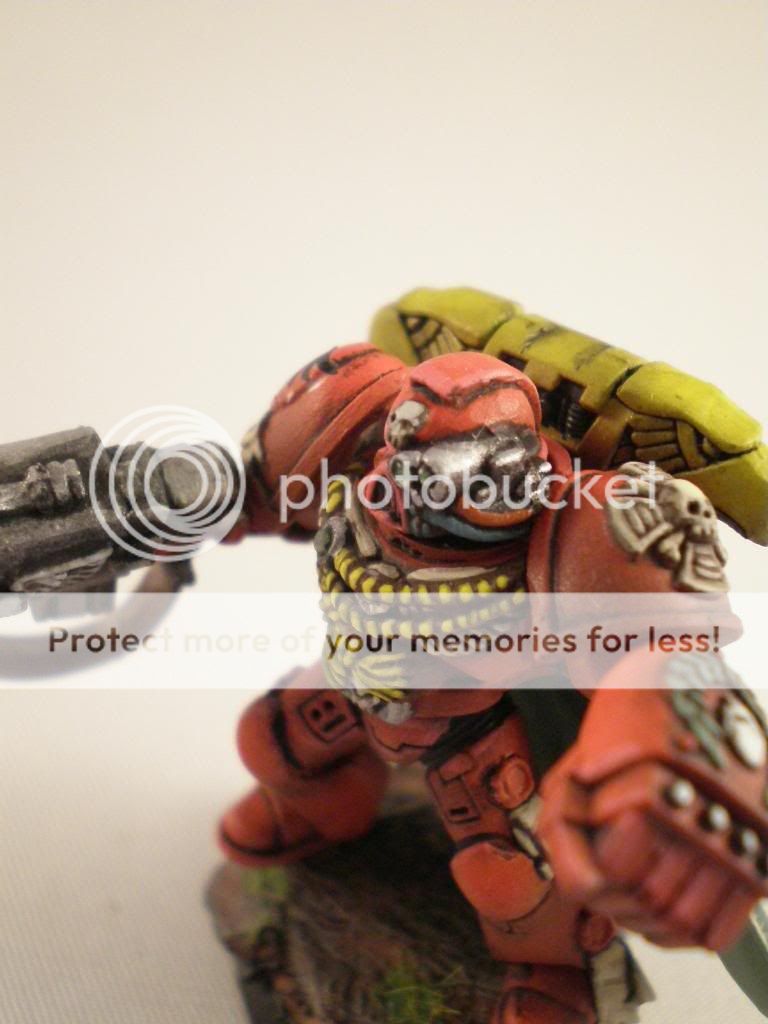
Some final effects; I did the "jewel" effect on the eyes, lightening them the further it got to the bottom-right of the gem/eye, and putting a small dot in the upper-left.
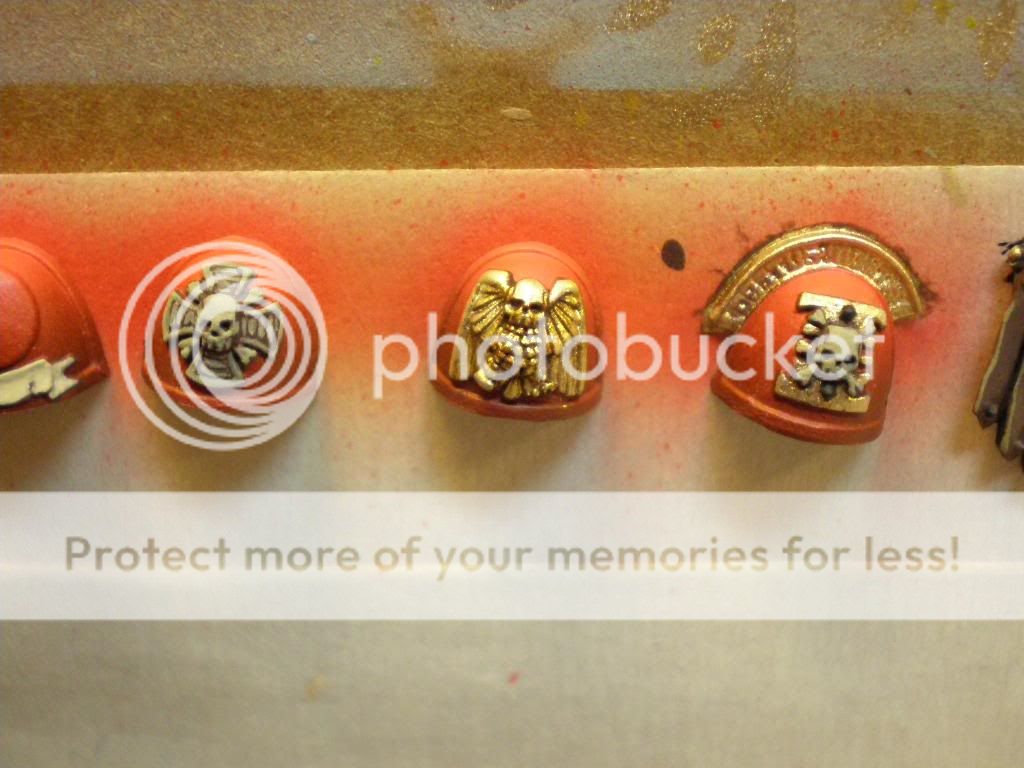
I used Vallejo Liquid Gold for the metal parts of this model, and here are the pads pre-shading; I generally will work the gaps with some sepia or devlan mud, thinned with flow improver and glazing medium, so that it can actually be painted-on.
Finished and assembled, with the arm in place to see how it stacks up with the backpack on; I remember these used to be finicky back in the Rogue Trader days with the plastic Space Marines set. Naturally, things have gotten better.
Also, interestingly, the silvering on the decals (bad) didn't show up until the final product. Now, it's visible only upon close scrutiny, or at specific angles.
A close-up of the power fist; regardless of its stats, it still brings me back to the olden days of RT.
The arms have been gloss-coated, ready for the oil wash. The base that I used is also visible in the upper right part of the picture.
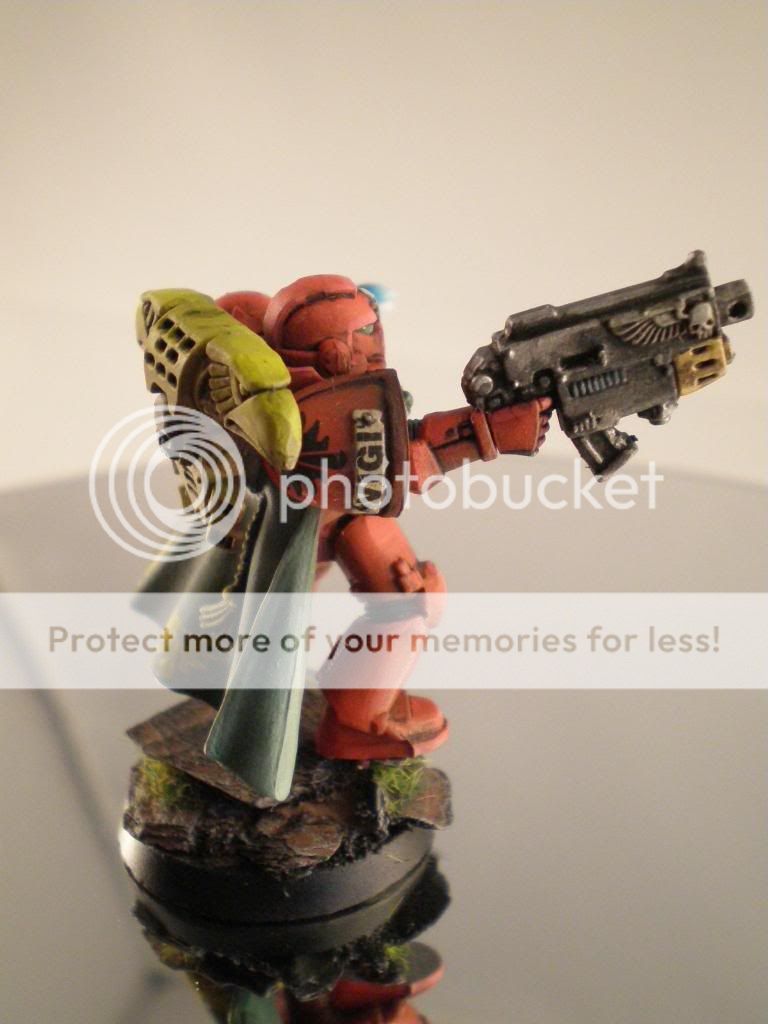
Here are some pictures of the finished product. Naturally, it'd take hours to get every combination of gun, gun arm and left CC weapon arm, so I just randomly chose some poses.