Showing posts with label Space Marines. Show all posts

Saturday, February 23, 2019

Snipers in black!

While not technically featured much in Kill Team (ironically), snipers have become a favorite of my space marines in standard 40K games. They're not terribly effective but I think they're a cool presence on the table, one of the few units who really make terrain a factor. I decided to expand the Scouts and Reivers I'm painting for my Raven Guard Kill Team into the scout snipers I had laying around. They were so much fun to paint they got finished fist! Adding in a couple of Vindicare assassins for good measure.


The first challenge to consider is how to represent light and shading on black armor / black clothing. There are several good painting articles online that go into options on how to avoid blacks looking too much like 'grey'. What I chose to do is directional highlight with the airbrush Vallejo's German Grey (which has a blue-ish tint) over the polyurethane black primer. Painting with the airbrush almost entirely from 90 degrees above the model's head, so to speak, so that the light source appears coming from the top only. After this I would highlight the edges and highpoints with a German Grey glaze (adding water to a consistency halfway between a wash and your straight paint) on the brush. Once the glazed areas dried, I'd go back over a smaller highlight area with straight German Grey.

Then the fun part part. For the Raven Guard scouts, I applied several thin layers of a purple ink wash to the figures, until getting the purplish black tone hue I was after. For the Assassins, I did the same except with a blue ink wash. Applying a colored wash to the black will help in the final appearance and avoid the "grey" black issue. While it's difficult to tell from the final products below, it is much easier to see when doing a side-by-side comparison: I will have a more in depth step-by-step using this black technique on the Raven Guard kill team proper.


Using a combination of colored ink washes/glazes and the black oil wash technique, you can achieve highlights that really pop and retain a deep, rich black tone for the shadows.


The Sniper Scouts Camelioline Cloaks gave me an opportunity to try out some basic camo patterns. I wanted a dark, subtle pattern. Using the Badger Sotar 2020 was good for painting small, soft-edged lines of alternating dark green, medium green, and light green camo lines. After applying some Citadel Shade paints and the black oil wash, the final result of the camo became almost too subtle, but I think it works for Raven Guard anyway!


Raven Guard is one of the original Astartes chapters, and is a popular space marine choice for 8th edition 40K given their very useful chapter tactic of being hard to shoot at. Which makes it all the more curious of a choice on GW's part to not produce transfer decals for their chapter insignia - like they do with basically everyone else. In order to get official transfers, you need to purchase from Forge World, which can cost $30 or more for a single sheet! Instead of going down that route, I've been wanting to try home-made transfer sheets (the same problem goes for my still unfinished Imperial Knights of House Griffith - out-of-print official limited edition Griffith decal sheets go for over $120 a sheet on ebay!) . 


The home-printed decals were a success! To try this at home, you'll want to have a laser printer. The blank transfer printer sheets are typically only for laser printers. I have a cheap $50 black and white laser printer and it works just fine. Blank printable transfer sheets comes in packs of 20 sheets, and can be either transparent or white. The important thing to know, even if you have a color printer, is that you can't print white ink on home printers (I'm assuming you don't own a thousand dollar industrial printer that is capable of this, but if you do, ignore this!).

To solve this problem, when you want to print a white decal - such as the Raven Guard insignia - you'll actually print a black "outline" on a white sheet. Then, cut out the shape with a hobby knife inside the edges of the black outline. When you then transfer the decal onto the miniature, using Micro-sol as normal, you'll have a very slight black outline on the model. This is not noticeable when going on to  a primarily black model, such as Raven Guard, but you'll want to paint over that edge anyway. use shading layers and even weathering pigments on top of the decal to make it seamless.

I found the Raven Guard insignia on a google search, there are several print-ready versions out there.  You can do this technique with any other pattern or graphic you wish to make into a home made transfer as well! When I get around to my Word Bearers, they are going to be covered with heretical inscriptions - printing those on home made transfer sheets will save a ton of time and look much better than free hand.


Monday, June 18, 2018

Roboute and the Ultramarines

The Primarch of the Ultramarines has arrived in the disputed sector to provide the 'Fists with some much needed backup against the Death Guard incursion. I ended up with two Roboute Guilliman models, so decided give this one to my friend Kevin who's been playing Ultramarines since the 80's. I decided to paint them both simultaneously; the other version without the helmet is not pictured here but looks otherwise identical.

The detailed gold gilding on the outer suit of armor was quite an impressive bit of sculpting, and it ended up contrasting well against the dark blue. For expediency, I chose not to use the alcohol-based metal paints, we'll save that for another time (see HB's tutorial on Dante for shading alcohol metals). There's three different values of gold here, which come together bright and shining after being set in the black oil wash. The Hot Flaming Fire Sword of Fiery Flames took on a life of its own, done primarily with several thin airbrush gradient coats, and patience.  I left the detailed base purposely muted and drab in color - the model comes with two flaming torches near the ground, which I left off to keep the color attention on the model itself. Finally, there's a variety of varnishes going on here (hard to tell in the photo), matte for the base and the flames, satin for the armor, and selected gloss for higher points of gold.
Placed next to a squad of filthy Death Guard, Guilliman looks like the golden god he's supposed to be!


Thursday, April 19, 2018

I Find You in Contempt!

... might not be the most terrifying battle cry, but the Fists' CONTEMPTOR Dreadnought reinforces the battle line just in time. This is as close as the Marines will get to having an ED-209 on the battlefield. The right arm is magnetized for either the Kheres-pattern Assault Cannon or the Multi-Melta. A few new touches on this beast include additional decals - the skull on the right knee, the VII 7th Chapter Imperial Fist legion markings on the shoulders and left knee. Also experimented with colored barrel-burn on the heavy weapons - next time I will do this with an airbrush to get a finer gradient. Finally, some custom letters / wording on the front breastplate banner. Just gibberish really.... or IS IT?

"Please put down your weapon. You have 20 seconds to comply. "


Monday, August 5, 2013

Blood Angels Space Marine Commander - WIP Tutorial and Finished Product

Hola there, Amigos — I know it's been a long time since I rapped at ya, but things have been crazy down here in Casa Anchower.

Seriously, though, works had me on the road (or exhausted) the last couple of months, and while I have gotten some time in to paint, I haven't made time to upload anything; the painting part of all of this is first-and-foremost, but hopefully, you're enjoying this little journal of painting. Special thanks to people who left comments or sent direct messages. It really keeps me eager to maintain and update this blog.

So, getting right into things, here's the step-by-step guide about how I assembled and painted my Blood Angels Commander.

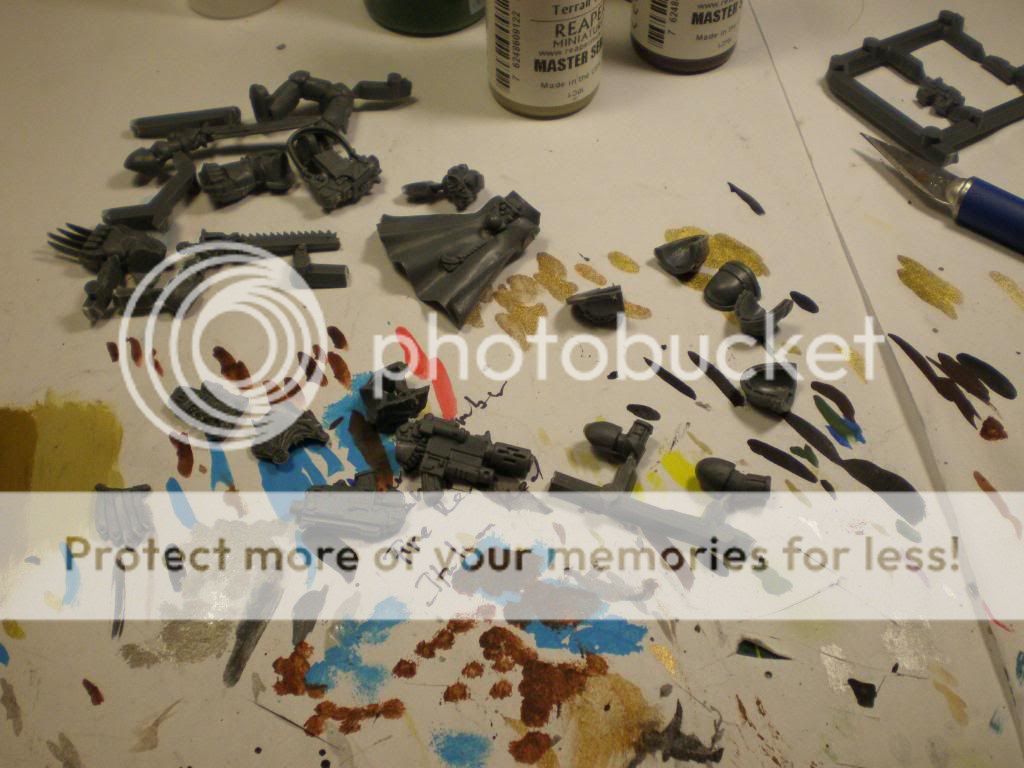
First off, I really wanted him to be fully usable, even in a tournament setting; not only was this a challenge for me to make me a better modeler (the part that I hate most), but should I even play 40k and have a demanding opponent, the miniature's weapon load-outs will actually match what the paper reads.  Additionally, should I ever sell this, it will go for quite a bit more. So, I clipped and filed all the bits:


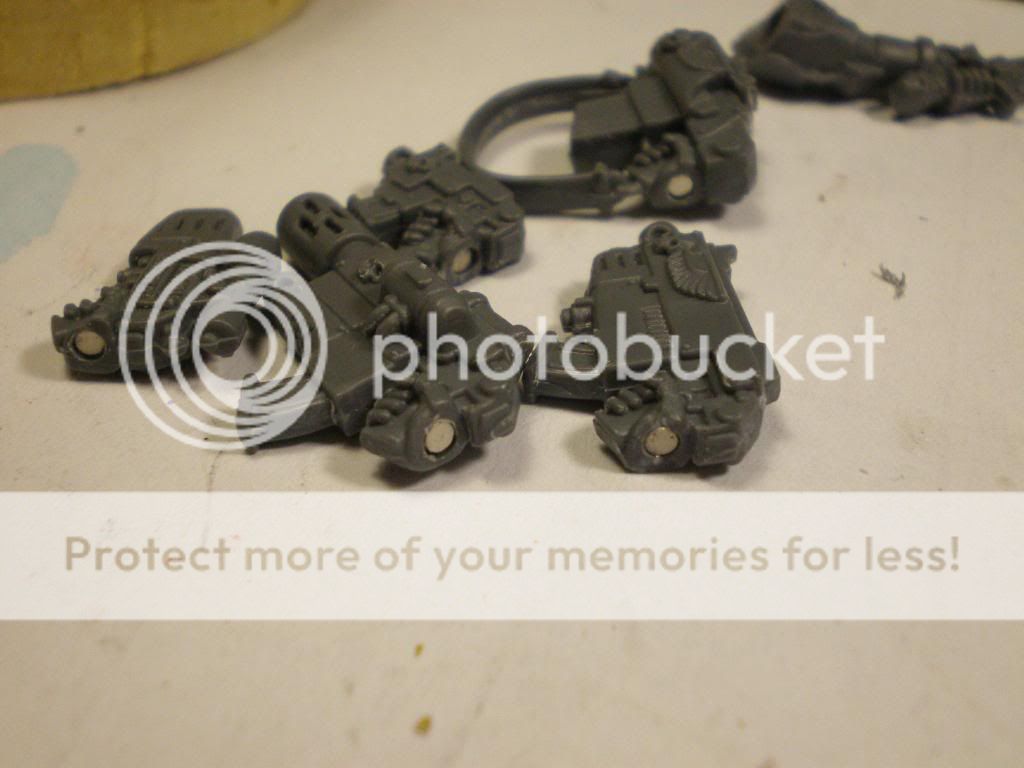
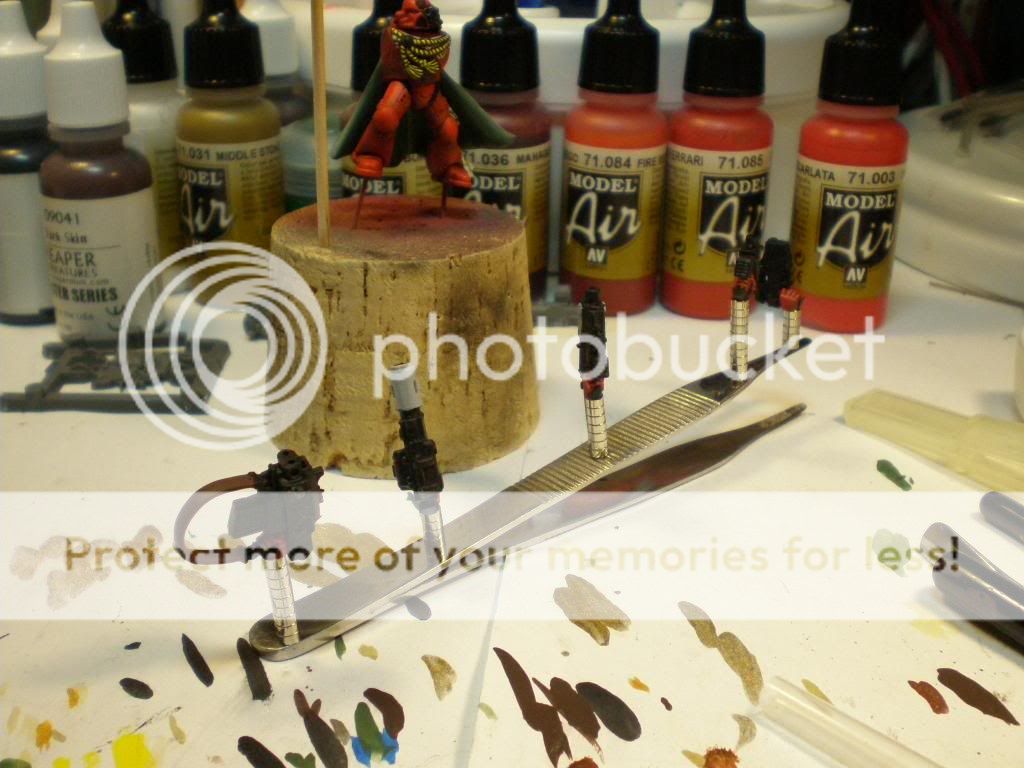
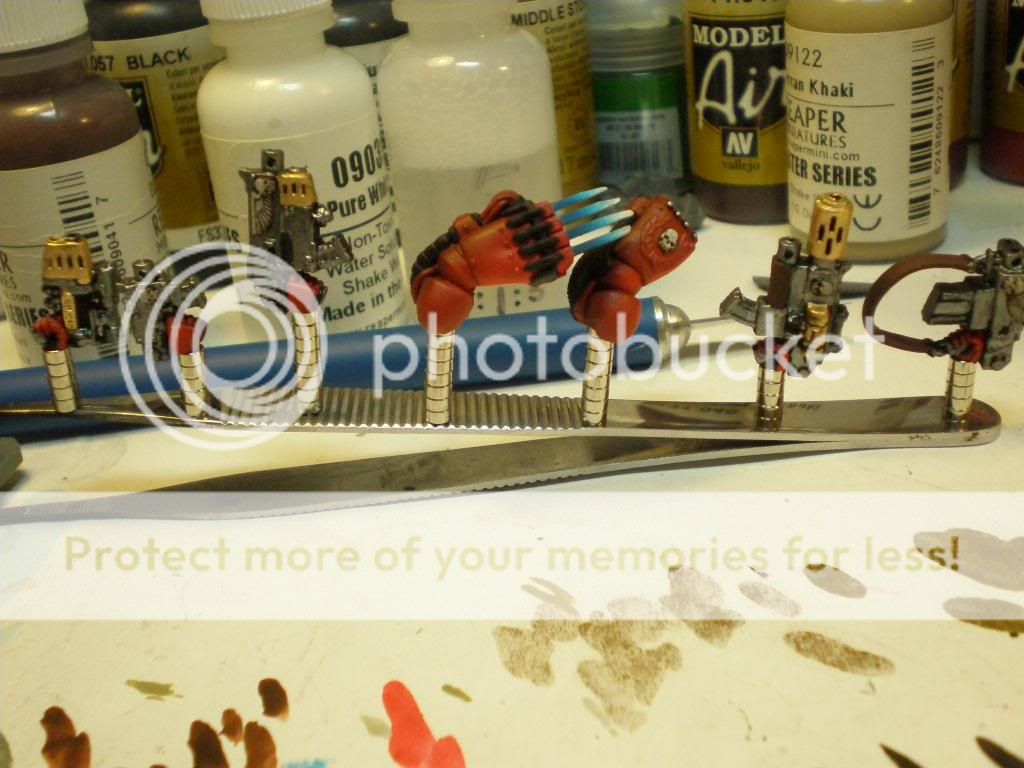
Then, I got all my magnets ready, and also made a magnet applicator, which is just a sprue with different-sized magnets glued-into holes drilled to fit the magnets perfectly. This way, I don't get glue all over my hands, and can apply the magnets into hard-to-reach places.


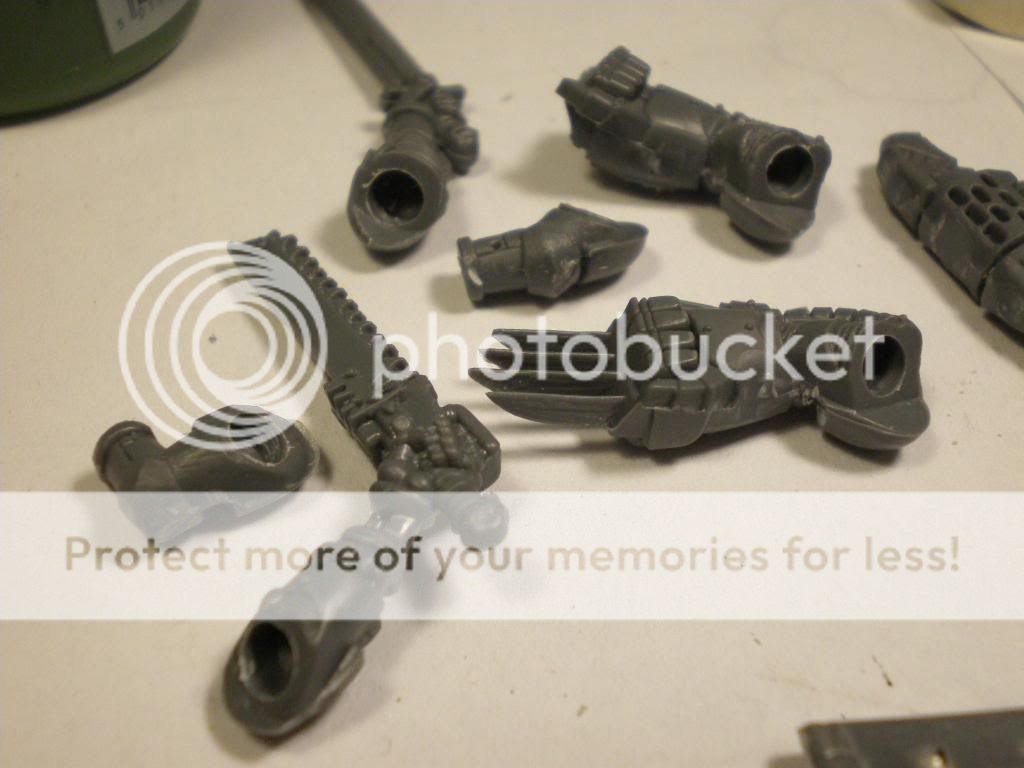
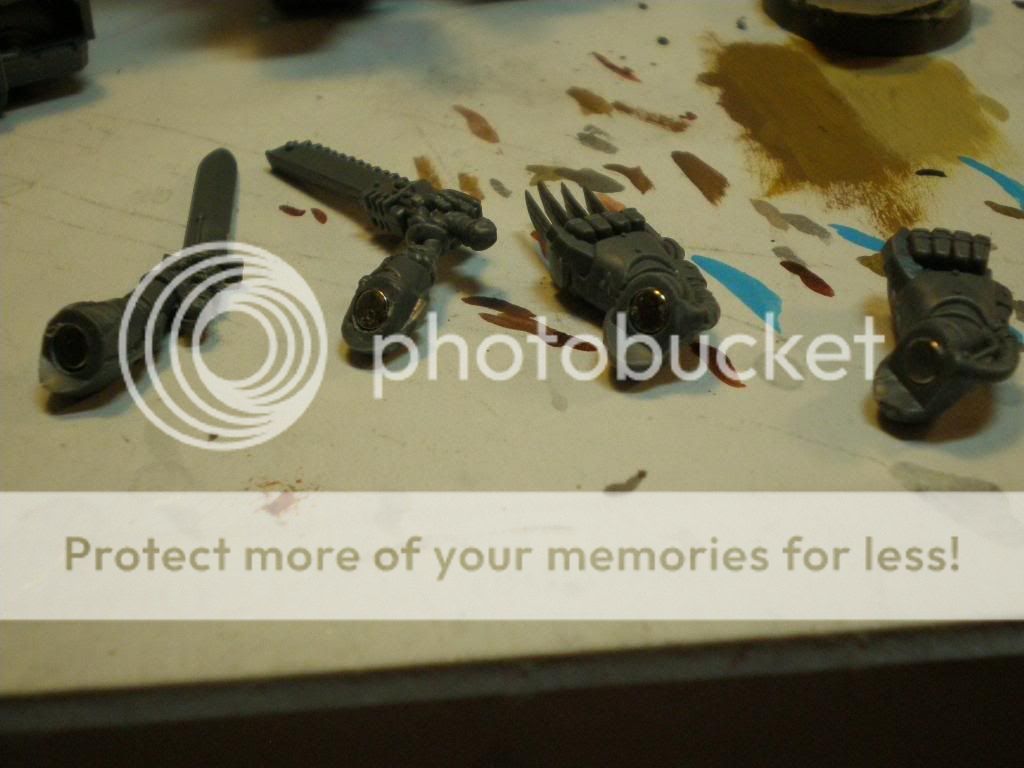
And then began the tremendous nightmare scenario of drilling and magnetizing everything.


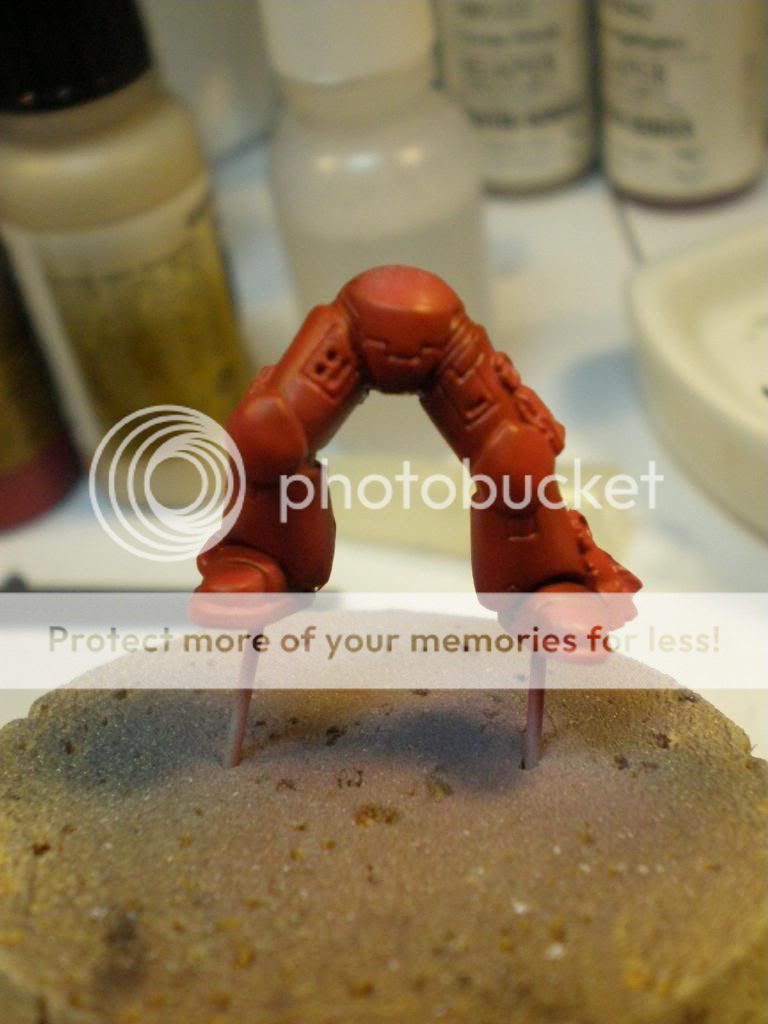
I then went about pinning the legs so that I could mount it on the base, and attached other parts, en masse, to tape so I could hit everything at once.


And then, a quick test to things how held up.


It's really great when I get to the part I actually like about the hobby — the painting.  I can't stand assembly, and I know it's a necessary evil, and am still amazed when I meet folks that say it's their favorite part of the hobby.  What's even more amazing is that those people are pretty common. To each their own (but I wish that I could find someone who'd assemble, and then I could paint).


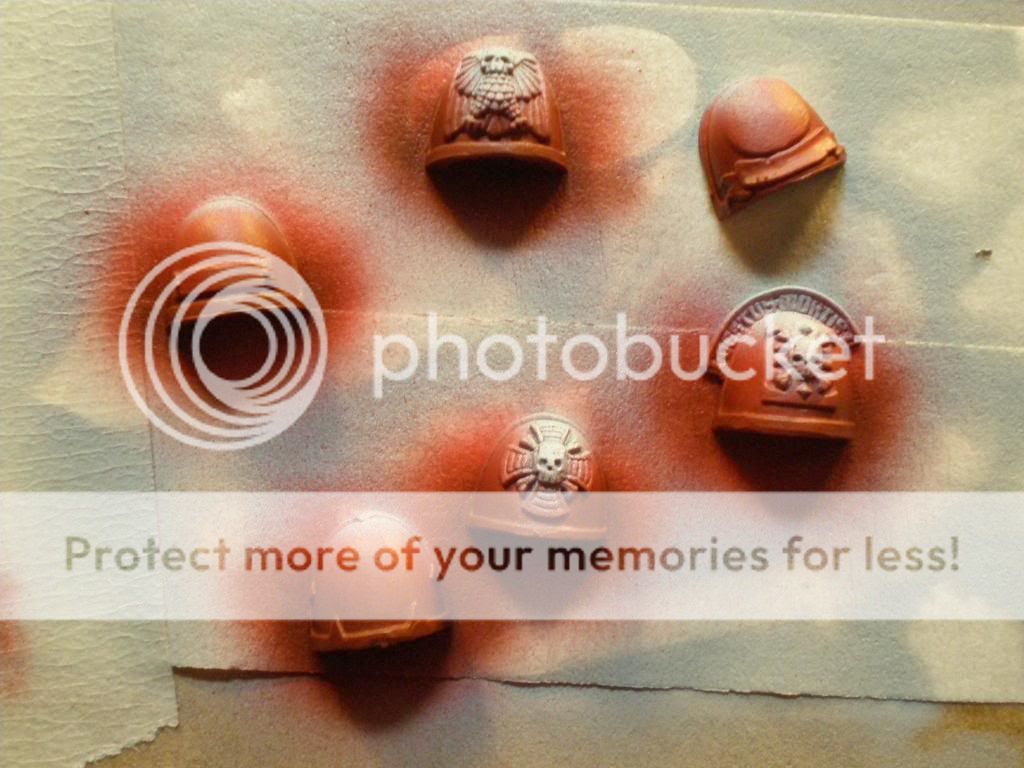
I started by hitting everything with Vallejo polyurethane grey primer, and working the highlights up.  The bottom parts are darker reds, and I went all the way up to Italian Red for the final highlights. I then hit the very tops of parts with a very thin spray pattern of white, and then added orange to that.  The bottoms of things were shaded with Mahogany.


Hell.


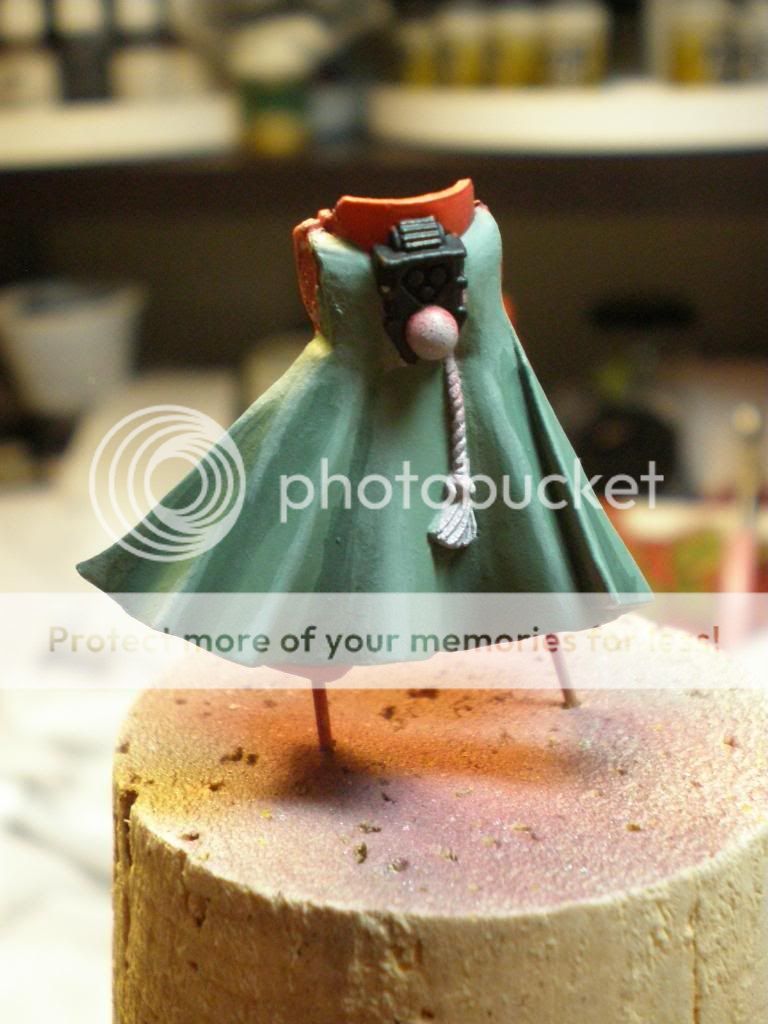
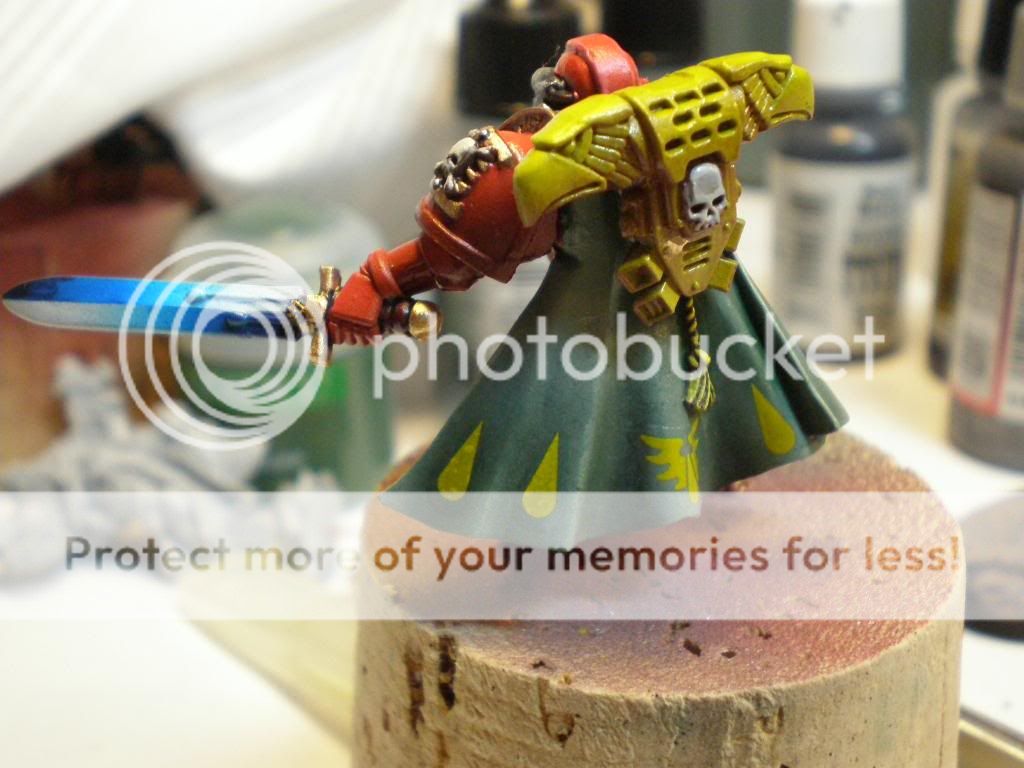
Initially, I blended the cape by hand, as seen below. However, the effect is much faster and smoother-looking if I just used an airbrush, so I went over it again with the airbrush. Here's the hand-painted version:


And here's the airbrushed version:


I then picked out some of the details and got the base colors down, so that I could highlight later.  I used yellow for the ropes, since they're not ropes but ornamental cords. I think it looks pretty stylin'.


Hell, part 2. Magnets are the biggest racket in this hobby.

I've found that one of the most indispensable hobby tools is silly putty. Poster tack can sometimes be hard to work with; it won't pull off completely, or worse yet, pulls paint off, and is generally just not that good, unless you're looking to affix something that is fine if it's ruined (like attaching a base to a paint pot to make a holder).

Here, I've silly-puttied the arms as a mask for the weapons.  It works perfectly, and I got five "eggs" of the stuff off amazon really cheap. It's totally reusable, and don't actually stick to anything, which is the best part.


A little more shading down to the backpack, and some more details picked out on the head and torso.


Painting up the various guns and weapon arms; retrospectively, I should have put more time into getting some good detail on the guns, but as they were just going to be oil-washed, I decided against going too crazy with the details.


Some final effects; I did the "jewel" effect on the eyes, lightening them the further it got to the bottom-right of the gem/eye, and putting a small dot in the upper-left.


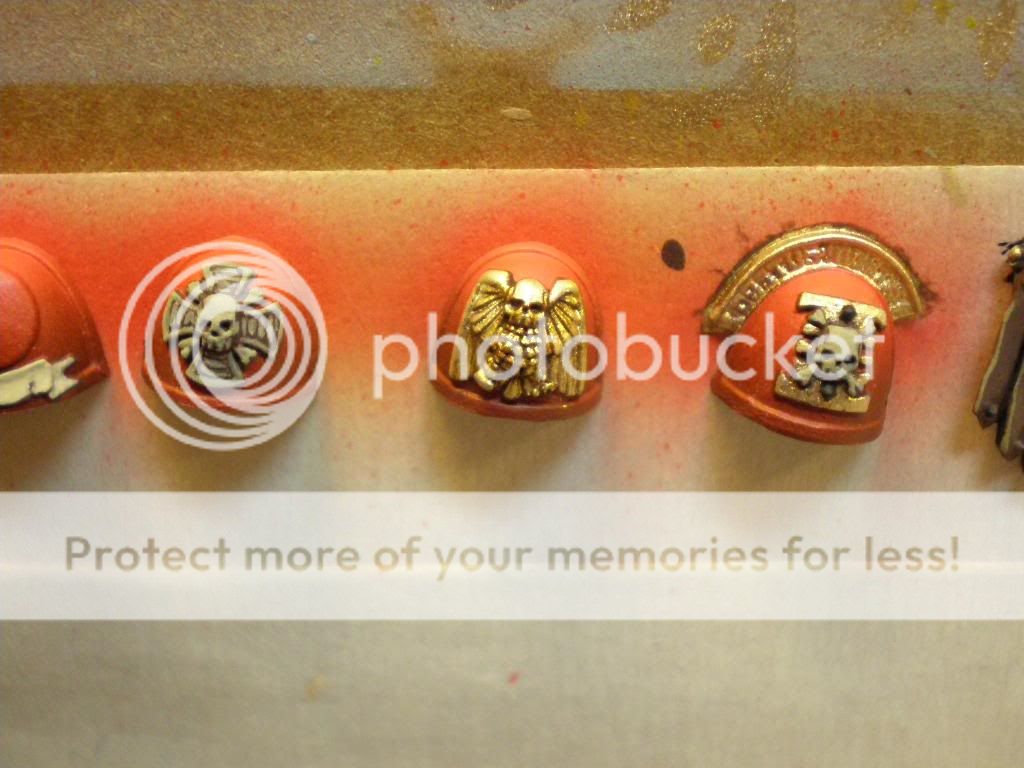
I used Vallejo Liquid Gold for the metal parts of this model, and here are the pads pre-shading; I generally will work the gaps with some sepia or devlan mud, thinned with flow improver and glazing medium, so that it can actually be painted-on.


Finished and assembled, with the arm in place to see how it stacks up with the backpack on; I remember these used to be finicky back in the Rogue Trader days with the plastic Space Marines set. Naturally, things have gotten better.

Also, interestingly, the silvering on the decals (bad) didn't show up until the final product. Now, it's visible only upon close scrutiny, or at specific angles.


A close-up of the power fist; regardless of its stats, it still brings me back to the olden days of RT.


The arms have been gloss-coated, ready for the oil wash. The base that I used is also visible in the upper right part of the picture.


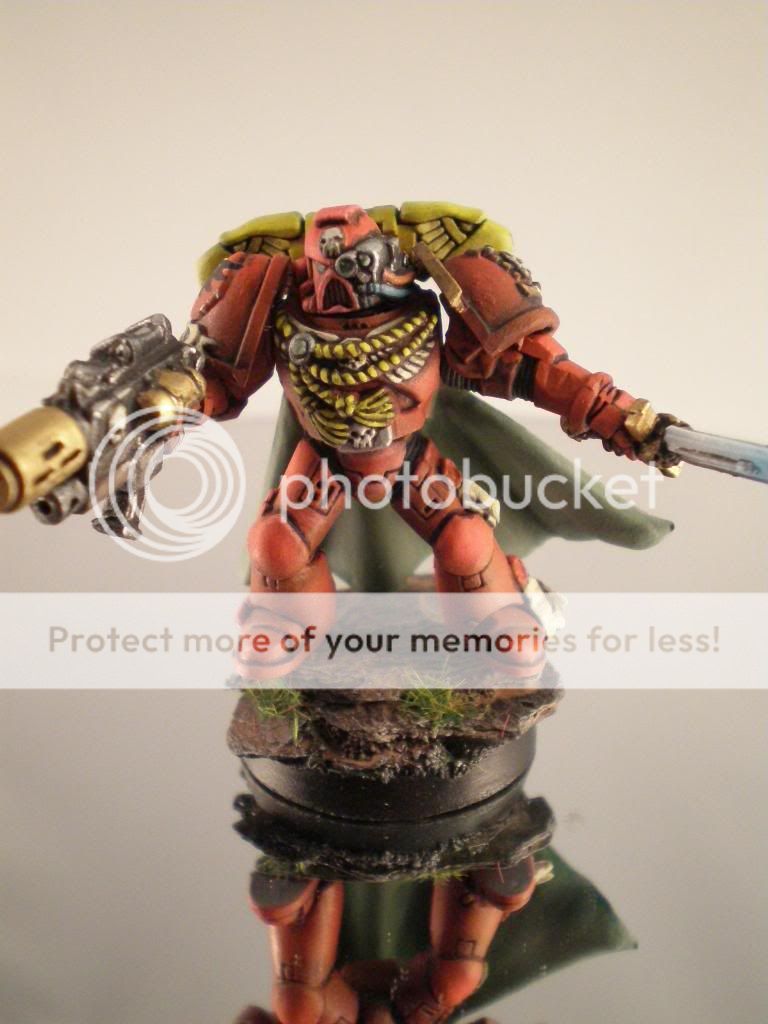
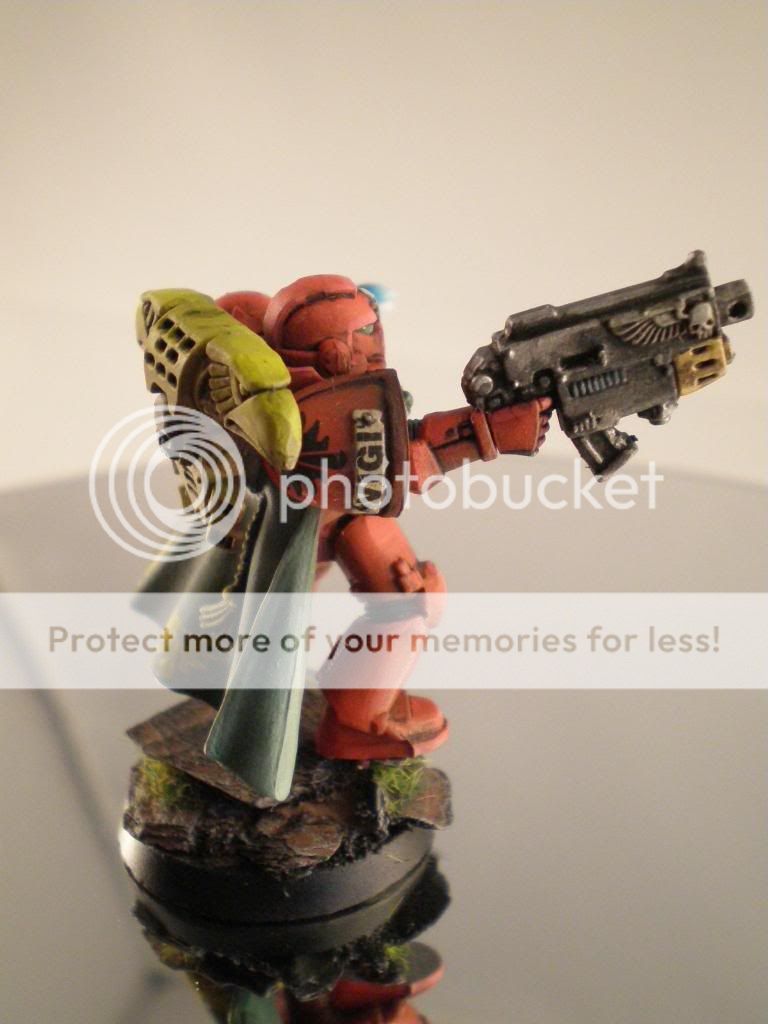
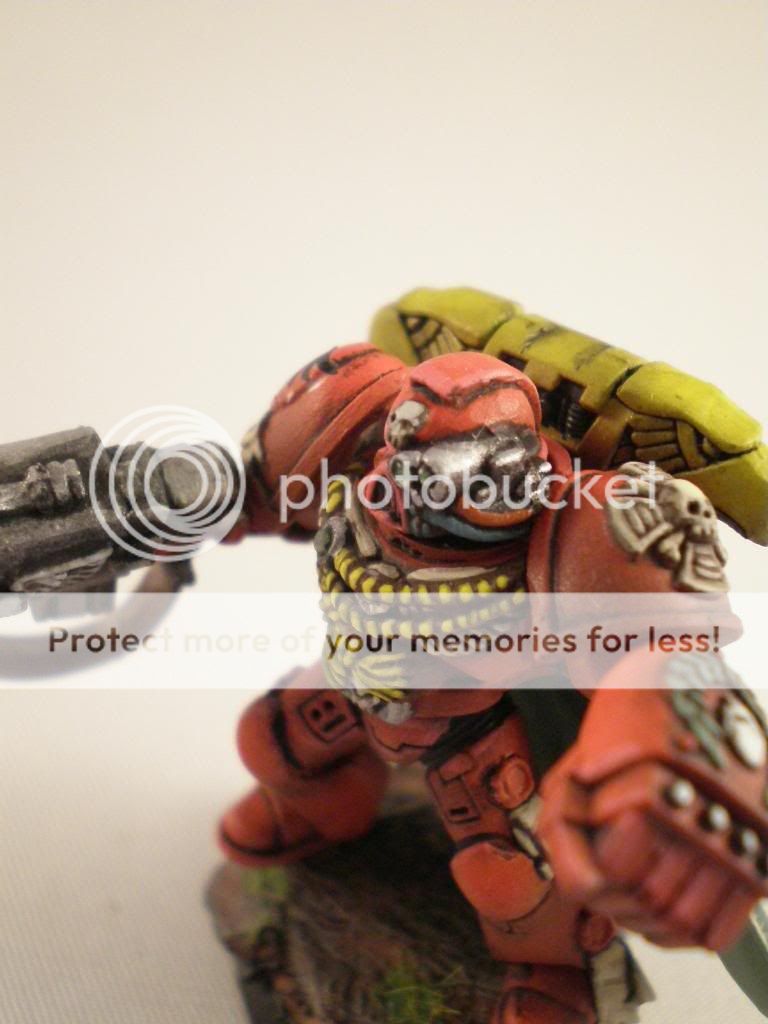
Here are some pictures of the finished product. Naturally, it'd take hours to get every combination of gun, gun arm and left CC weapon arm, so I just randomly chose some poses.