Showing posts with label Ultramarines. Show all posts

Monday, June 18, 2018

Roboute and the Ultramarines

The Primarch of the Ultramarines has arrived in the disputed sector to provide the 'Fists with some much needed backup against the Death Guard incursion. I ended up with two Roboute Guilliman models, so decided give this one to my friend Kevin who's been playing Ultramarines since the 80's. I decided to paint them both simultaneously; the other version without the helmet is not pictured here but looks otherwise identical.

The detailed gold gilding on the outer suit of armor was quite an impressive bit of sculpting, and it ended up contrasting well against the dark blue. For expediency, I chose not to use the alcohol-based metal paints, we'll save that for another time (see HB's tutorial on Dante for shading alcohol metals). There's three different values of gold here, which come together bright and shining after being set in the black oil wash. The Hot Flaming Fire Sword of Fiery Flames took on a life of its own, done primarily with several thin airbrush gradient coats, and patience.  I left the detailed base purposely muted and drab in color - the model comes with two flaming torches near the ground, which I left off to keep the color attention on the model itself. Finally, there's a variety of varnishes going on here (hard to tell in the photo), matte for the base and the flames, satin for the armor, and selected gloss for higher points of gold.

Placed next to a squad of filthy Death Guard, Guilliman looks like the golden god he's supposed to be!


Thursday, April 4, 2013

Ultramarines Dreadnought Complete!

I finally finished the Ultramarines Dreadnought.  I really got into this project, and wanted to try as many techniques as I could on the model; this was a focus of this project. The other focus was maximum customizability — while my group is very-much okay with "counts-as", I know that other places aren't so forgiving.

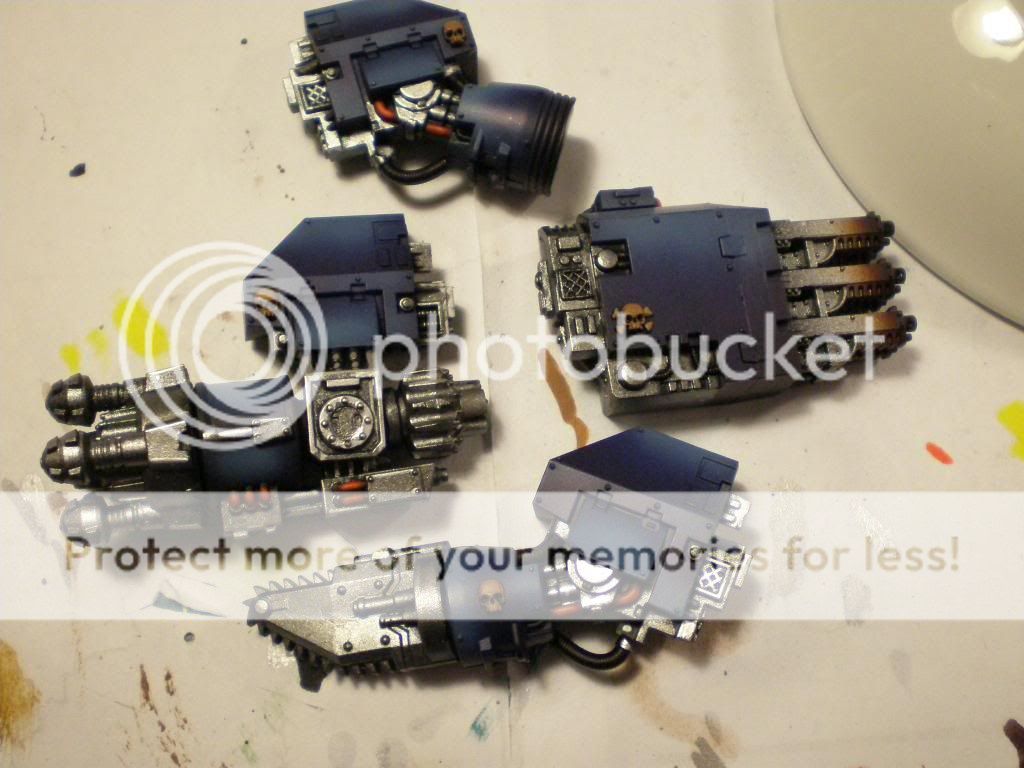
Some of the parts.


Everything waiting to go to the photo station.


A close-up of the base, after affixing the pigments with 80% isopropyl alcohol, choke open, at about 8 psi.


The removable faceplates: Terminator Honors on the top.


Chainfist w/ Melta, Hurricane Bolter, Searchlight and Smoke Launcher.


Any of the sub-components can be swapped out under any and every arm that is legal in-game — the Hurricane Bolter is the exception, but you could put a Melta, Flamer, or Storm Bolter under there.


The exhaust stacks and back of legs. I wanted to keep the rust and dirt in realistic places.


A close-up of the Hurricane Bolter. This might by my favorite single piece.


A close-up of the upper hull.


Now, with other components swapped out. Missile components are also magnetized.


Bolter mounted under the arm.


And, a flamer on this one.


And, swapped out for dual-flamers.


A close-up of the base.


A close-up of the hull; Terminator Honors and missiles.


Aerial view.


Missiles removed to show the top decals.

Thanks for checking this out; the next project is in the queue and should be up soon.


Wednesday, March 20, 2013

Ultramarines Ironclad Dreadnought WIP (Part 3)

I finally managed to finish up the oil wash (Winton Lamp Black and Odorless Mineral Spirits), and apply the flat, matte coat. I really liked the way that it turned out; while the Liquitex Matte Coat is no Testors Dull-Cote, it's still pretty good, and made everything just look perfect.


I scraped the decals a little to add a realistic effect.


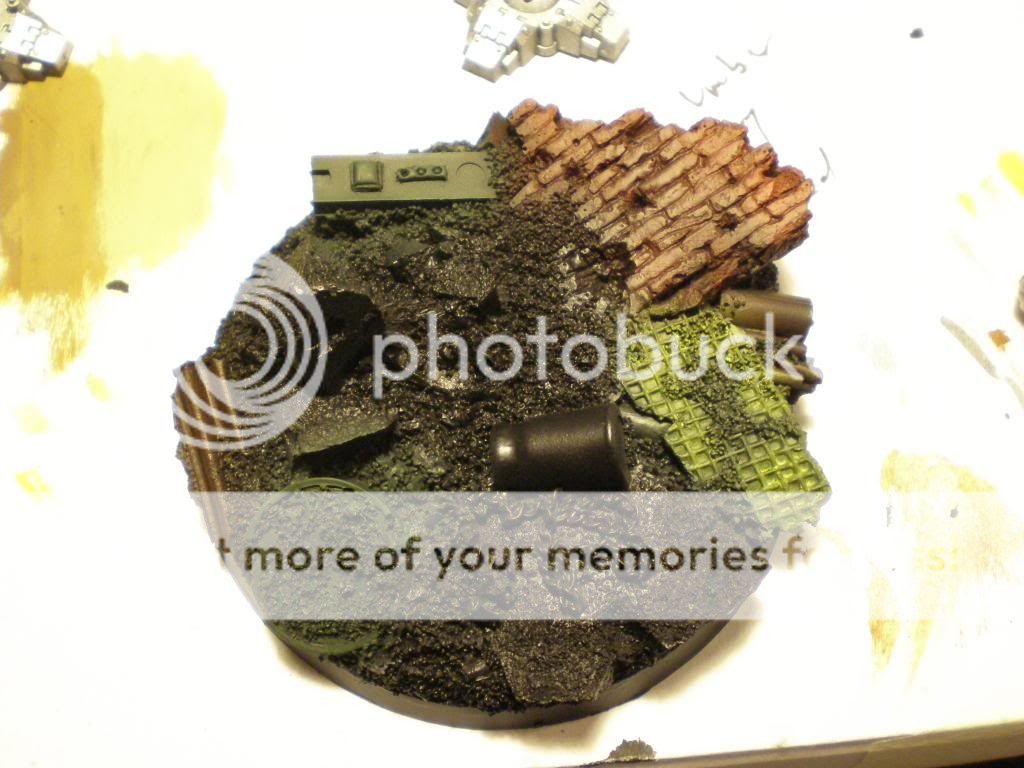
Here's the base I will use. I am going to hit the dirt parts with the airbrush, and add whatever color that winds up being to the Vallejo sticky textures and pigmentation mix I use around the feet and on the ground.


I even managed to get Dante primed and put down the basest of base colors: mahogany!


Here's my question: How much weathering do you want to see on the dreadnought? I can't imagine that the Ultramarines would let their Dreads get really messy and torn to pieces, unless it was part of some long campaign. That being said, I don't really like the fresh-off-the-lot look, either. If you have suggestions, put them in the comments. I don't get too many readers here, so I'll basically do whatever is suggested (low-medium-intense choice of weathering).


Ultramarines Ironclad Dreadnought: WIP (Part 2) & Dante

Sorry for the delay in posting; I've been pretty busy and been painting quite a bit, but haven't been doing so much picture-taking and uploading.
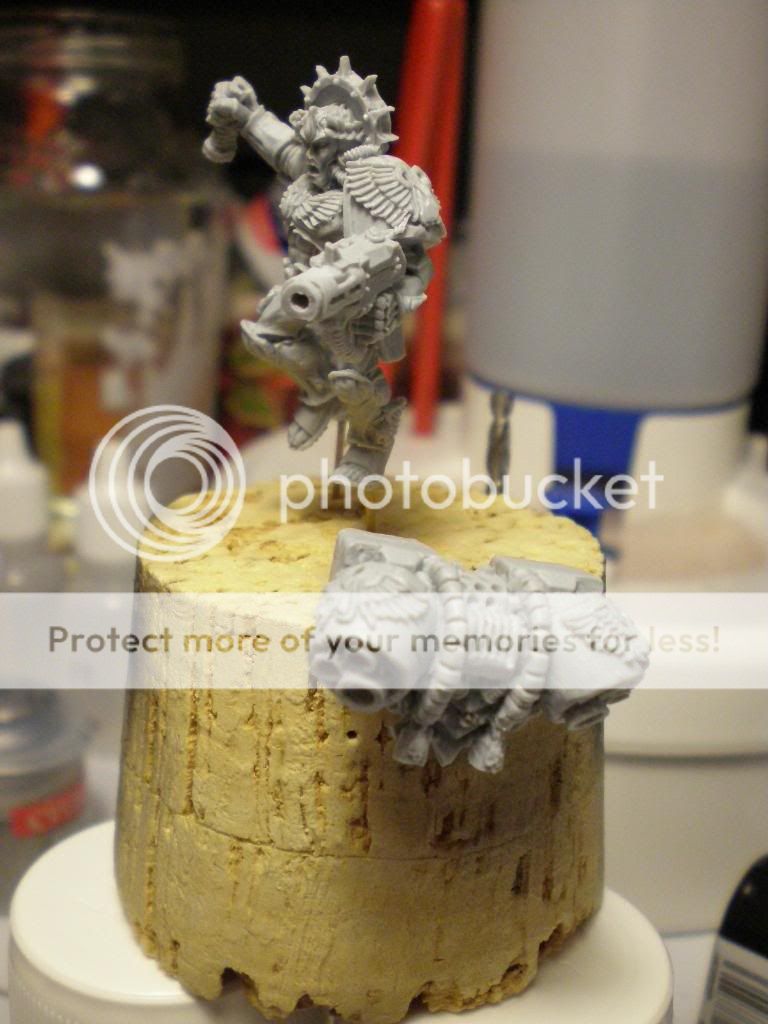
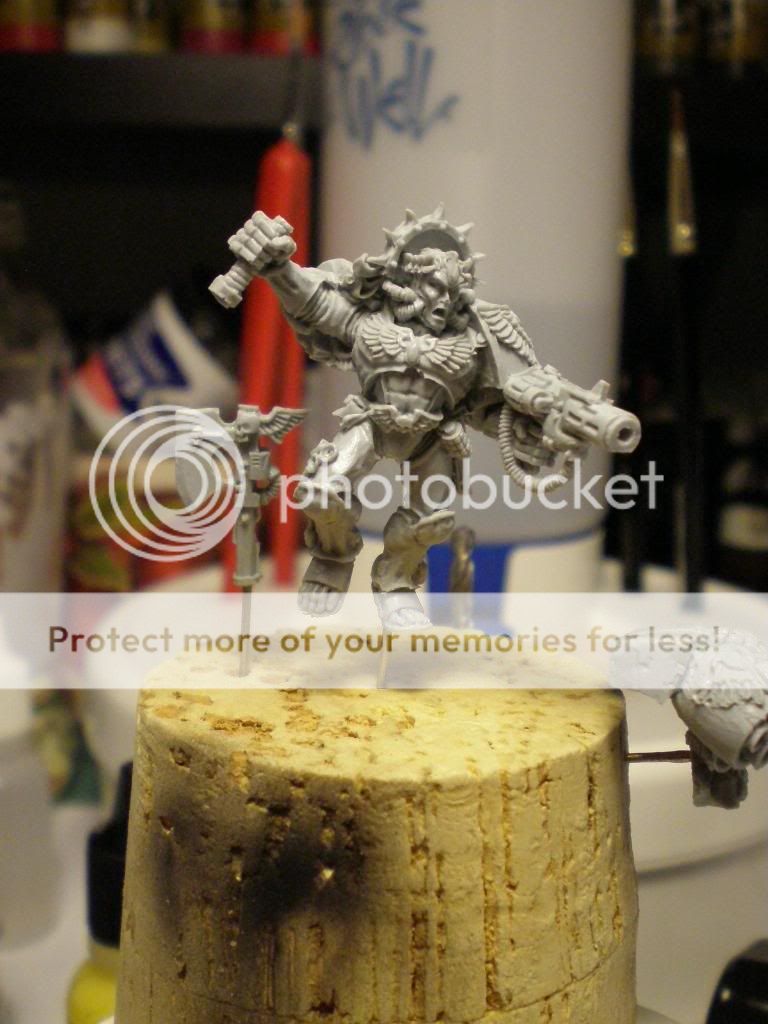
I purchased Commander Dante for my Blood Angels army (and planned to use him in the escalation league), but his points value is such that I can't really field him and much else at 400 points.  So, I'll just focus on using the Vallejo Liquid Gold alcohol paints to achieve some really cool effects, and play around with a brown oil wash.

I washed the finecast mini and put it in a towel on the counter to dry, folding part of the towel over the mini. In a sporadic burst of spring cleaning fervor, the towel — and the mini — went into the wash and were subject to high heat water, detergent and bleach. This broke the power axe off the mini, but I was able to collect all the pieces, and pin them (hasslefest), and get them ready to fix-up. At least it's clean of any releasing agents, etc.


Clearing flash and getting bubbles filled were another nightmare scenario.  I really, really wish GW would just do these in plastic.  Finecast is not finely cast, and completely hard to work with and full of imperfections. Henceforth, I guess I'll scour eBay for the metal versions of character models. 


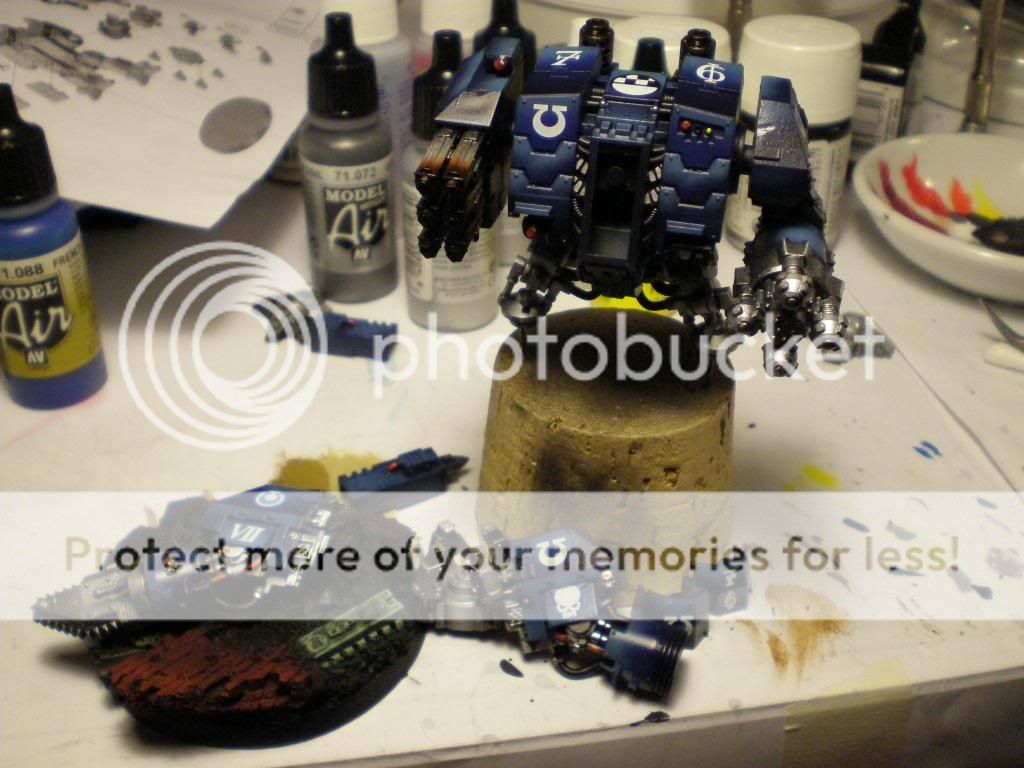
Now, on to the main point of this entry, which is the further development of the Ultramarines Ironclad Dreadnought.  I continued the pieces by masking the colored parts and spraying everything with Gun paint from Vallejo Model Air.


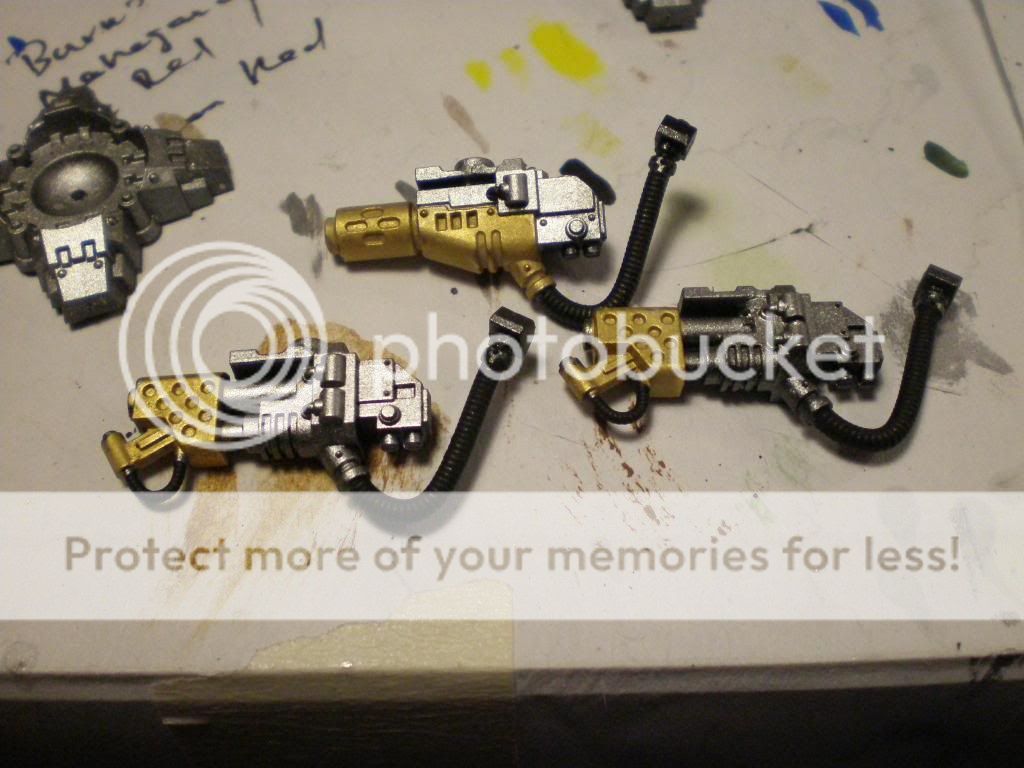
This is acceptable in this particular case, as I will be shading with oil washes, and  the purpose of this exercise was to speedily produce a gaming piece with fully-magnetized options with a paint-job that is "Tabletop Plus" quality.  As such, I am not doing my meticulous metallics, but rather, spraying what I can Gun, and then hitting the gold portions with VLG Gold paint.


Then, I just hit the business end with brown, black, and it's done.


I added some details (sans the skulls . . . that came later) to the various arm components.


And, laying down some colors on the base, just to get an idea of how I want the colors to lay.


Following that, I added details to the arms and weapon options.


And, some decals (thanks to everyone for the tips on how to make the decals lie flush!).


Hopefully, I can lay down the oil wash and get to weathering tonight. 

Thanks for reading.