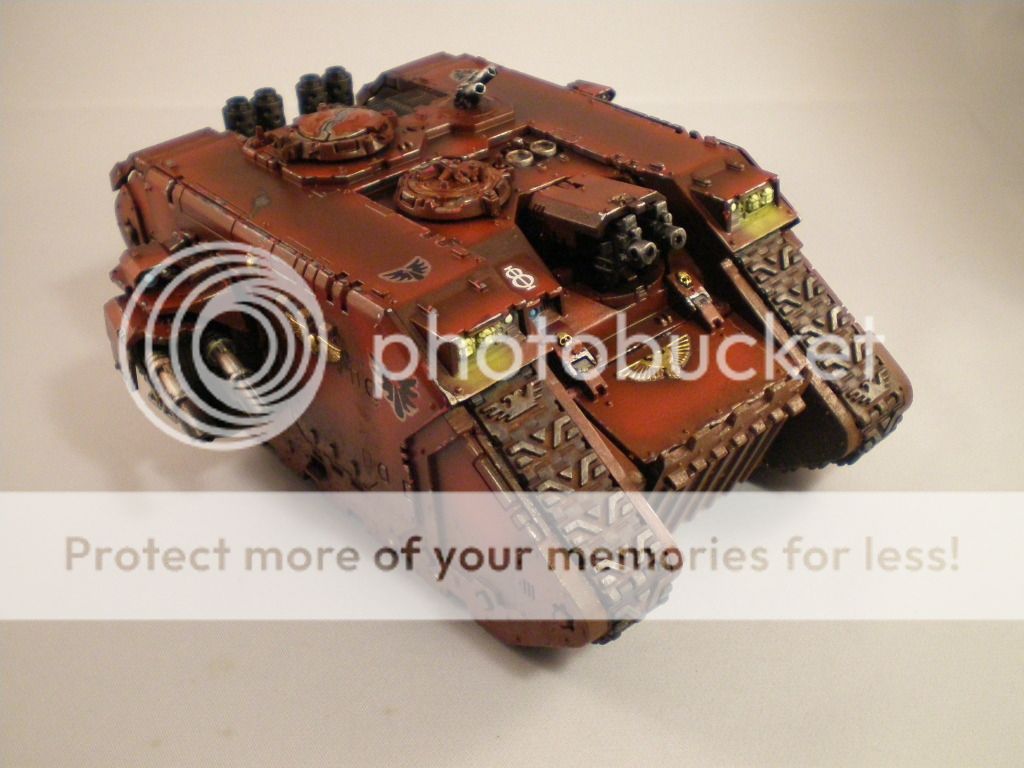
Finally, I've finished the Blood Angels Land Raider. Overall, I'm really happy with it, but admittedly, I sped through most of the hand-painted (analog) stuff.
Initially, this was meant to be a trial of using reds (incidentally, my favorite color to use) in my new airbrush, and indeed, this is the part I am most happy with. I thought that the shading and highlights worked-out great, and I am glad that I listened to several different sets of folks on different forums that suggested ultra-contrast, since a lot would eventually be obscured by pigments and other weathering elements.
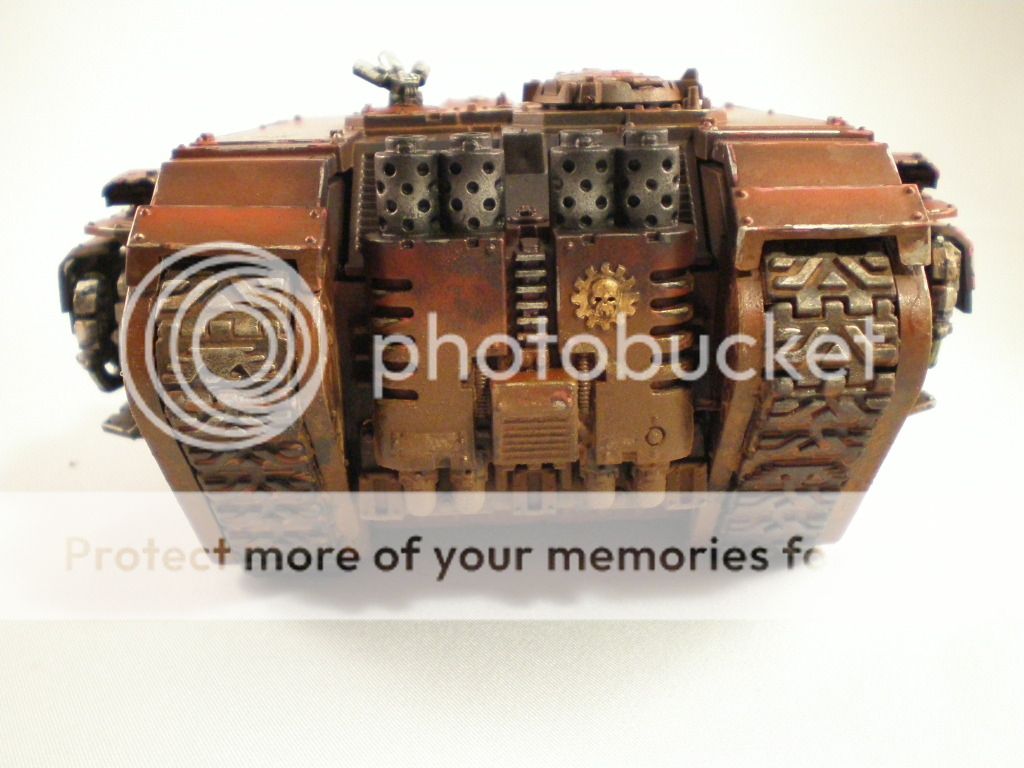
When I put the pigments on originally, they looked perfect: the smoke on the exhaust; the rust on any necessary places; the mud and other dirt caked in the tracks and treads; the spattered mud and other stuff (ash, etc.) on the sides and low back. However, when I sealed them with the gloss (I used Krylon out-of-the can), it really soaked up the dry look of the pigments, and whilst it fixed itself well to the model, it also ruined the effect of dry dust.
Additionally, the decals are absolutely confounding; they just stick out perfectly (in a bad way), and I really need to find a way to make the decals look like they're one with the model, instead of something that is clearly stuck on. Any suggestions are welcome.
I rushed through most of the analog stuff, as I really wanted this to be an airbrush project. It could have been better had I focused on that, as a model cannot look good with good airbrush and poor analog, as they must coexist perfectly in a well-balanced gestalt.
Comments and criticism are welcome. Thanks for looking.