I've been indecisive about what I'd like to play in terms of 40k, but wanted to get back into the painting aesthetic; having played mainly Mordheim for several years ago, I'm largely conditioned for fantasy.
Anyway, I purchased an Ironclad Dreadnought online for about $28, and thought I'd see what I could do with it. I did a little reading about what chapters could use the Ironclad, and it seems like the one with the most appeal is the Ultramarines. Personally, I'd like to try an Imperial Fists paint scheme at some point, as I like working with yellow (as well as red).
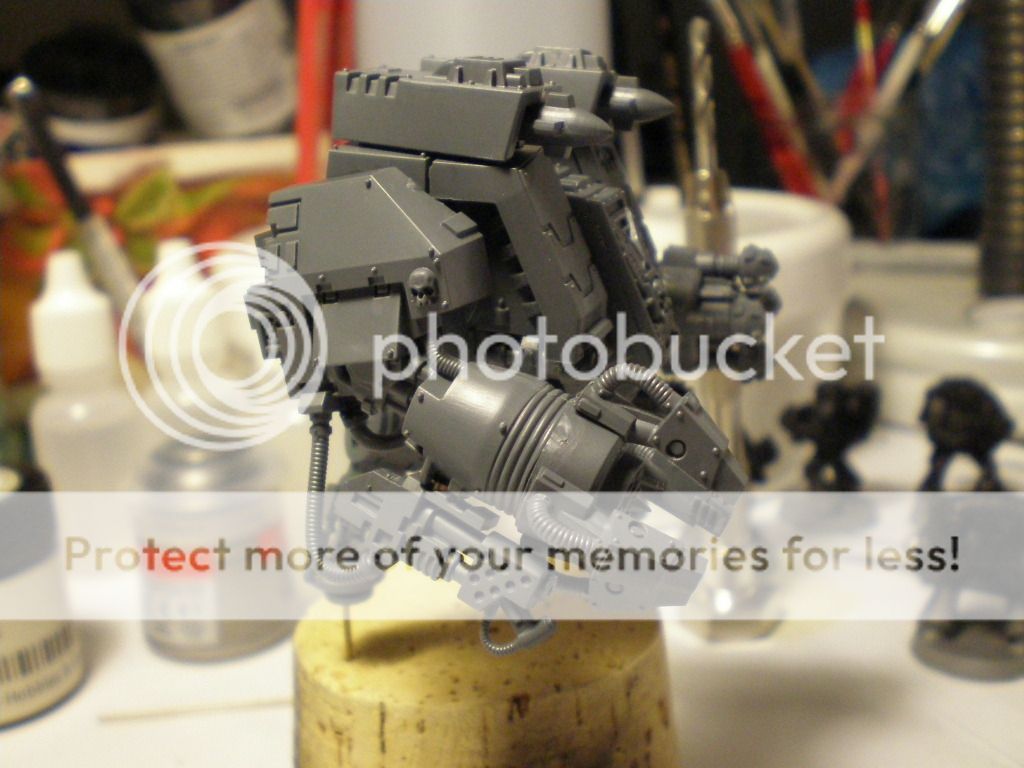
The first thing I wanted to do was to make sure that everything possible was magnetized and usable; my friends and I are always cool with "counts-as", but I know that some groups and tournaments are not; whatever the model possesses — per the rules — must adequately be reflected on the model itself. To this end, I magnetized just about everything that I could.
For example, I thought perhaps a player would like to have the regular and terminator honors sarcophagi, and to that end, I cut a sprue, glued it in, and put a magnet on it, and now, either one can be swapped in or out easily.

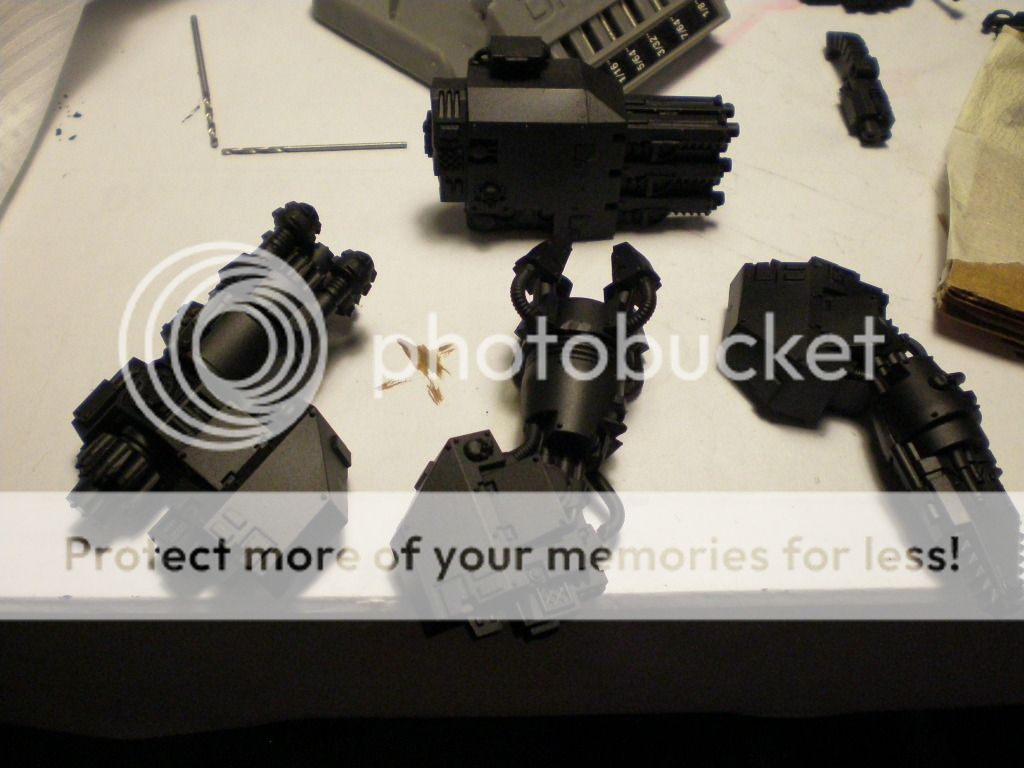
This is largely cosmetic, however, so I wanted to make sure that the important stuff in 40k — the weapons — were all swappable to any and every arm. I magnetized all the weapons included.

One thing that I thought would be problematic would be the missiles; some people might not want them as a weapon option, and might prefer the smoke launcher or the standard, or perhaps even the searchlight, so I made provisions to have the top of the hull magnetized, as well.
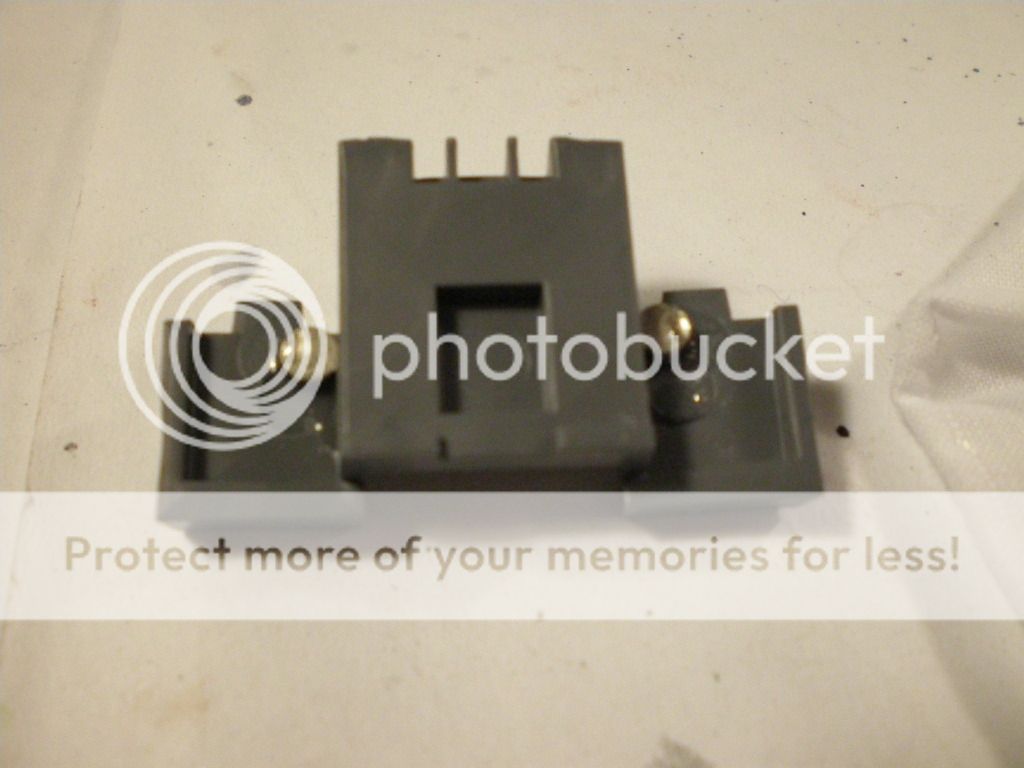
Now, all I had to do was magnetize the bits that I wanted to put on, but overall, the set-up worked perfectly:

Assembled, it'd look like this, and here are but a sample of some of the options and combos that could be created:


With the general assembly done, it was time to prime. To be honest, I hate assembling the models themselves; if I could skip to the painting stage every time, I would. However, I do game with some people who love kitbashing and building, but personally, I just find it an inescapable part of painting.


It's also sometimes a good idea to cut the tedium, and since I have decided I'd like to play and paint Blood Angels, I got started on some test schemes for them, and I am generally happy.

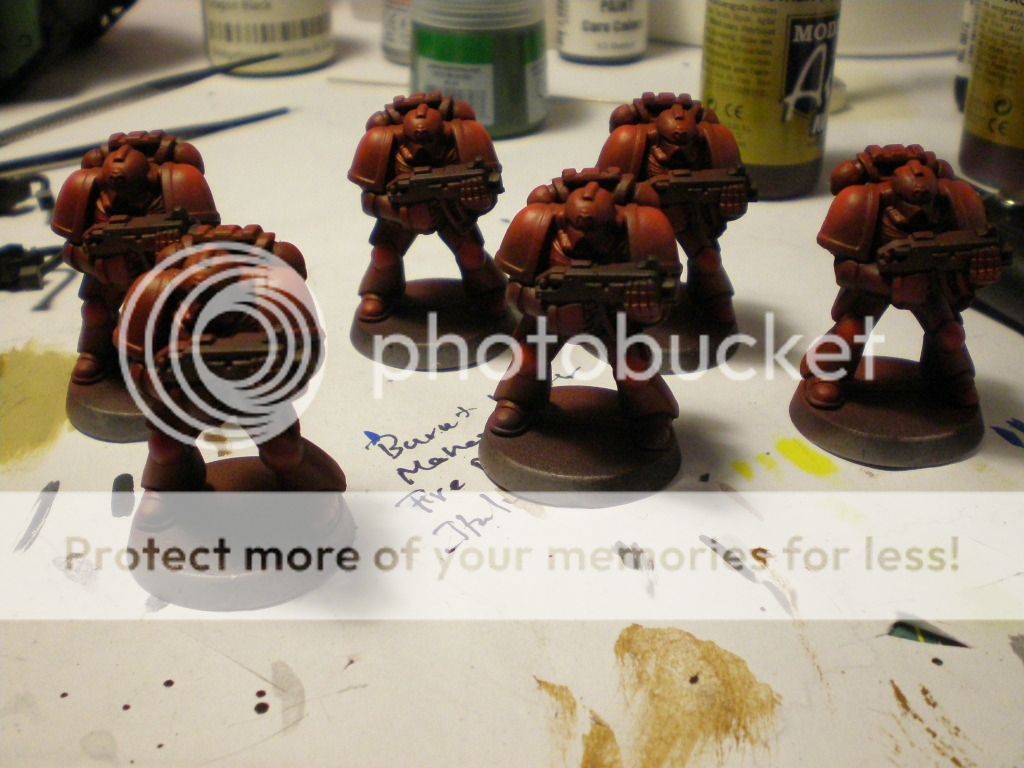

And, below are the paints that I used for the scheme: I built up from Umber to Mahogany, and then hit with two different types of red. Finally, I spot-hit the uppermost (zenithal) highlights with white, and then went back over it with Italian Red, until it was no longer pink, but a nice bright red.

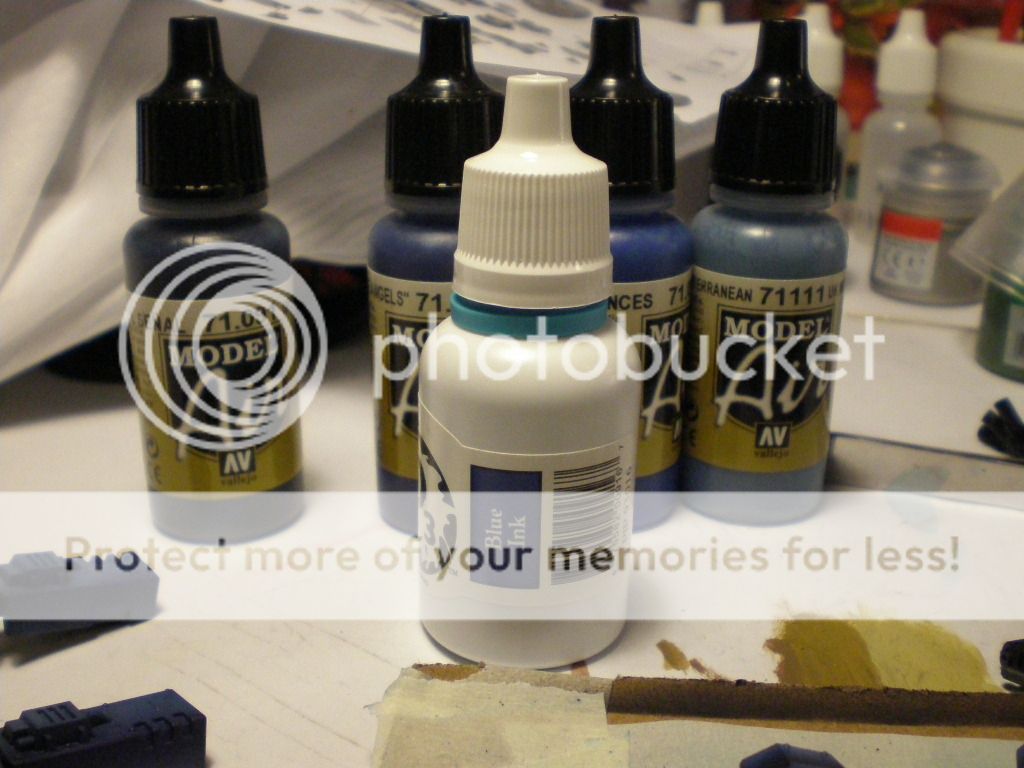
Anyway, back to the Dreadnought. I picked the colors that I wanted to use, and got to hitting everything with Insignia Blue and then a light highlight with Blue Angels Blue, finally, French Blue.
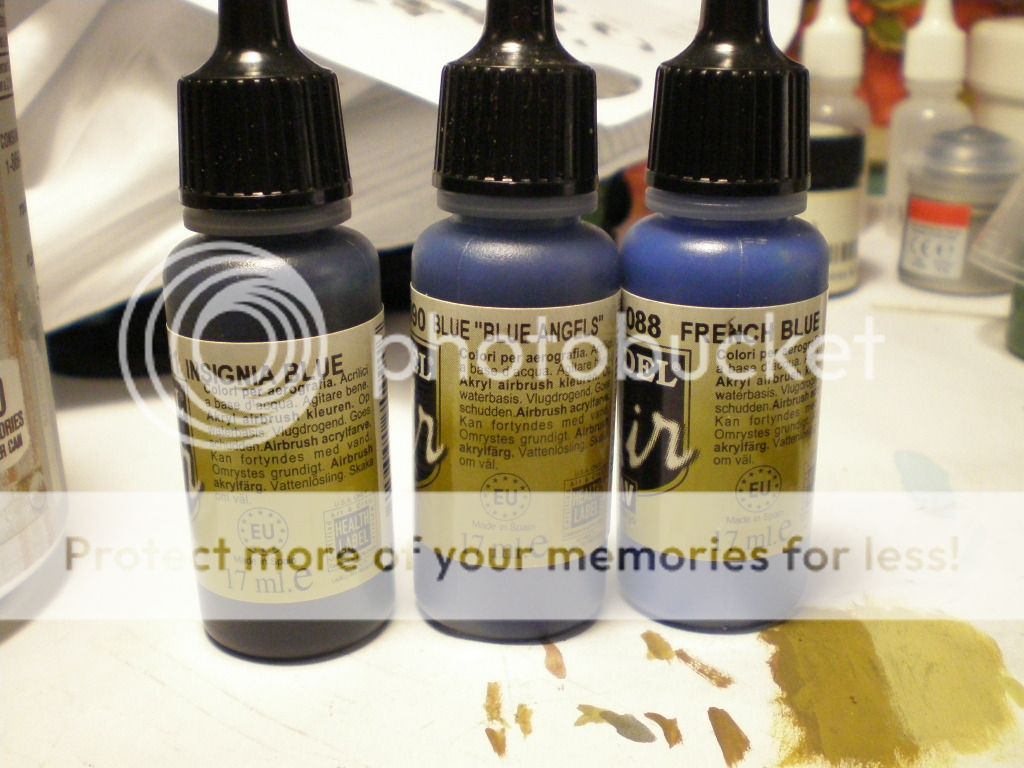


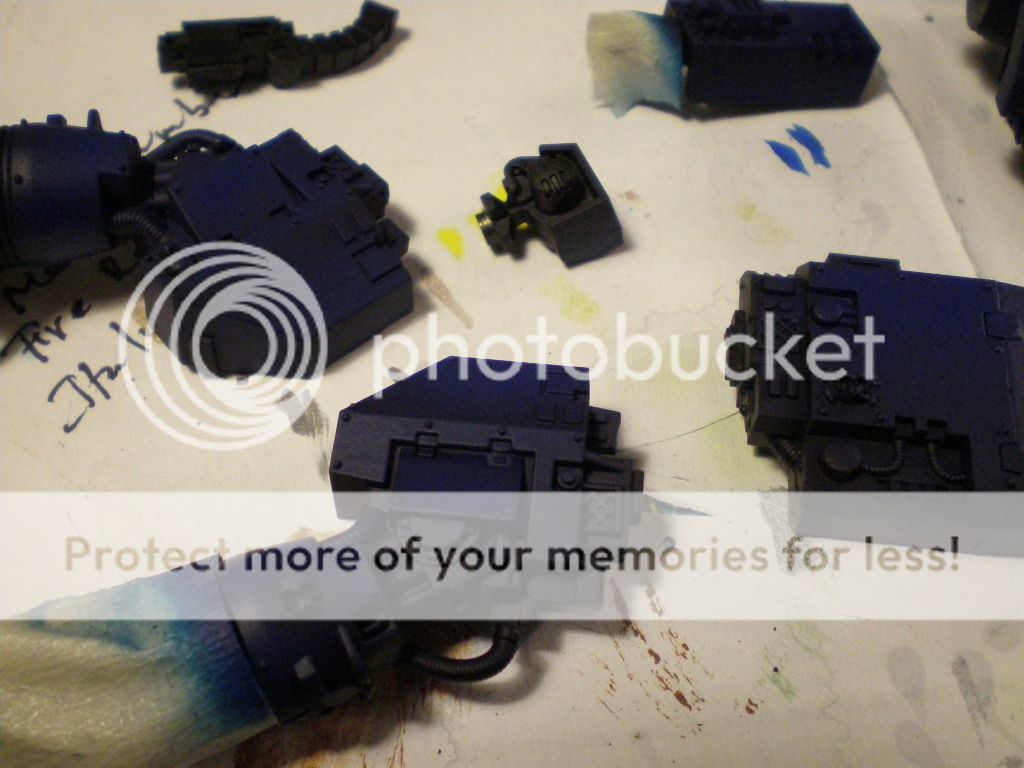

Ultimately, there wasn't a strong enough gradient for me. I'm usually about about subtlety, but as this is going to be weathered, I know that sharp contrast will be important as the contrasts themselves will eventually be muted by coat after coat of sealants and varnishes, pigments, mud, etc., and need to get that "pop" on this. Mediterranean Sea Blue to the rescue.


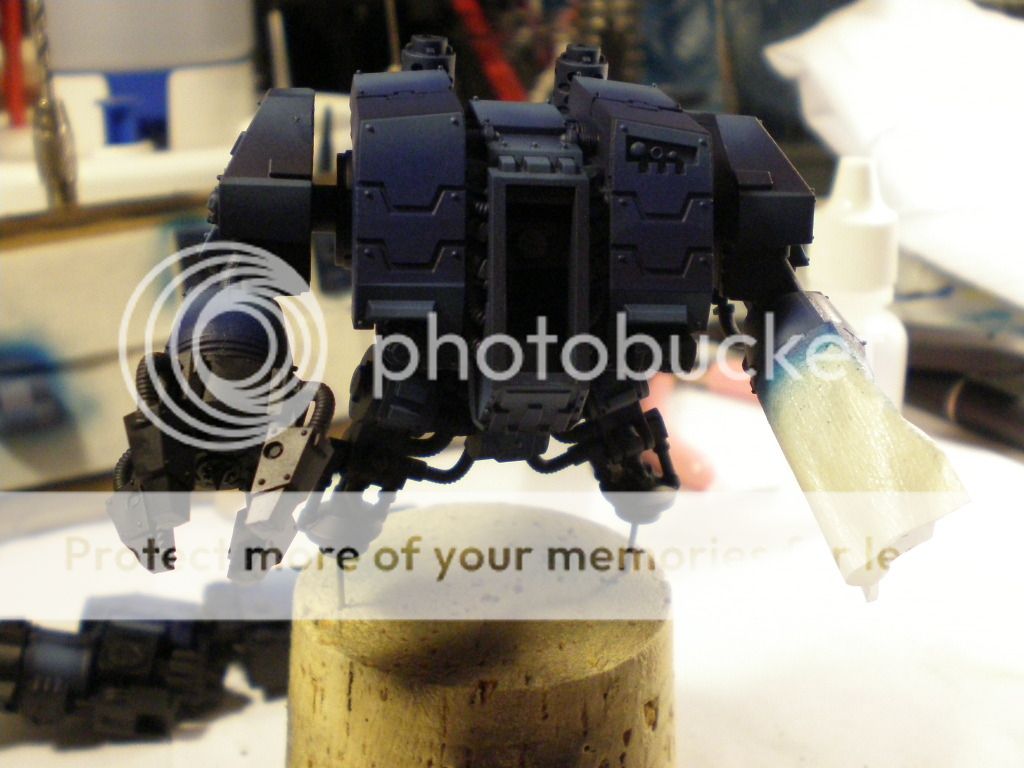

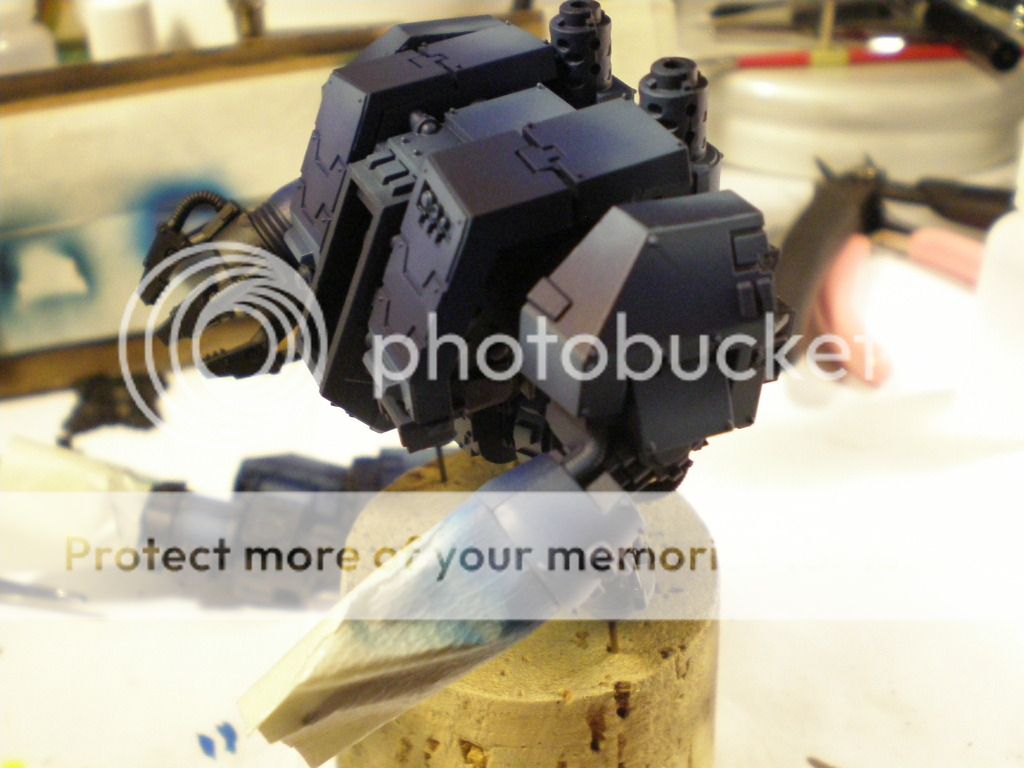
I decided to mute things just a bit, so I used some P3 Blue ink to diminish the high contrast, and keep everything closer to Ultramarine Blue than Space Wolves blue-gray.
So, with the base colors down, I'm going to move on to some initial detailing, and hope to have something new posted soon.

I Love the colour transition from dark to light such a stunning end result. I can't wait to see it finished up mate.
ReplyDelete