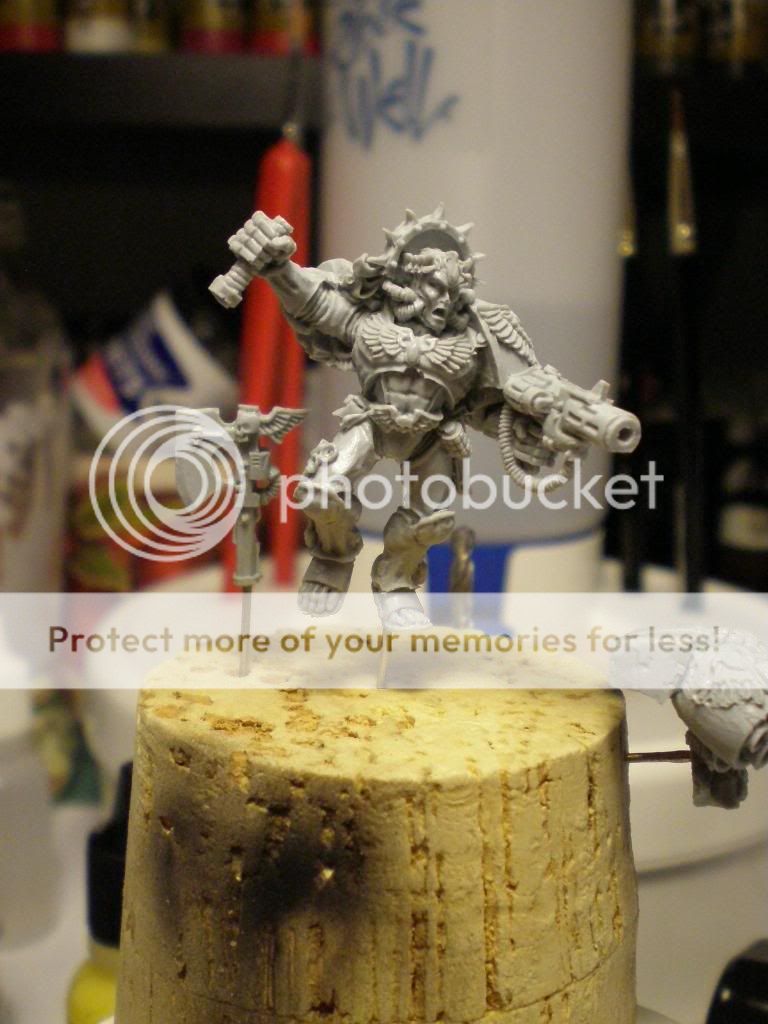
I purchased Commander Dante for my Blood Angels army (and planned to use him in the escalation league), but his points value is such that I can't really field him and much else at 400 points. So, I'll just focus on using the Vallejo Liquid Gold alcohol paints to achieve some really cool effects, and play around with a brown oil wash.
I washed the finecast mini and put it in a towel on the counter to dry, folding part of the towel over the mini. In a sporadic burst of spring cleaning fervor, the towel — and the mini — went into the wash and were subject to high heat water, detergent and bleach. This broke the power axe off the mini, but I was able to collect all the pieces, and pin them (hasslefest), and get them ready to fix-up. At least it's clean of any releasing agents, etc.

Clearing flash and getting bubbles filled were another nightmare scenario. I really, really wish GW would just do these in plastic. Finecast is not finely cast, and completely hard to work with and full of imperfections. Henceforth, I guess I'll scour eBay for the metal versions of character models.


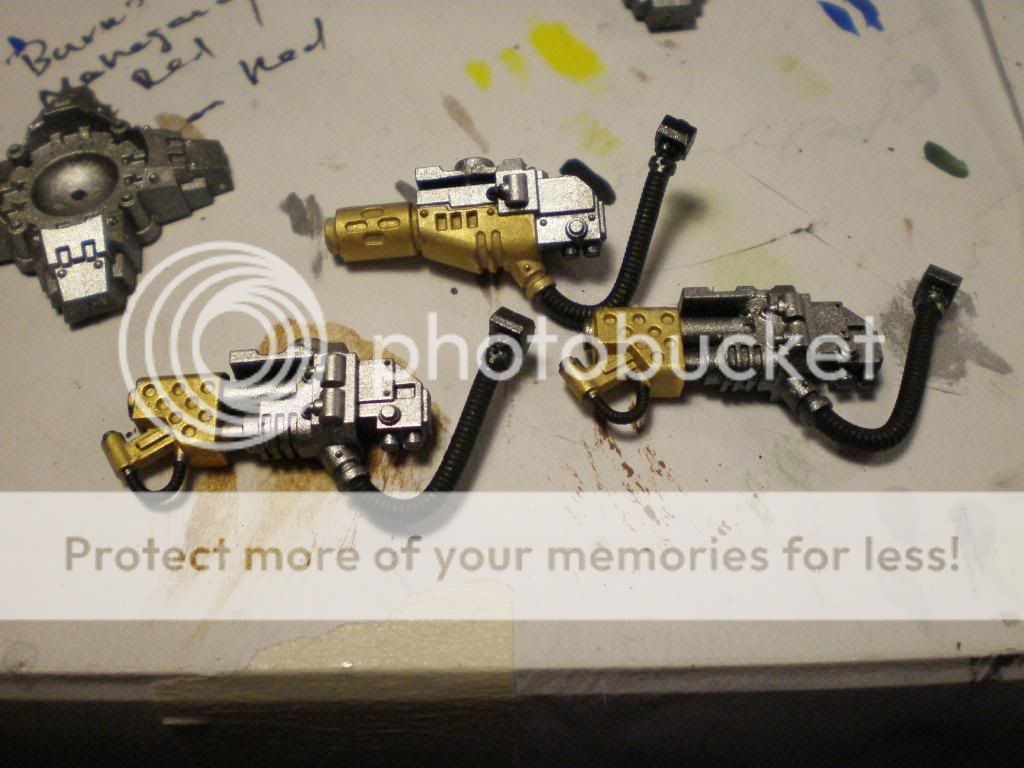
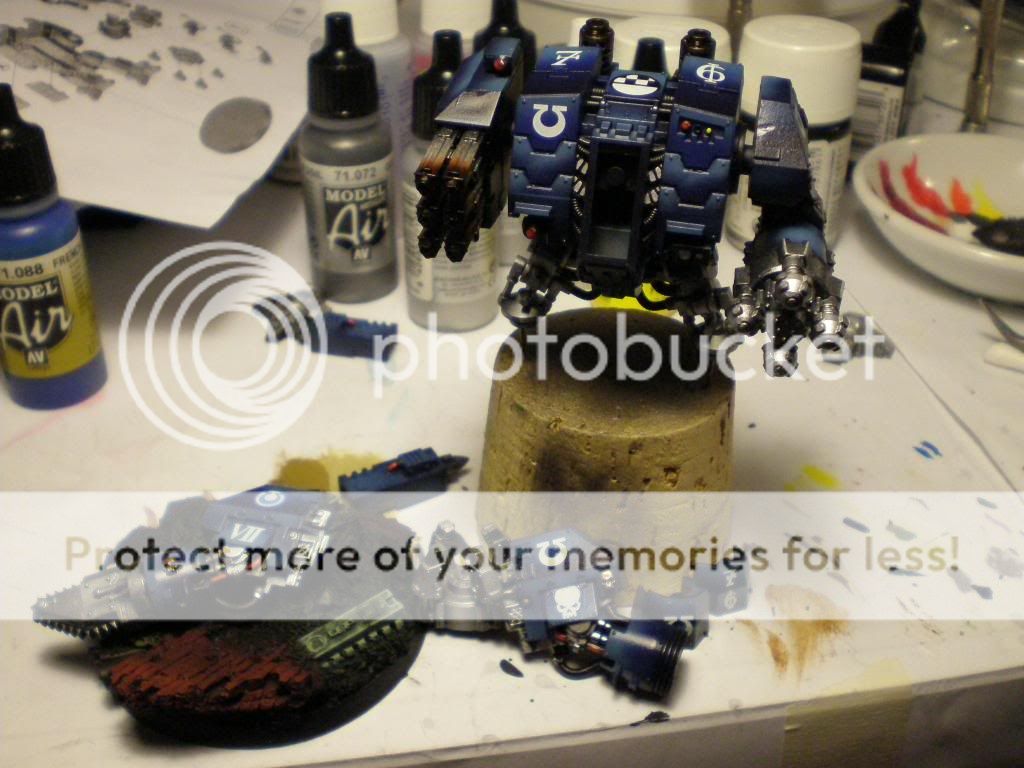
Now, on to the main point of this entry, which is the further development of the Ultramarines Ironclad Dreadnought. I continued the pieces by masking the colored parts and spraying everything with Gun paint from Vallejo Model Air.


This is acceptable in this particular case, as I will be shading with oil washes, and the purpose of this exercise was to speedily produce a gaming piece with fully-magnetized options with a paint-job that is "Tabletop Plus" quality. As such, I am not doing my meticulous metallics, but rather, spraying what I can Gun, and then hitting the gold portions with VLG Gold paint.
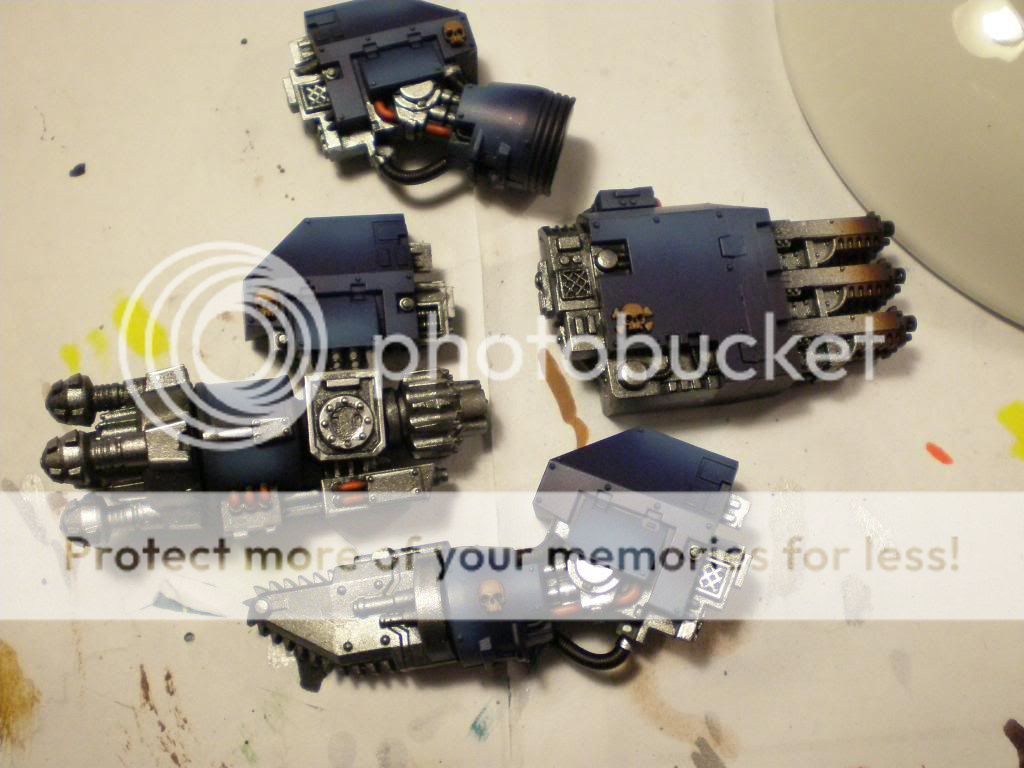
Then, I just hit the business end with brown, black, and it's done.

I added some details (sans the skulls . . . that came later) to the various arm components.
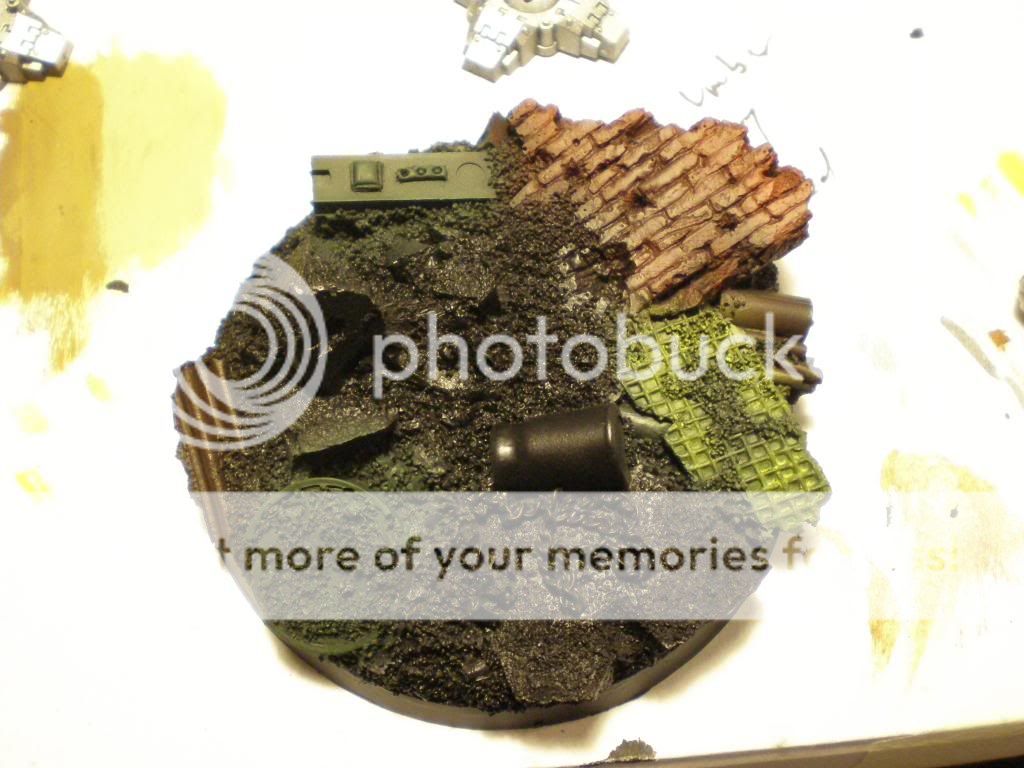
And, laying down some colors on the base, just to get an idea of how I want the colors to lay.
Following that, I added details to the arms and weapon options.

And, some decals (thanks to everyone for the tips on how to make the decals lie flush!).


Hopefully, I can lay down the oil wash and get to weathering tonight.
Thanks for reading.
No comments:
Post a Comment